Kitchen Updates - no more upper cabinets

BEFORE
I put together a design plan for a client a few months ago and now we are in the process of implementing all the ideas. 
This week the contractor took down these overhead cabinets in this kitchen.  Talk about a transformation....
AFTER
Wow, doesn't it look way better?  The cabinets really closed in the kitchen and made the space feel cluttered and small.  My client had plenty of cabinet space and didn't mind losing the storage.  It has opened up the kitchen so much now and makes it feel part of their living area.
The wallpaper will be coming down and the cabinets are going to be painted a beautiful cream color.  New Travertine tile will be installed in the kitchen as well as wood flooring everywhere else!  The granite counter tops we chose are to die for too!
BEFORE
AFTER
We will add 3 pendant lights above the bar area.  Not sure if we will keep the pot rack yet. 
Thought you would enjoy seeing this process! 
It's fun!
Visit my website DecRenew Interiors to see more before and after pictures!

Happy and colorful laundry rooms

With summer here and the kids home, my laundry room is in constant motion.  I just can't seem to catch up on the mounds of clothes that keep piling up!  I feel like I LIVE in there!
If we spend so much time in this room, it needs to be a HAPPY place don't you think?
(Container Store)
This room is very cheery!
(Case Design)
This one is genius!  A place to curl up and read.  On second thought, I'm not sure I want to be that dedicated to my laundry room!  Might feel too much like I'm at the laundry mat but I could send my teenagers there to get busy!
(Pinterest)
Splashes of color on the walls and floors add personality.
  A basket for everybody is a good idea.  I always feel like I can keep up with the washing, it's all the folding and putting away that takes up time and requires extreme organization.
(Pinterest)
I would love to have more counter top space and loads of storage.
(Pinterest)
Adding fabrics and rugs always makes a laundry room feel happier.  The map on the wall is an unexpected element and "loads" of fun.
Isn't this one awesome.  It's tucked away so no-one even knows it's there.  Perfect for small spaces or office space.  Sliding bookcases are always a great idea if space allows.
These stripes are cool and look at ALL this storage!
The room feels so crisp and clean.  Is that a real window or a painting?
Bursting with fun.
(Pinterest)
Adding color doesn't always have to be about the walls, it can be all about the floors.
(Pinterest)
Stripes make this room feel larger.
(Pinterest)
Wallpaper is a quick and colorful transformation.
(Pinterest)
Adding a chandelier makes it feel feminine and less industrial.
Isn't this wallpaper and chandelier combination beautiful?
You can never have enough hooks in a laundry room!
Would you like your laundry room right off your kitchen like this?  Does it work better in another part of the house?
Wow, lots of people in this family!  This would be heaven.  I would love to have a folding island like this one.
This family has their own laundry mat! 
Very cute touch to a small room!  Draperies hung high always make a room feel taller and add a softness!
A TV?  This mom must really have loads of laundry if she thinks she can watch TV?
Maybe you don't like lots of color and want a room that is calm after a long busy day!
If you could have the ultimate laundry room, where would it be in your house and what are some things you would have to have in that space?  Comment on your laundry tips!
My "have to" to be organized is a basket for everyone that can be carried upstairs, emptied and then brought back!
If the closets where right off the laundry room that would be my ultimate!!
Visit my website DecRenew Interiors to see dramatic before and after photos. 
Book your consultation today!

Living Room and Dining Before and After

I thought I would share with you some before and after pictures of a home I just finished this week.  We painted the entire house, changed out the lighting, added accessories, rugs,  incorporated what they already had, mixed it up and made the house SHINE!  There were some furniture items the client wanted to keep so I worked with those pieces and they really fit into the space now that we've added all the details.
Enjoy the tour!
BEFORE
AFTER
BEFORE
AFTER
BEFORE
AFTER
BEFORE
AFTER
BEFORE
AFTER
BEFORE
AFTER
BEFORE
AFTER
Here are some miscellaneous AFTER shots.
I was less wordy this time so I could hear what your thoughts were about the after pictures.  I'd love to hear your comments!
Visit my website DecRenew Interiors to see more before and after photo's and to schedule your appointment.
Remember, I do "walk-thru" consultations too!

Staircase as focal point...

A staircase can be the focal point of the home! 
As you know one of the services I provide is a "Walk-Thru" Consultation. Visit DecRenew Interiors to read more about this service.
 A typical client for this kind of consultation is one that is stuck and just needs tons of inspiration to get them over the hump.  During this consultation I give ideas, answer questions, think outside the box, brainstorm with my client and most of all help them create a vision for their home.  A lot of times it is just small things that can make a dramatic change! 
My client usually has writers cramp by the time I pull out of their driveway!
(BEFORE)
I met with a client a couple months ago and one of the things we discussed  was her stairway!  She didn't want to go overboard ($$$) but wanted to smarten it up and make it look beautiful.
(AFTER)
Sorry it's a little blury, she sent it from her phone.
 I suggested that she stain the "oak" banister because that made it look dated.  It needed to match the new wood floors.  I also suggested she paint all the spindles black which is what really made this staircase look updated!  The side molding was also painted a dark rich khaki (looks lighter in this photo). 
I was so happy when she sent me her before and after pictures.  I LOVE to see what my clients do after they have met with me, it means the world to me! 
(BEFORE)
oh my!
This week I met with another "Walk-Thru" Client and one of things she wanted me to help her with was this pathetic little arrangement. She bought some new florals to add to it to freshen it up but wasn't sure how to do it.
(AFTER)
I took out the ugly, added the new, fluffed and tweaked and in a few minutes it was feeling much better and ready to face her dining room.
I'd love to see what you have transformed lately!

Simply paint....to get radiance.

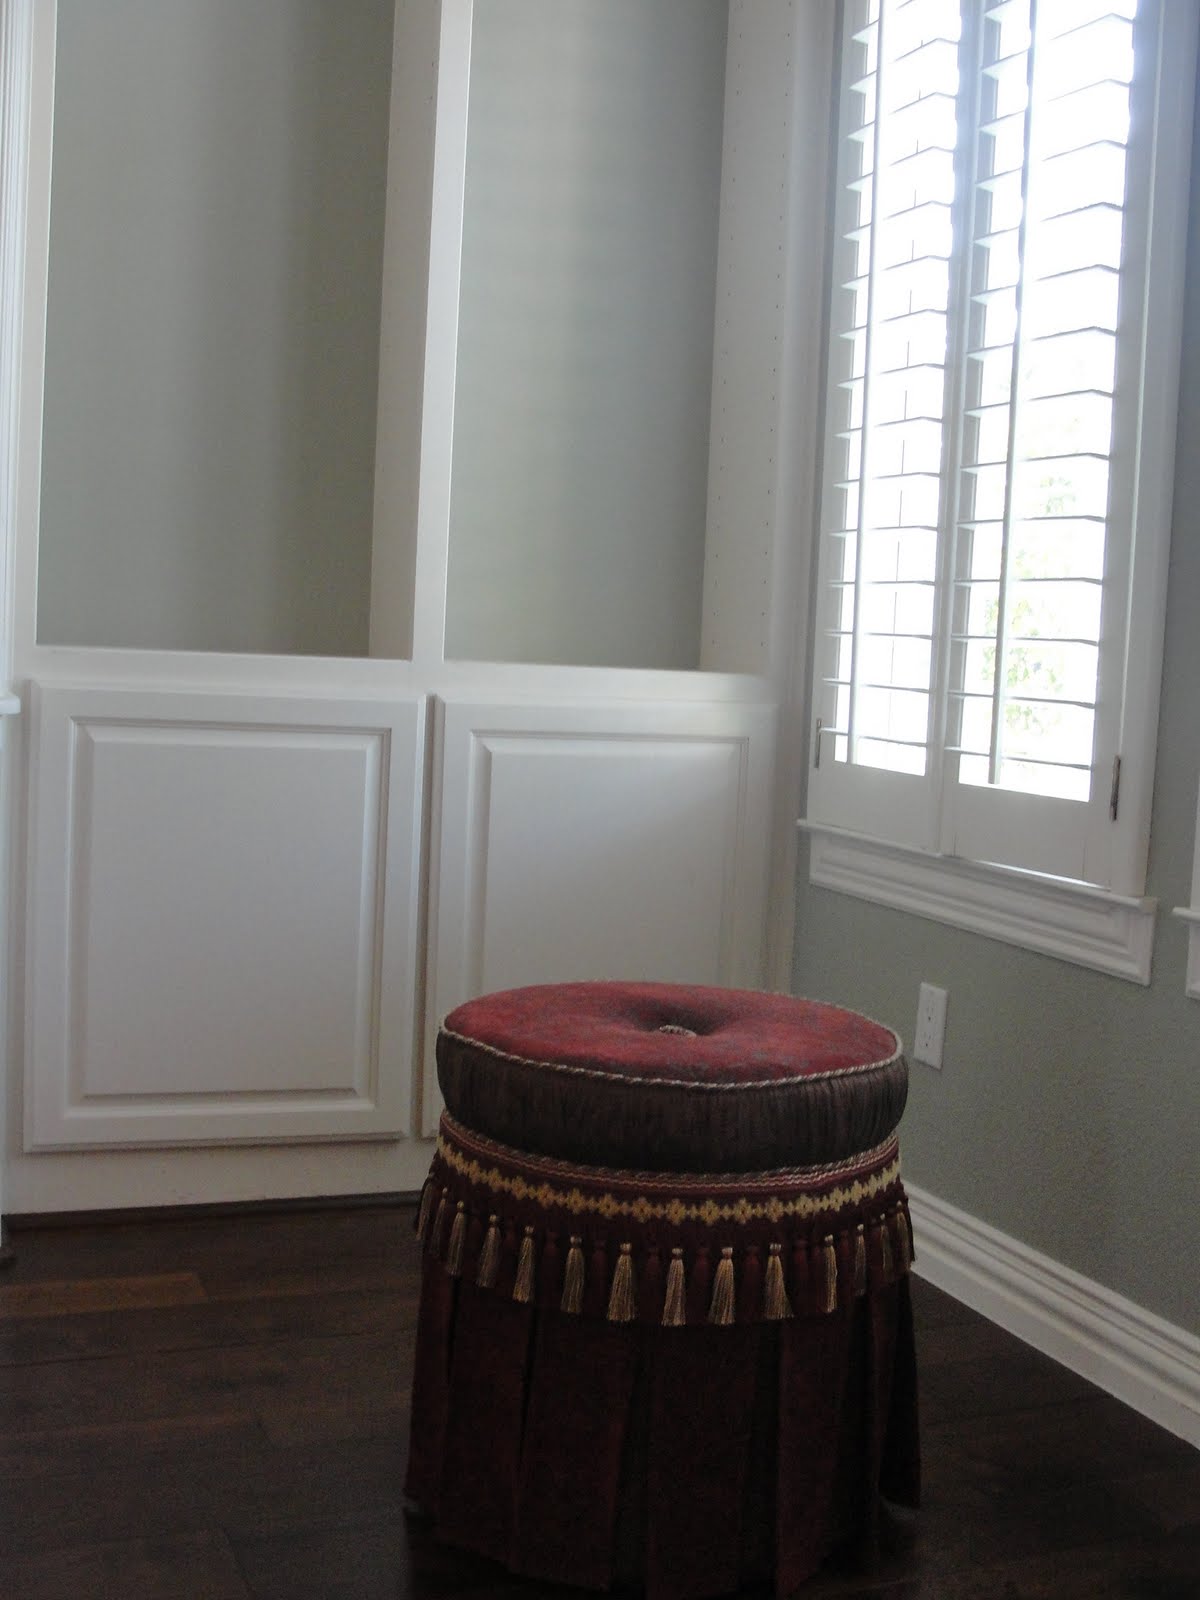
This is the AFTER picture of a front sitting room that just got painted 2 weeks ago.
AFTER
The walls and behind the built in cabinet were painted "Chat-room" from Sherman Williams.  The cabinets were painted "SW Kestral White" and we also took out the carpet and added dark-wood floors.
BEFORE
This pickled wood was looking shabby and dated and needed freshening up.
AFTER
(Flooring done by Nationwide Floors - Jeff Teller)

We are just in the beginning stages of this project.  Painting and flooring was first.  We still need the base trim touched up and this phase will be finished and ready for Phase II where all the finishing touches and the fun begins.  Lighting, hardware, furnishings, draperies, rugs, and accessories!
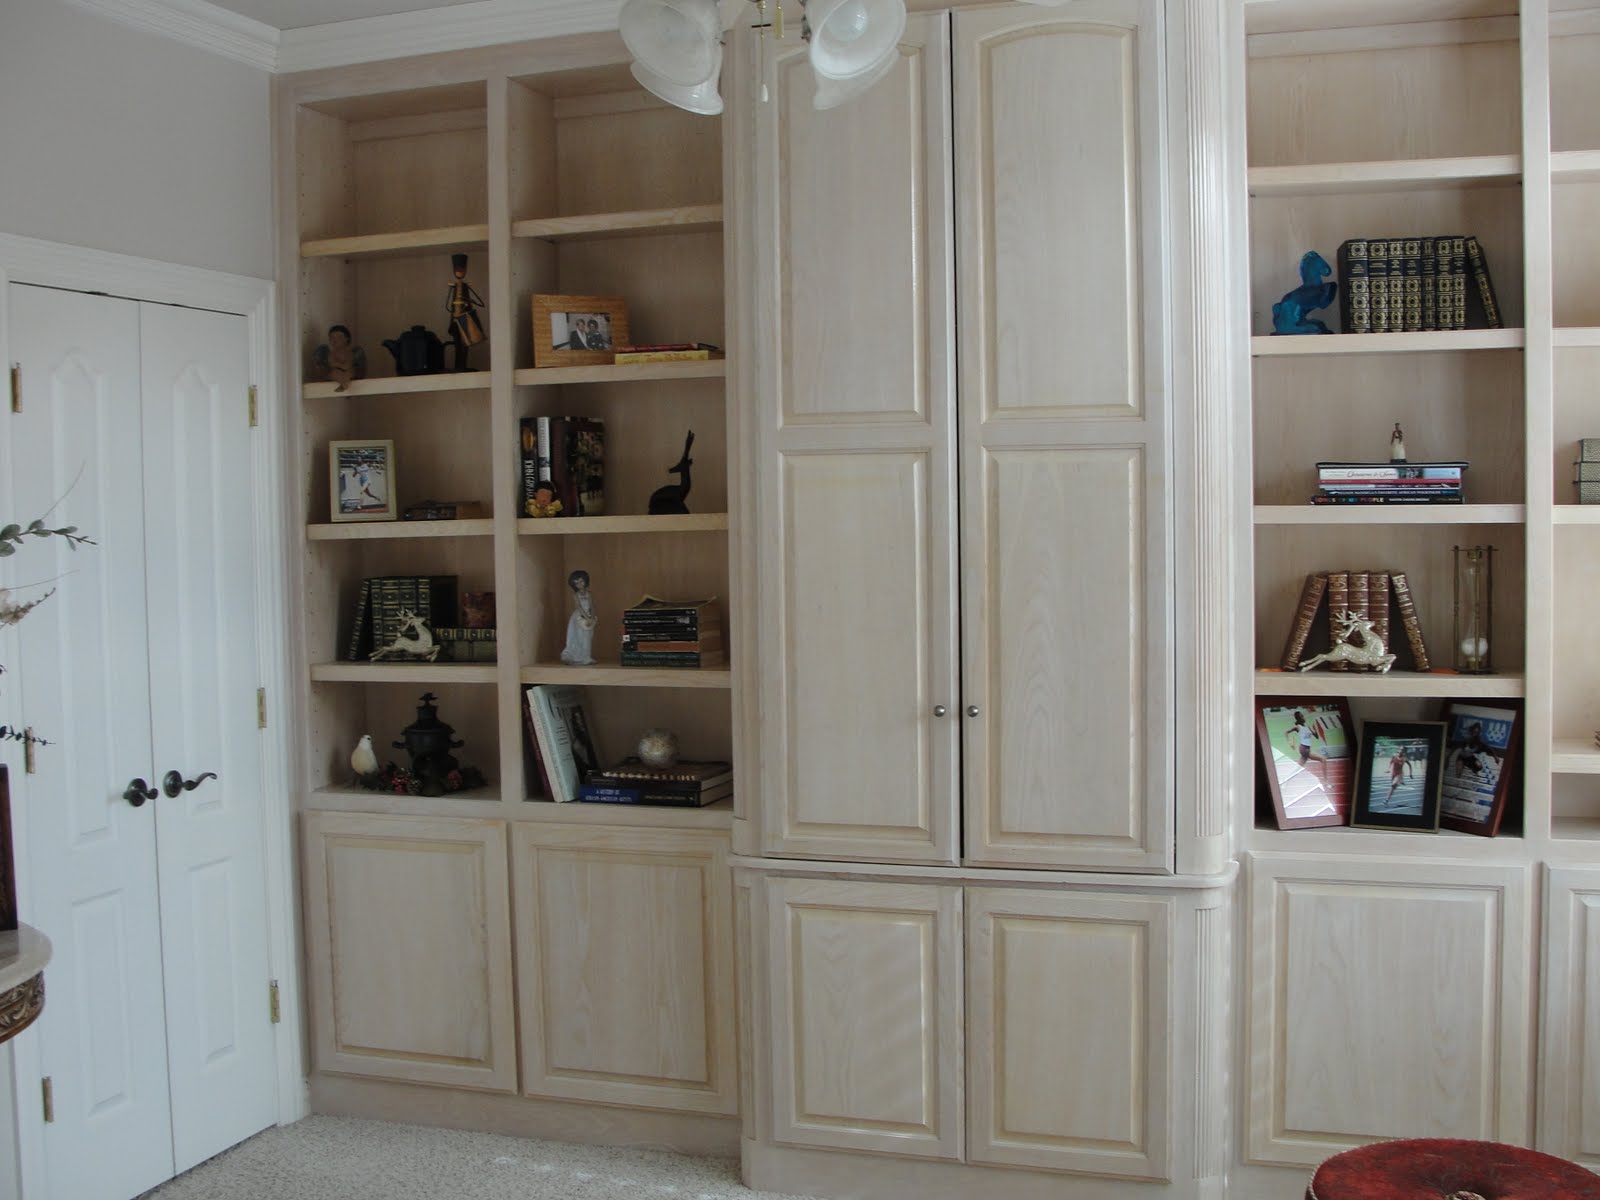
AFTER
This wall color is so restful and my client absolutely loves it!
  We will put all the shelves back but I probably won't use all of them.  They need to be spaced out a little more so they don't look so busy and cluttered.
BEFORE
The previous flooring was 12X12 tile and didn't add any character to this home. 
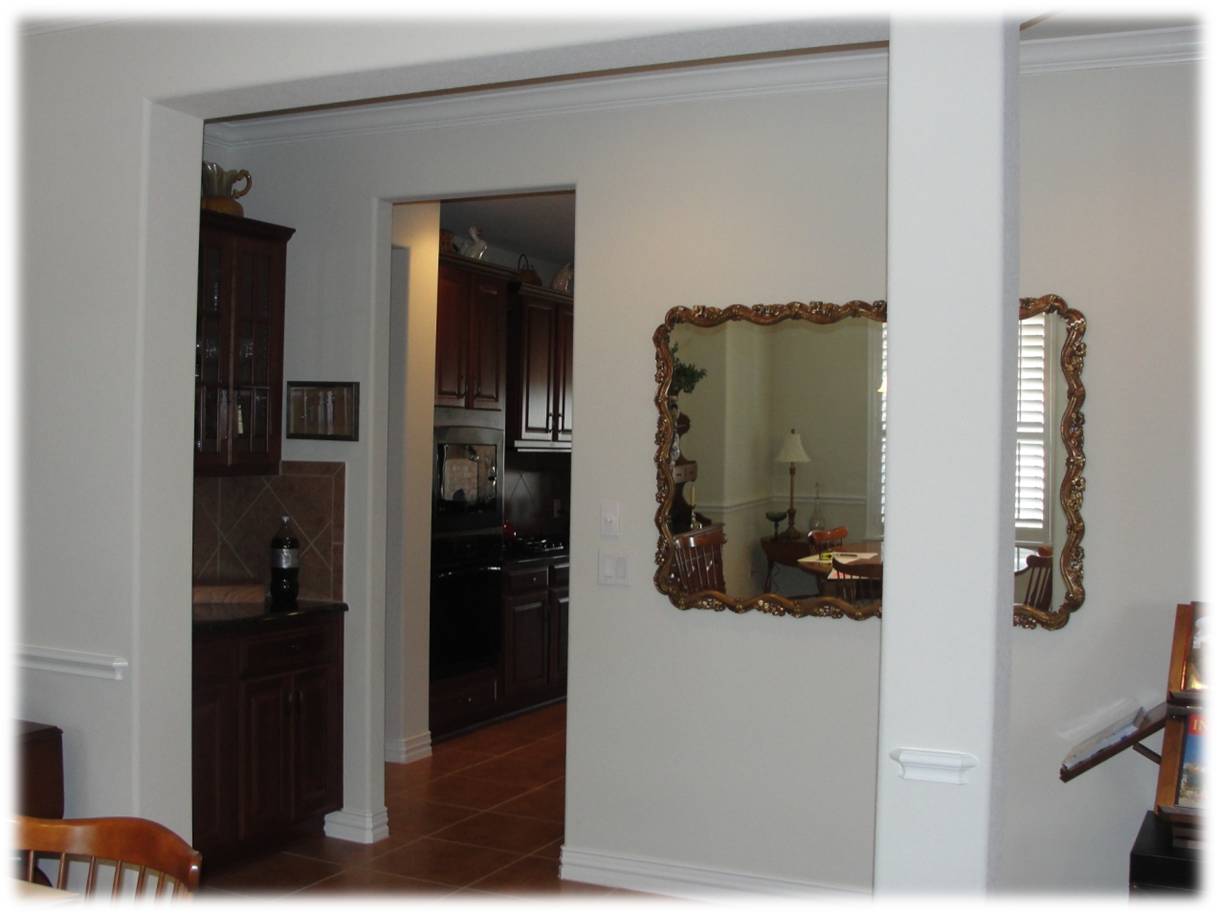
AFTER
We have character now!  Main hallways, dining room and living room were painted "Toasted Pine Nut" from Sherman Williams.  Doesn't the wood look gorgeous?   Of course pictures never make it look JUST like it is in person but you get the idea! 
You can see in the above picture how the two wall colors work together.
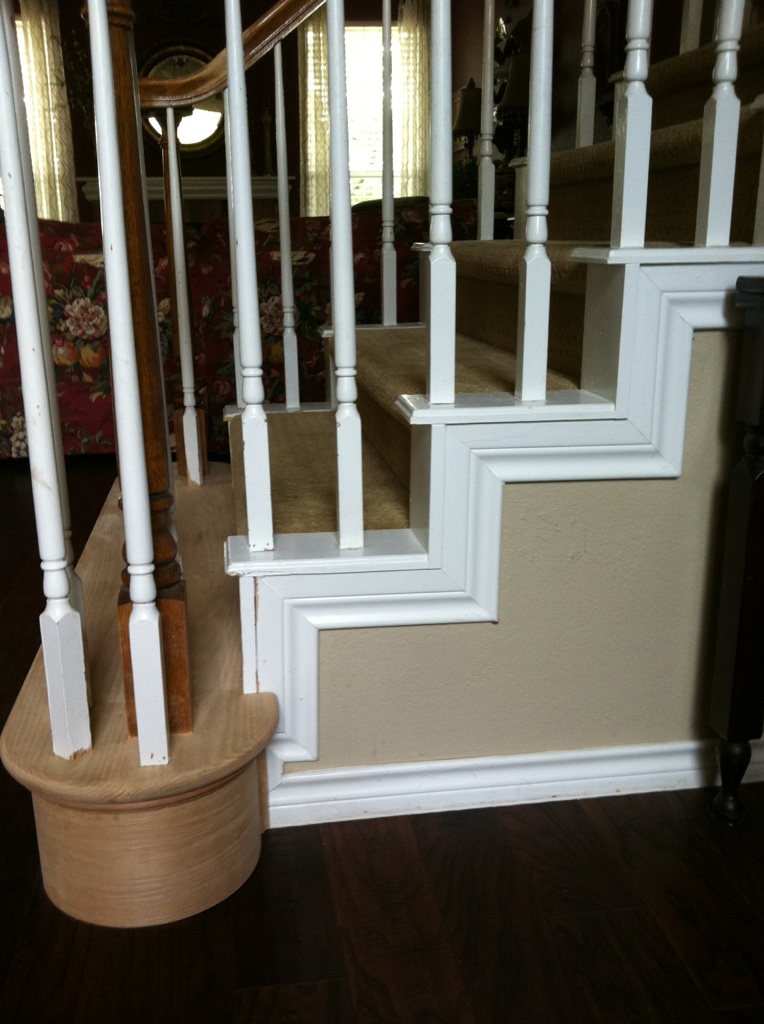
BEFORE
I encouraged the client to put wood floors throughout and it really has opened up the spaces.  From the moment you walk in you see wood floors!
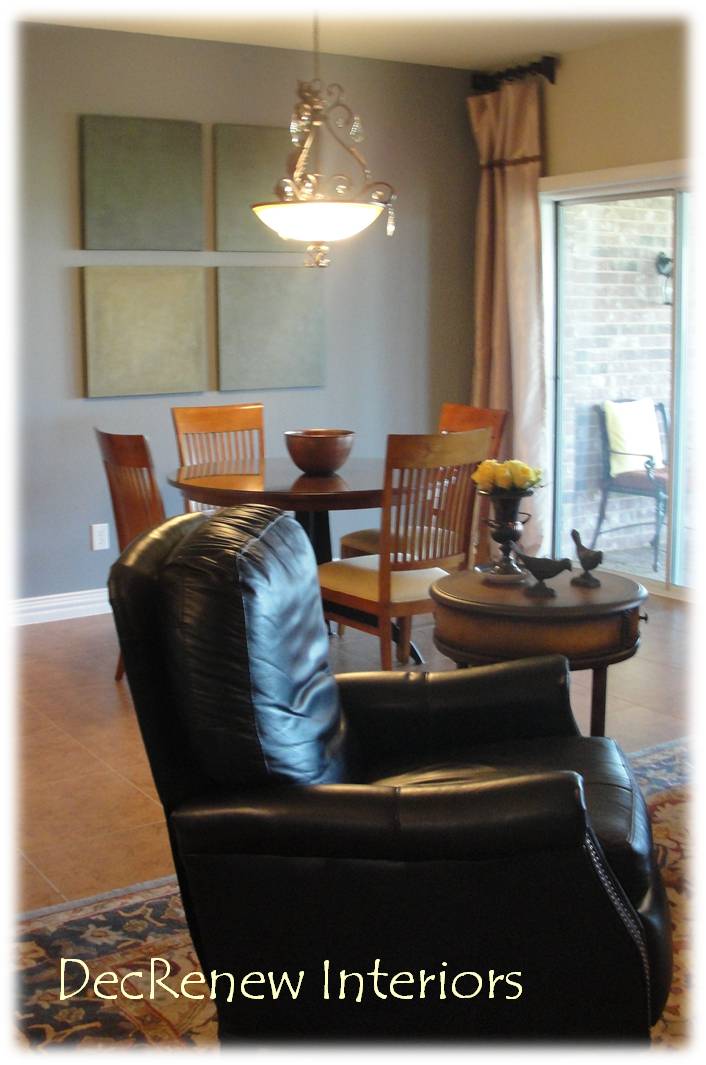
AFTER
She has a breathtaking view of the lake right outside those beautiful floor to ceiling windows.  Now, after the painting has been done, the earth tones inside work with what is going on outside!  Previously the walls looked pink...yikes.
DURING - what a mess!
  I always to try to prepare my clients for this process but there is just no way to truly explain what goes on.  All this tile had to be jack hammered up!  I've got some clients that are having this done in their home next week and they are leaving town for the week so they don't have to deal with the mess and noise!
BEFORE
Built in cabinet in the dining room.  The color wasn't going to work with my design plan!
DURING the spray painting process.
AFTER
We also glazed the columns to take away the pink tones that were there originally.  We highlighted them so they now have a stronger presence in the room.
Once again, goodbye pink!

Hello warm tones. 
Hard to see wall colors in this photo but wanted to show you the view.  See what I mean?
Until Phase II begins, my client can now enjoy her view and the inside of her home now feels a part of the exterior!  
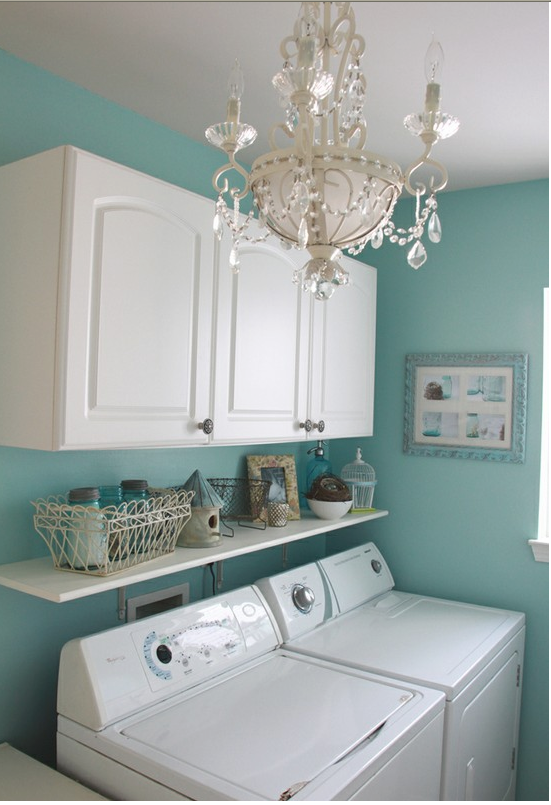
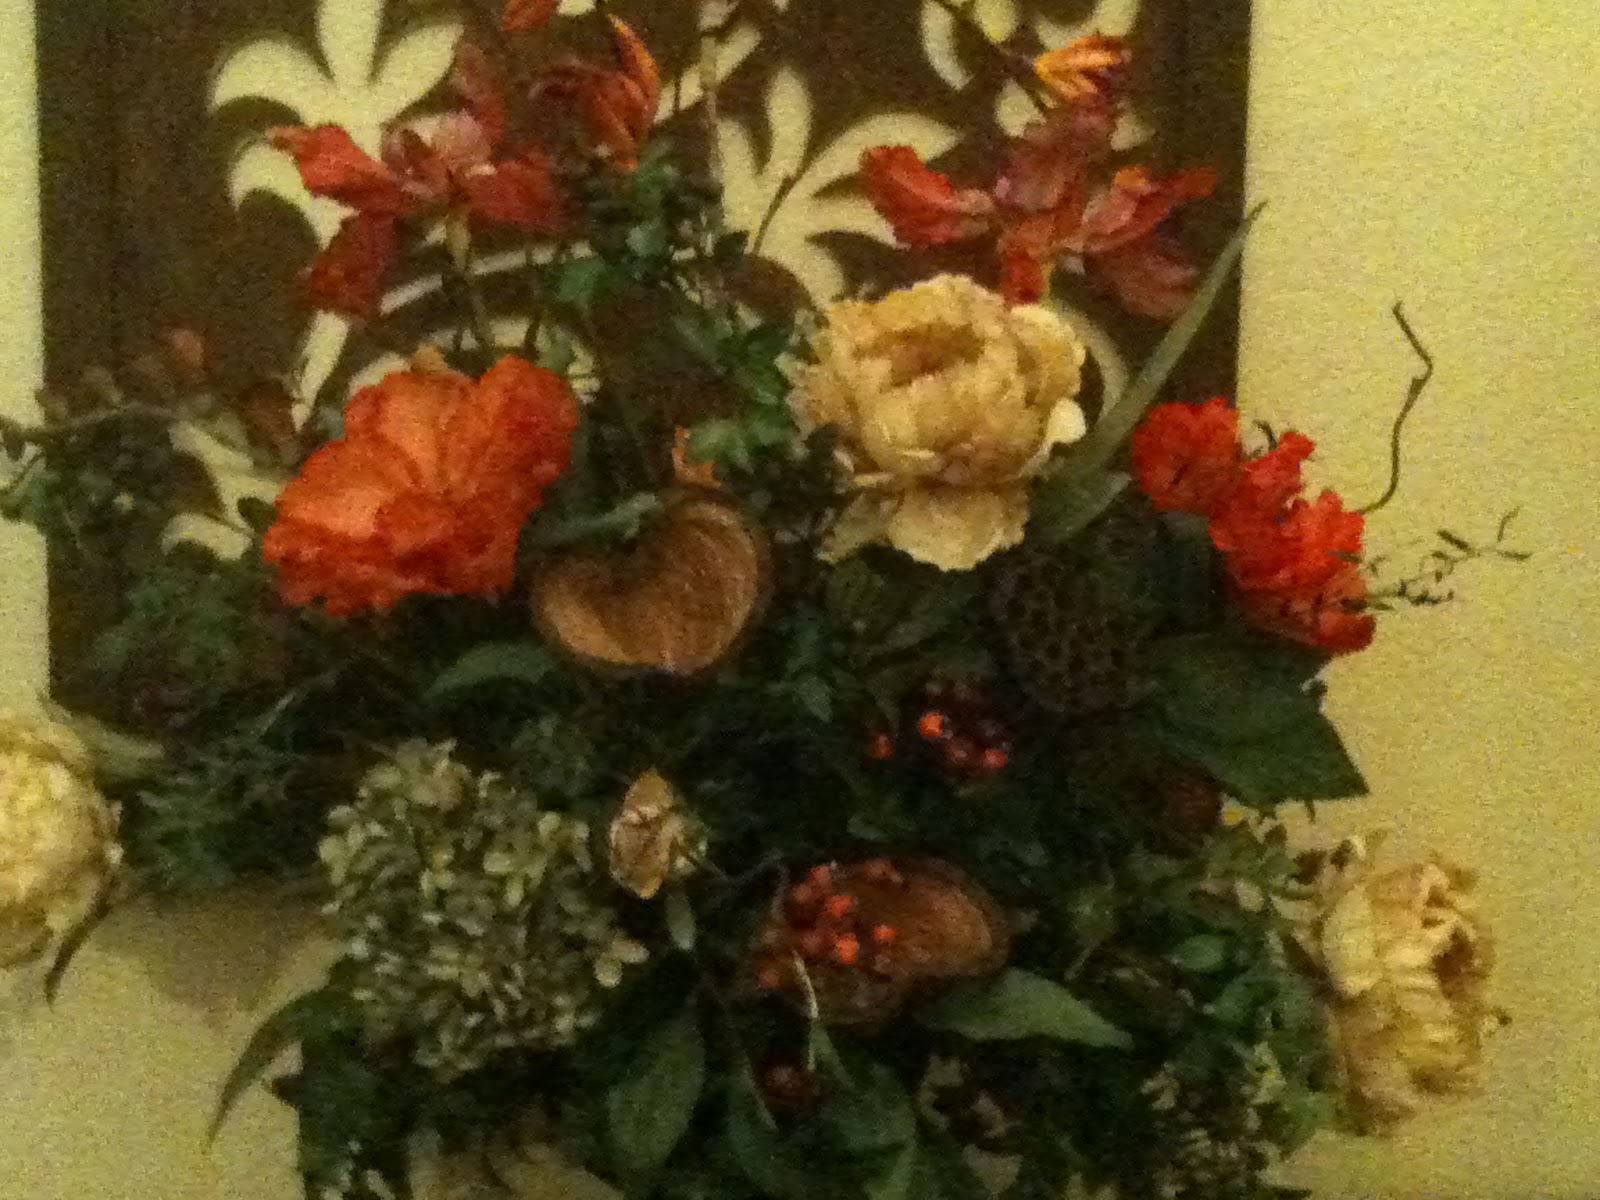
Here are a few inspiration photo's that I'm working with for PHASE II of this project.
(the decor is the personality and soul of the home)
Tuscan Style Magazine
Photographed by Michal Venera
Living Room Inspiration - I want warm hues, rich patterns and textures that give the space a radiance from within.
Tuscan Style Magazine
Entry Inspiration
Tuscan Style Magazine
Drapery Inspiration
Hope you enjoyed the tour!
Thank goodness for color and paint, we love you!