Jewelry...why not a home accessory?

I found this strand of wooden beads about 5 years ago at a rummage sale and fell in love with them.  Every time I wear them I get so many compliments.  
I store them around this bust that is outside my bedroom in the hallway and I think it adds some character to this grouping of items.
How do you store your jewelry? 
(Some of my favorite necklaces)
I have some tall glass jars on my bathroom counter that I store items in that I use daily (cotton balls, q-tips, etc).  The first thing that I do when I come home after a long day working is take off all my  jewelry.  I became lazy and started hanging my strands of pearls and other necklaces on the lid of these jars. 

After a while, it started to grow on me and I enjoyed looking at these jewelry pieces. 
One of the jars has slowly collected all of our favorite shells that my family has found on our beach walks while on vacation.
My oldest daughter made these little clay "Mom and Dad" treasures and of course they went in the jar too.  I love looking at them while I get ready for the day.  These are the kinds of things that make me smile and bring me great joy because there are memories attached to these treasures.
My favorite bracelet that I purchased while visiting my family in Africa a couple of years ago has also landed on the lid of one of the jars.  I wear it ALL the time.
Why not put your jewelry items out where you can enjoy them, they make a great home accessory! 
Ruthie tip of the day:  Necklaces make great curtain tie backs.  I've used pearl, wooden & shell necklaces to enhance the drape and make an unusual statement.
Do you have a favorite place to hang/place your jewelry?
Ruthie
Visit DecRenew Interiors for more ideas and before and after pictures.

Cheese Pumpkins Anyone?

"Betty Crocker" Recipe
Here's what I'm going to make for my guests this weekend!
Aren't they adorable?  I'm going to serve them with assorted imported cheeses and some fresh bread!
MINI CHEESE PUMPKINS

8 tablespoons smoked Cheddar cold pack cheese food (from 8-oz container)

2 teaspoons finely chopped peanuts
4 butter-flavored pretzel spindles or sticks, broken in half
16 tiny pieces fresh parsley leaves

Line small serving plate with waxed paper. Roll each level tablespoon cold pack cheese food into a ball; place on waxed paper-lined serving plate. Refrigerate 10 to 15 minutes for easier handling.

With end of toothpick, draw ridges around balls to resemble pumpkins. Dip bottoms of cheese balls in chopped peanuts. (I'm going to use crushed pretzel crackers for mine).

Just before serving, insert pretzel halves into cheese balls for pumpkin stems. Decorate with parsley for leaves. Store in refrigerator.

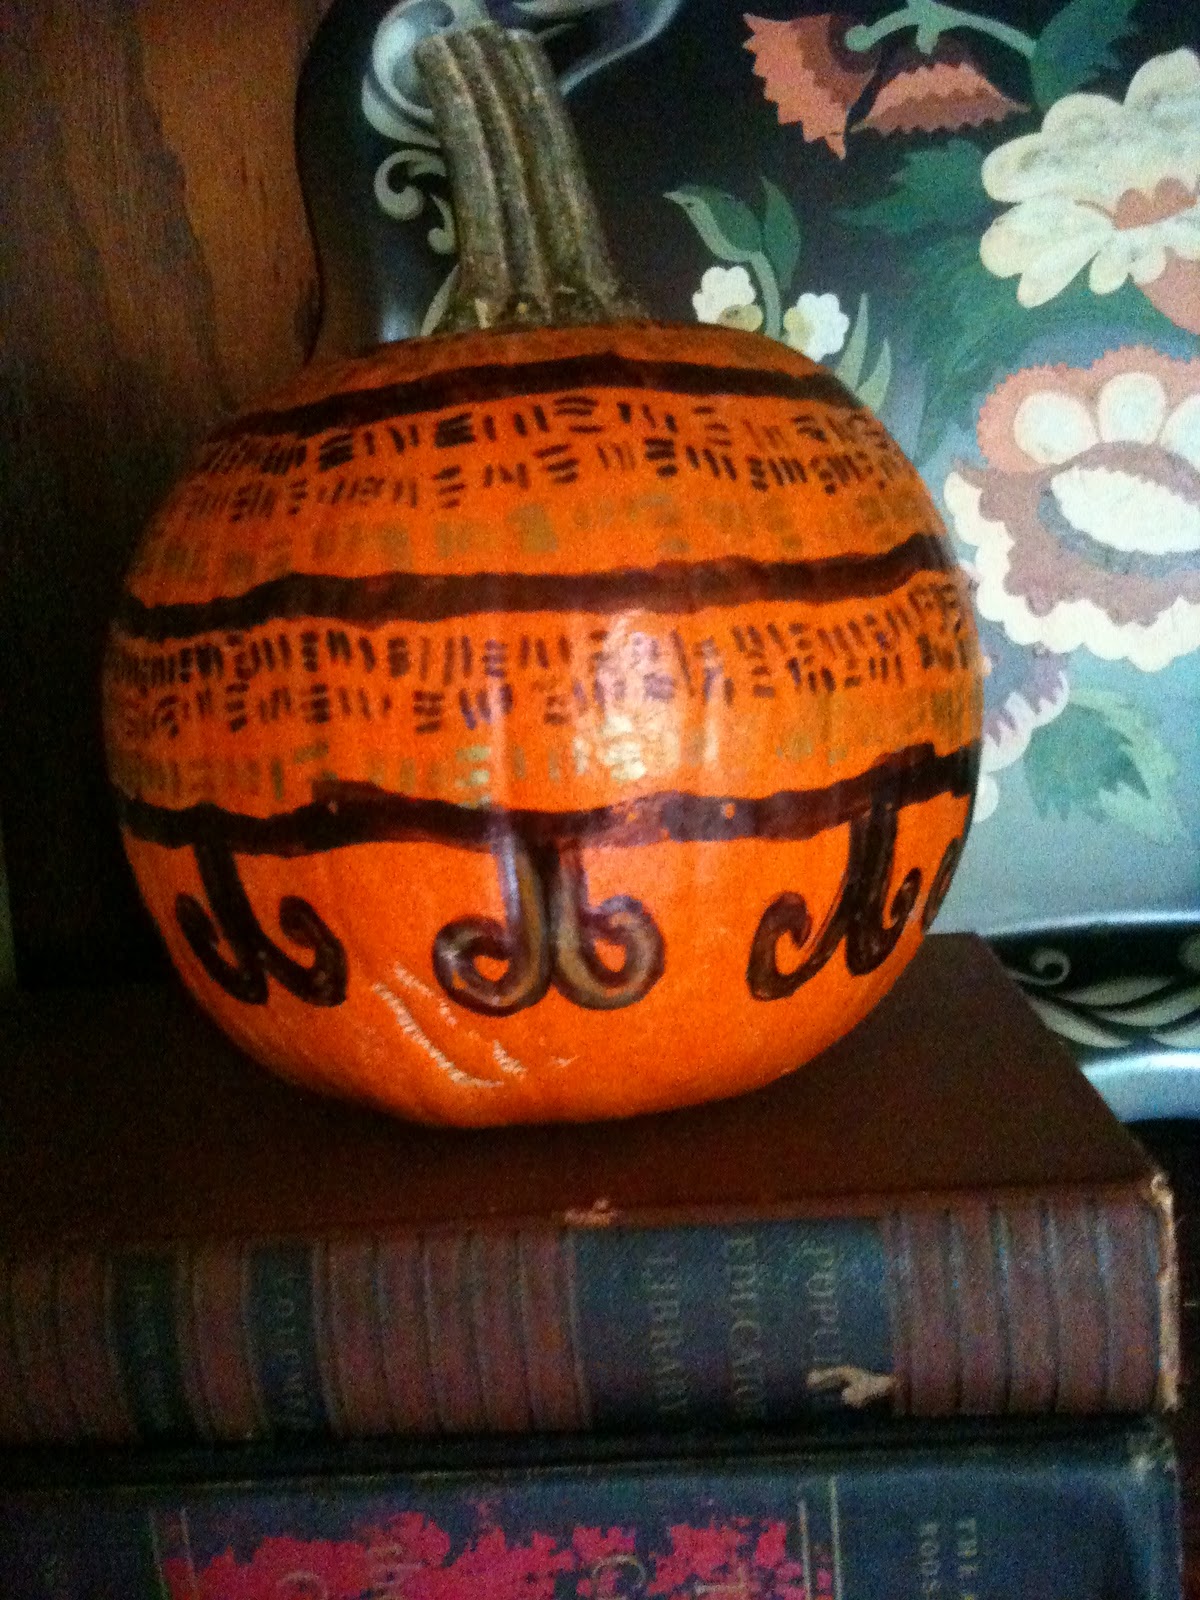
On another note......My youngest daughter made this pumpkin with her cousin this weekend and I thought I'd show it off!
Good old sharpie markers work great on pumpkins!
Have a great "spooky" week!
Ruthie


Estate Sale Treasure - $1.00

I love a good find! A treasure!
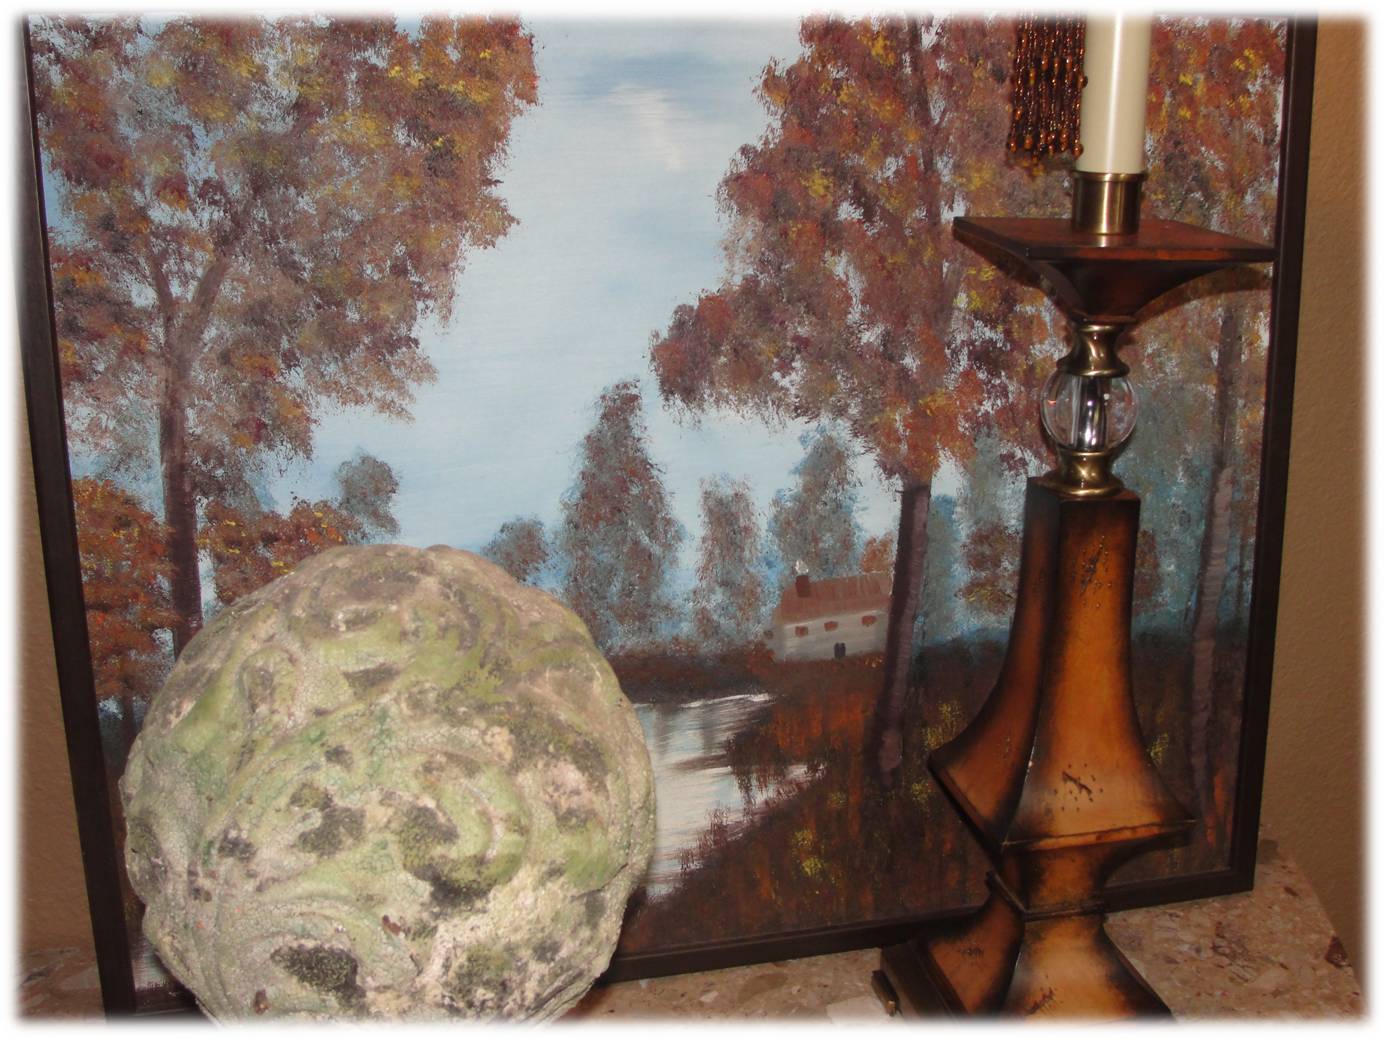
I found this oil painting (29w X 29h) at an estate sale for $1.00.
It spoke to me......It said "fall is around the corner"

It's now placed in my entry as a reminder that it will soon be cool.  Love the "sketchy" little cabin and the simplicity of the natural surrounding it sits in.  It looks cozy and I can almost smell the fireplace wood burning and the potato soup on the stove.

Thank you hubby for these fall flowers....given to me just because you know I LOVE the small things that touch my life.
Live beautifully today,
Ruthie


"Using what you have" window treatments

I've been working with an amazing couple for about 4 years now.  I helped them with their first home with all the accessories, draperies, furniture, etc. and I feel like I made their house feel like home, I think they feel the same way!  It was good fun to watch the house transform!  Everything we purchased made the house look polished, classy and it definitely looked its best.
They moved about a year ago and were able to take all the items we purchased with them!  Of course their home sold very quickly because it was decorated and the detail showed off the home beautifully.
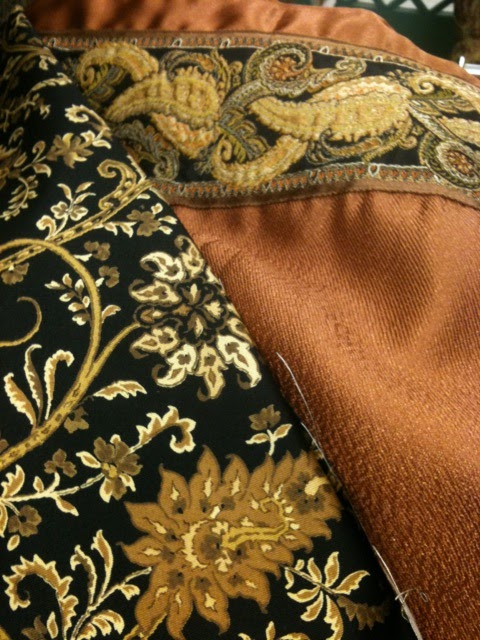
They were able to take some of the drapery panels we had made with them to their new house.  However, some of them didn't fit their new windows.  I suggested that instead of having new draperies made we could "use what we have" but add some fabric to the bottom to make the length work.  They agreed to my idea and I went on a fabric hunt.
The fabric that I found compliments the decorative trim beautifully, don't you think?
So here's what we did.
Added 12" to the bottom of the panel.
I believe that if you are going to use retail draperies and bump them up a notch with trim, additional fabric, etc. it is important that you don't skimp on the hardware.  The hardware is what can make or break the way your drapes look.  They are the jewelry that finish off the look!  If your outfit is beautiful, you can ruin it with the wrong jewelry.  Same concept goes for draperies.
In this dining room, we incorporated some of the items that were passed down from their family members that had some special meaning to them. 
One drapery panel on each side of the window and they add height, interest, color and a finished look to the room.  This window was a tricky one to work with because of all the trim and the arch.  I love it when draperies don't cover up the whole window but add to the architecture and enhance the space they are in.
What do you have that you can dress up and reuse?
Ruthie

Front yard therapy

We are slowly working on some of our front yard landscaping.    My husband and I enjoy working together on projects and I find it relaxing & good therapy to make things look nice.  I love renewing or improving and thankfully my husband does too.

This past weekend, my 16 year old nephew worked incredibly hard in our front yard.  I had two very large bushes in front of the porch that totally blocked my view and blocked the light in my entryway.  They were overgrown and covered part of the walkway. They grew fast too and constantly needed trimming in order for guests to be able to pass through to my front porch without getting poked to death by a prickly bush.
He REMOVED the bushes (replanted in the backyard) and we replaced them with these large concrete planters.  The scale of the planters works well with the height of the house now.  My friends and family will be glad to know that they won't be attacked by the bushes now when they come visit.
For now, I've filled each one with a large pumpkin for the season.
As you can see, I've got some work to do in the flowerbeds now.  One project always starts another.  This weekend I'll be adding some pebbles and a border to finish it off.
I plan on adding some boxwood topiaries to the urns once the fall season is over.
.  This is what it should look like.  I'll have fun decorating for the holidays with these mini Christmas trees.  I'll add some ivy around the edges so it cascades down the urn.

Now we just need this Texas weather to cooperate with us!!!  It's still so hot.  86 degrees yesterday!

Ruthie