 Wow, we finished another master bathroom. What a transformation this one is.
The requests from the client were:
More storage space to hide the clutter, updated shower with niches and a bench, new floor tile, new countertops, new lighting, blue paint, updated bathtub and a vanity to do makeup.
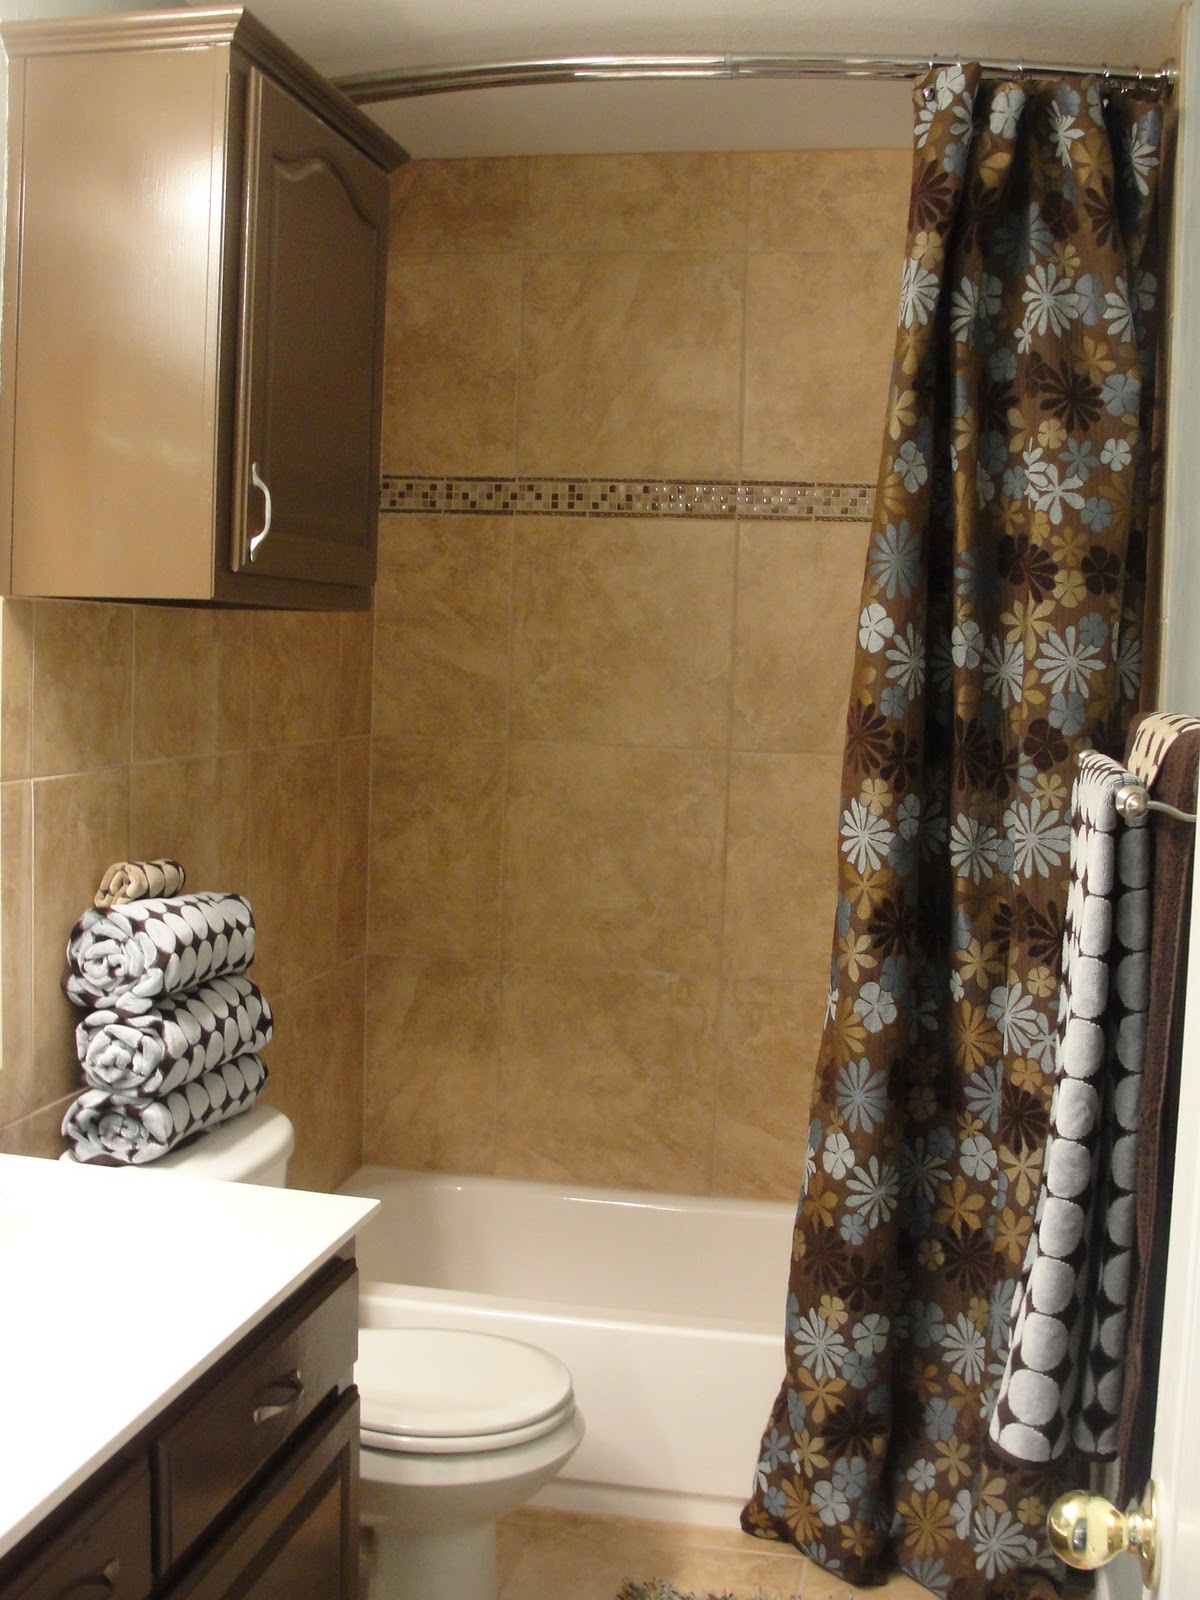
BEFORE
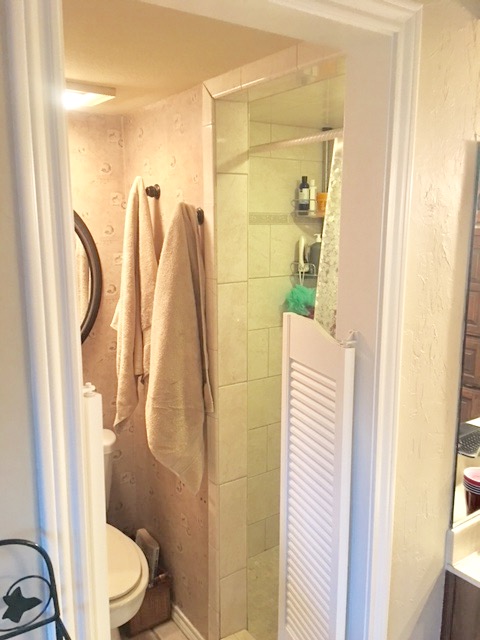
As you can see it was in desperate need of a makeover. I suggested that we open up the closed "cave like" shower to make the bathroom feel more open. They didn't need the toilet to be separate because it was functional to them without the swing doors and they don't have anyone else that lives in the home with them.

AFTER

We took the bathroom down to the studs and started over!!!
You can see in the above photo that the shower is now opened up and now we get to admire the gorgeous tile work too. Nobody wants to shower in a cave. Why did they make showers like that before? Just look at it now! So much better don't you think? We also brought the tile up the walls and behind the toilet because that keeps things cleaner and fresher. We added the same glass accent tile as we have in the shower above it.
BEFORE

AFTER
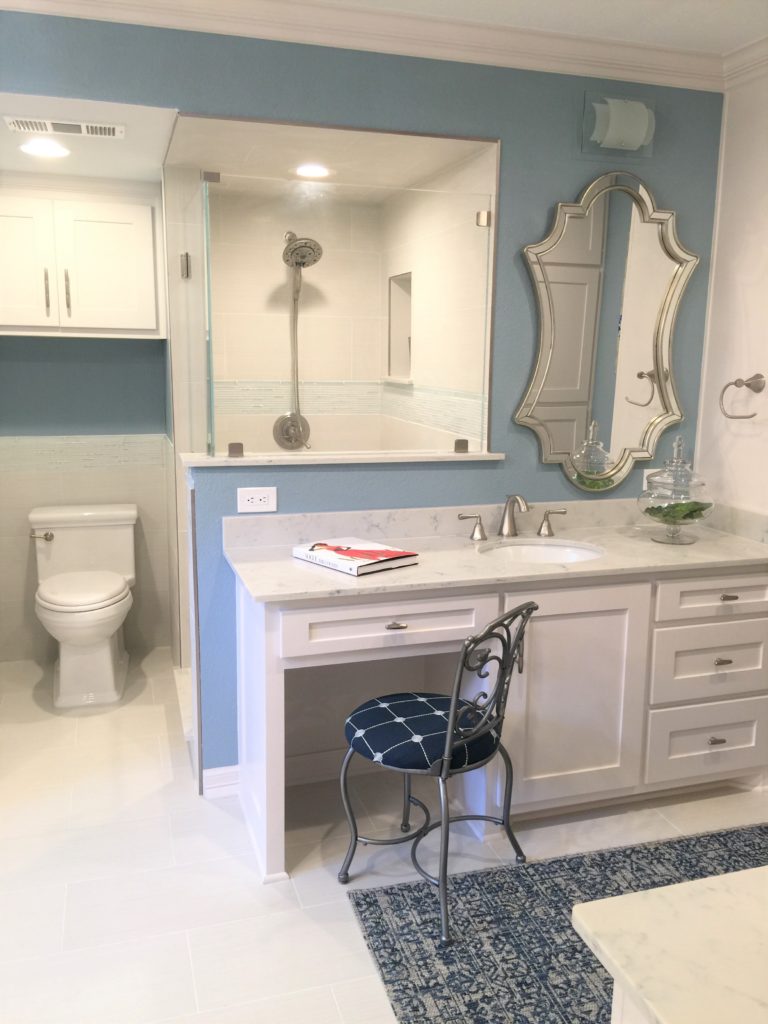
We added new cabinets with quartz countertops.
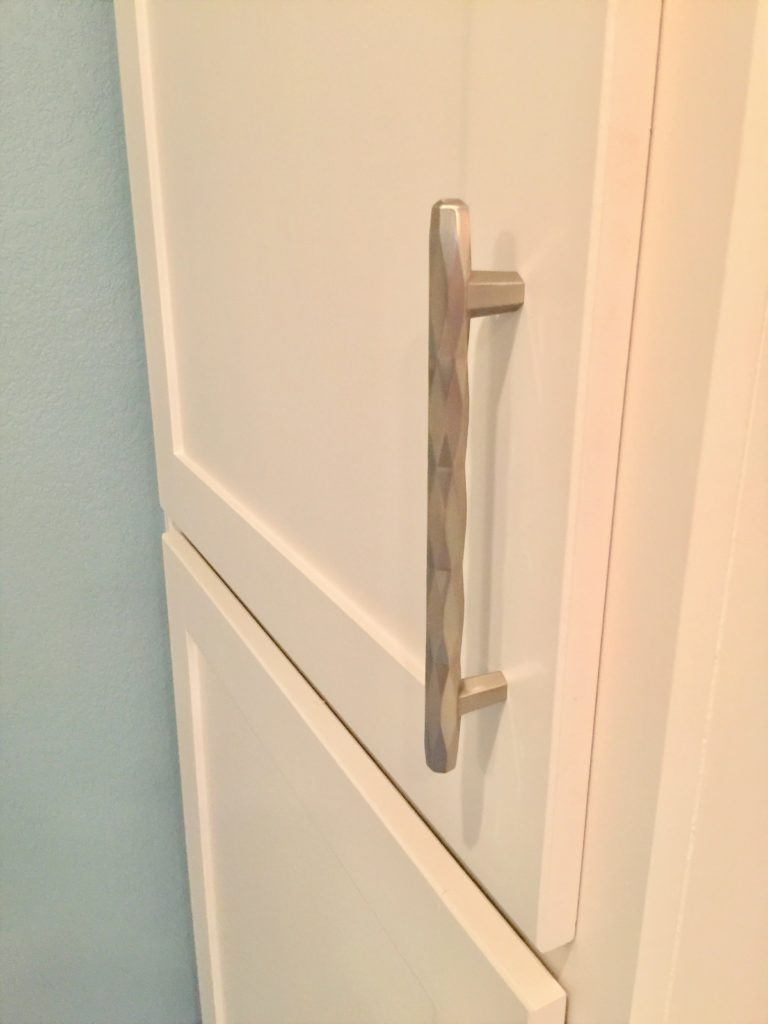

The hardware is the jewelry!
![]()
We weren't able to center the sink under the mirror due to opening up the shower, storage needs as well as needing the vanity but the client had no problem with that. Priorities, priorities.
The client really wanted a vanity so she could sit and do her makeup. I was so proud of her, she spray painted her existing vanity stool and did a weekend upholstery job. I gave her a thumbs up because you know I love to repurpose if I think it works and helps us stay on budget.
BEFORE
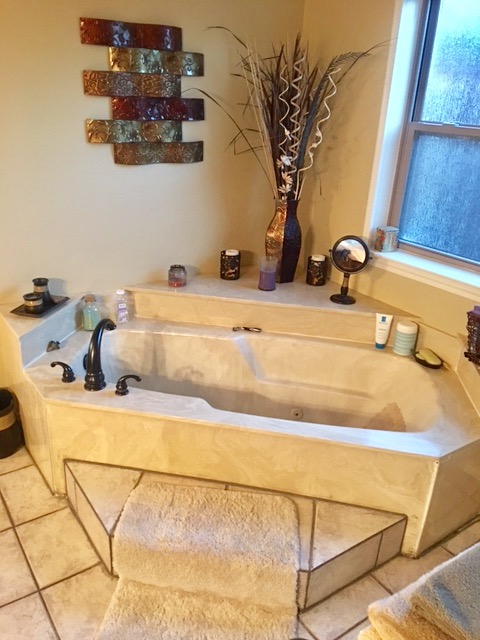
AFTER
Singing the Hallelujah chorus!
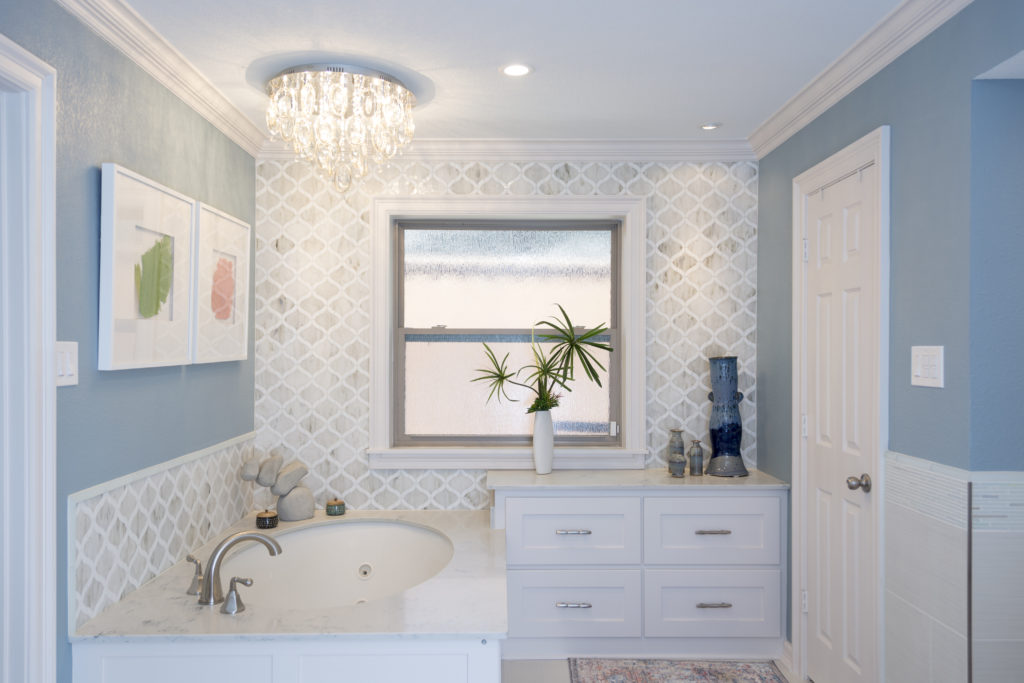
We had space next to the tub so we decided to add the 4 drawers for extra storage space. It would have been wasted space otherwise. Can you believe how gorgeous the accent tile is? The Arabesque pattern is just amazing made out of pearl. I suggested we put it around the windows to balance the bathtub side with the tower cabinets on the other side of the room. It is stunning and was quite a challenge to install!
Can we also take a moment of silence and stare at the chandelier! It's on a dimmer for soaking moments.
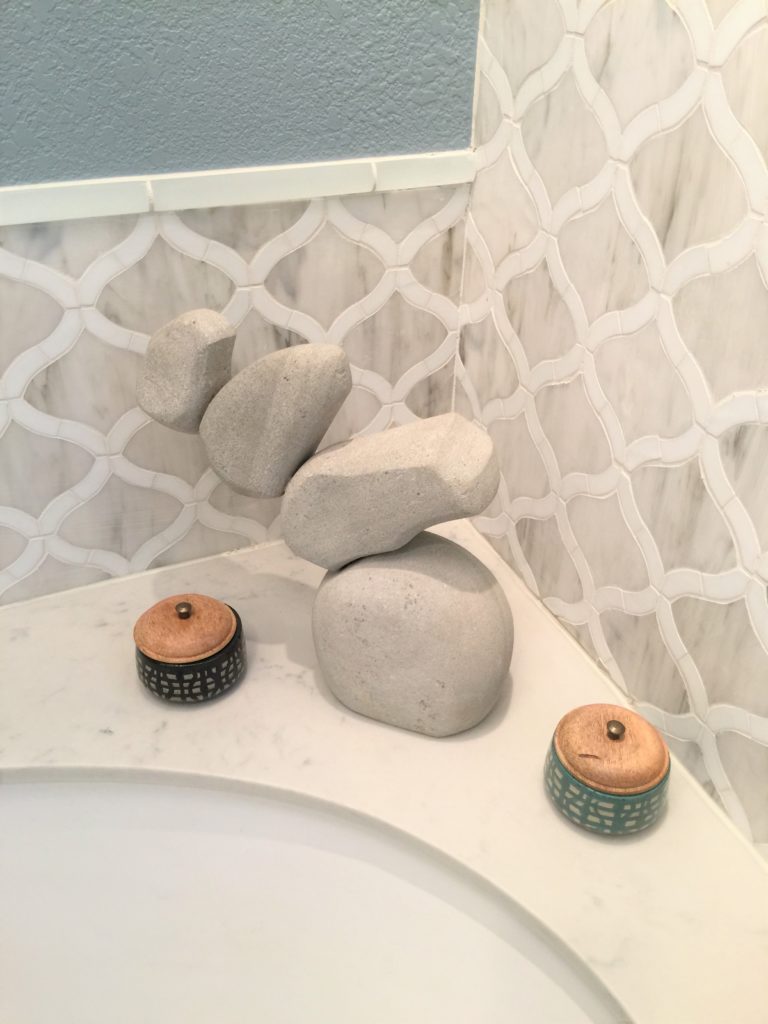
Every "spa like" bathroom needs a tower of rocks.
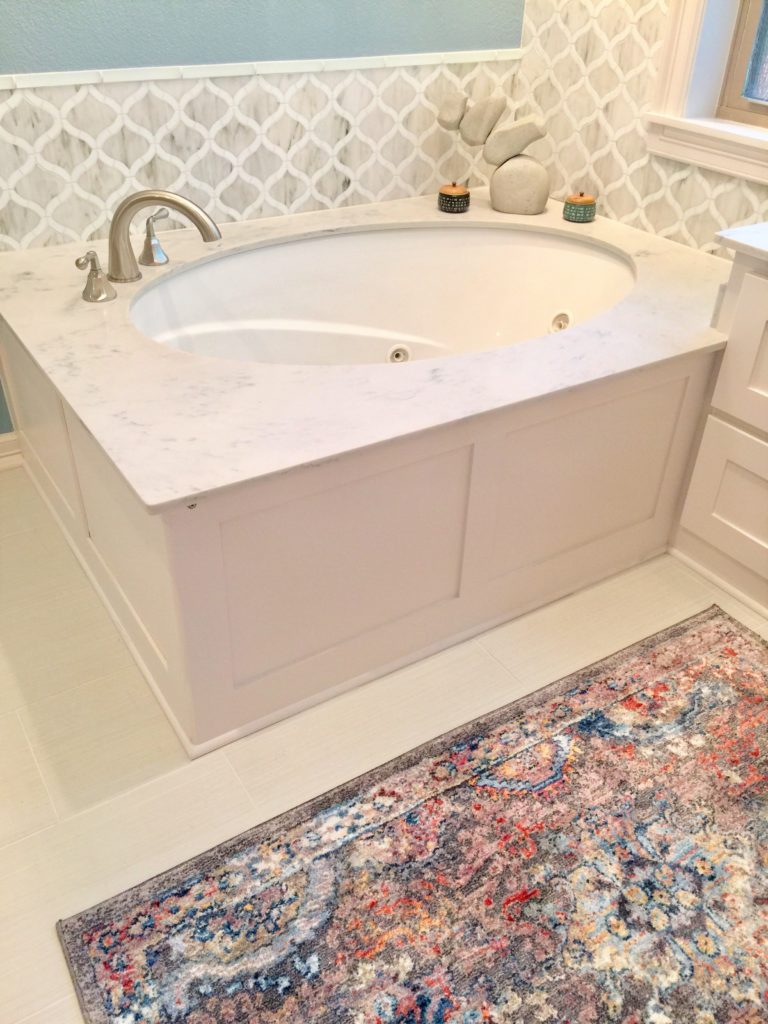
and a colorful rug! Rugs bring everything together. I like to use rugs that aren't the typical rugs you would use in a bathroom. It just makes the room more spectacular and bumps it up to the next level.
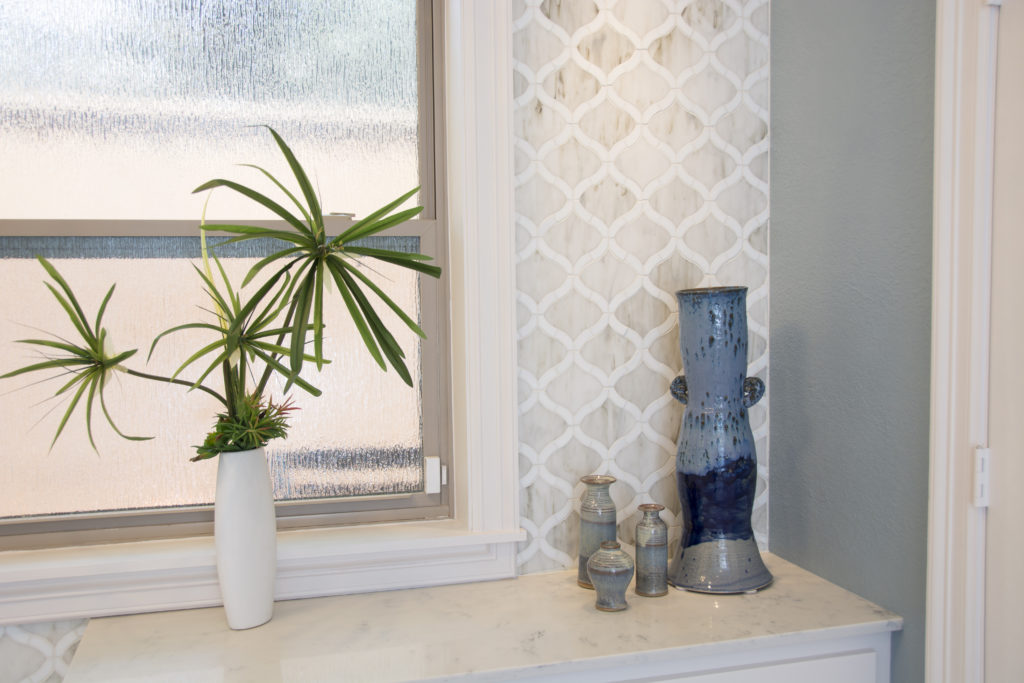
The client had the large blue pottery made by a local artist and I found the baby pottery to go with it. Perfect for fresh flowers when you are feeling like treating yourself.
BEFORE

Oh my! Can you believe this?
AFTER

We opened up the entire bathroom by taking out the wall to wall cabinets. Instead we did tower cabinets and put pull out drawers in each one so things could be hidden away. We took out the fur downs and that opened things up a ton too. Made the entire bathroom feel taller and more spacious.
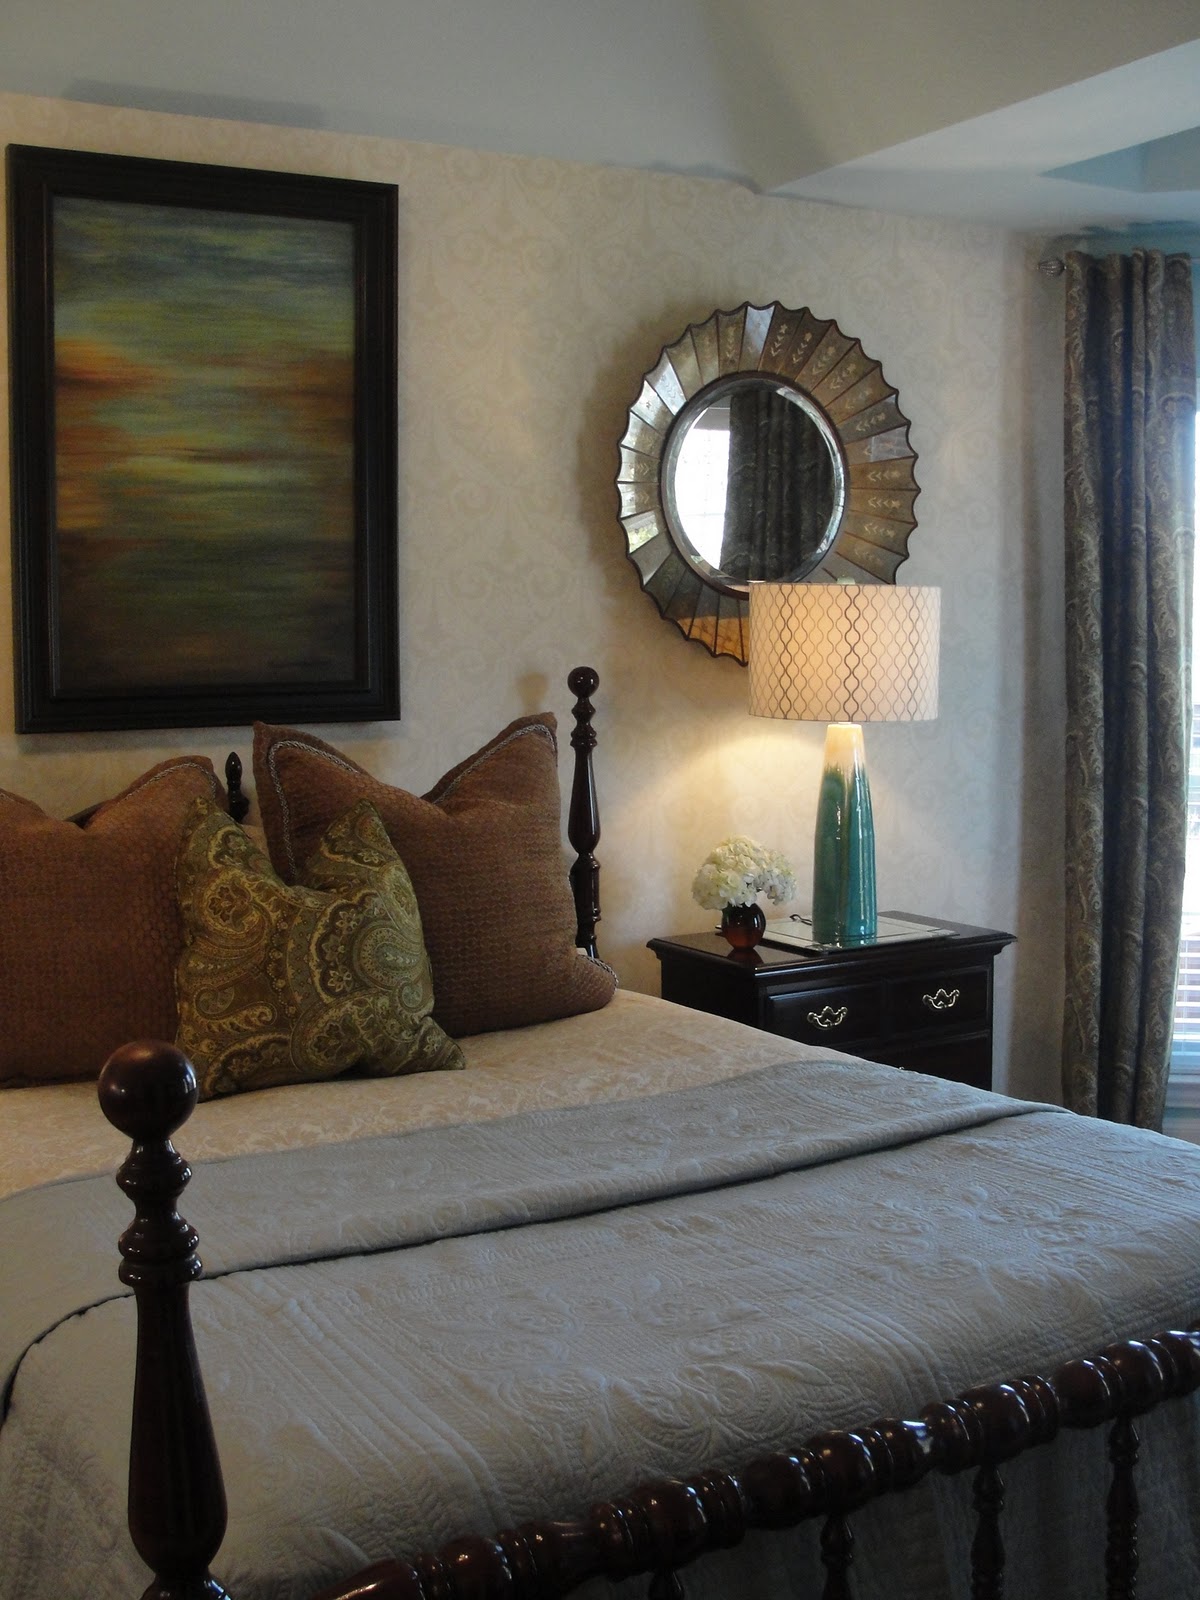
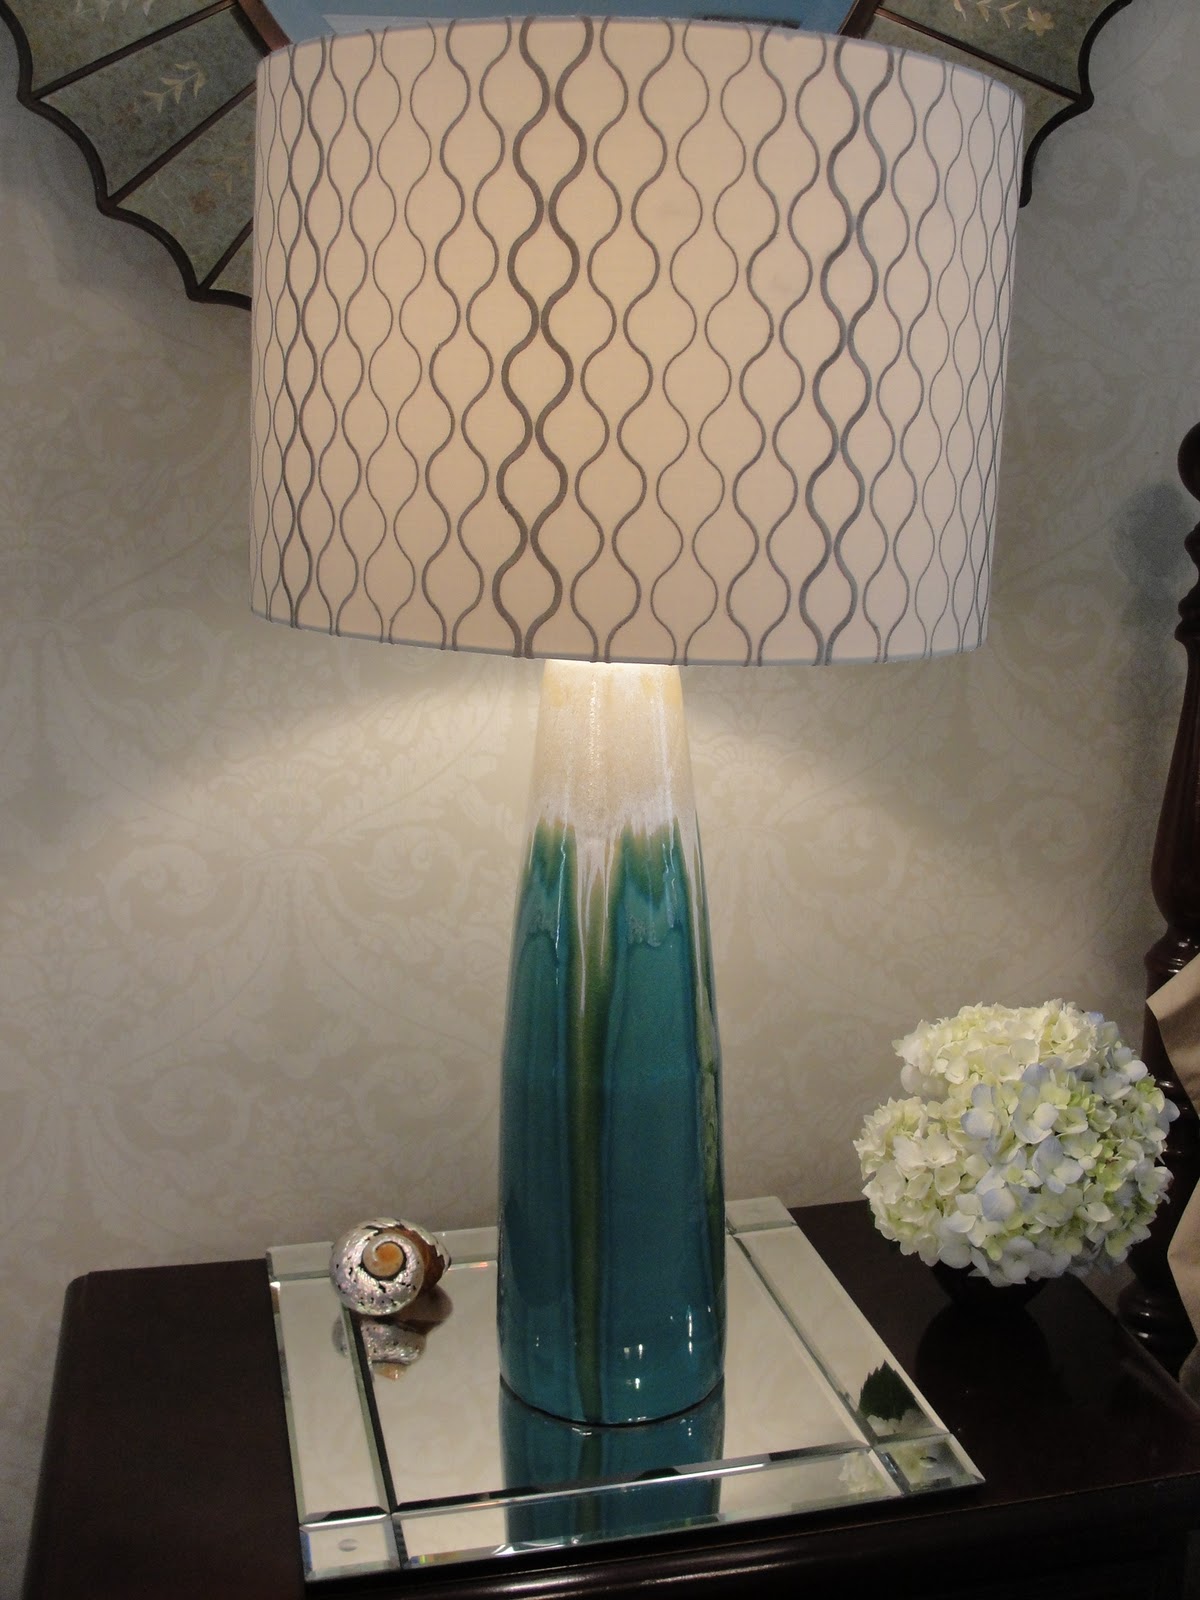
As you can see, this bathroom coordinates beautifully with the bedroom we transformed for them.
See the before and after photo's from a previous post
https://www.ruthiestaalsen.com/grapevine-master-bedroom-makeover-2/

We are busy working on some design plans and I also have some very exciting news to share with you!
Stay close! Happy Sunday!