What paint and some styling can do to improve your home!

I love it when a client calls and says "we need some updating to our home and we need your help guiding us through the decision making process so we don't make mistakes"

Yes, that's me!  They hired me to assist with remodeling their home within the budget they had set aside.  I helped them prioritize what was important to do right now and what could wait.

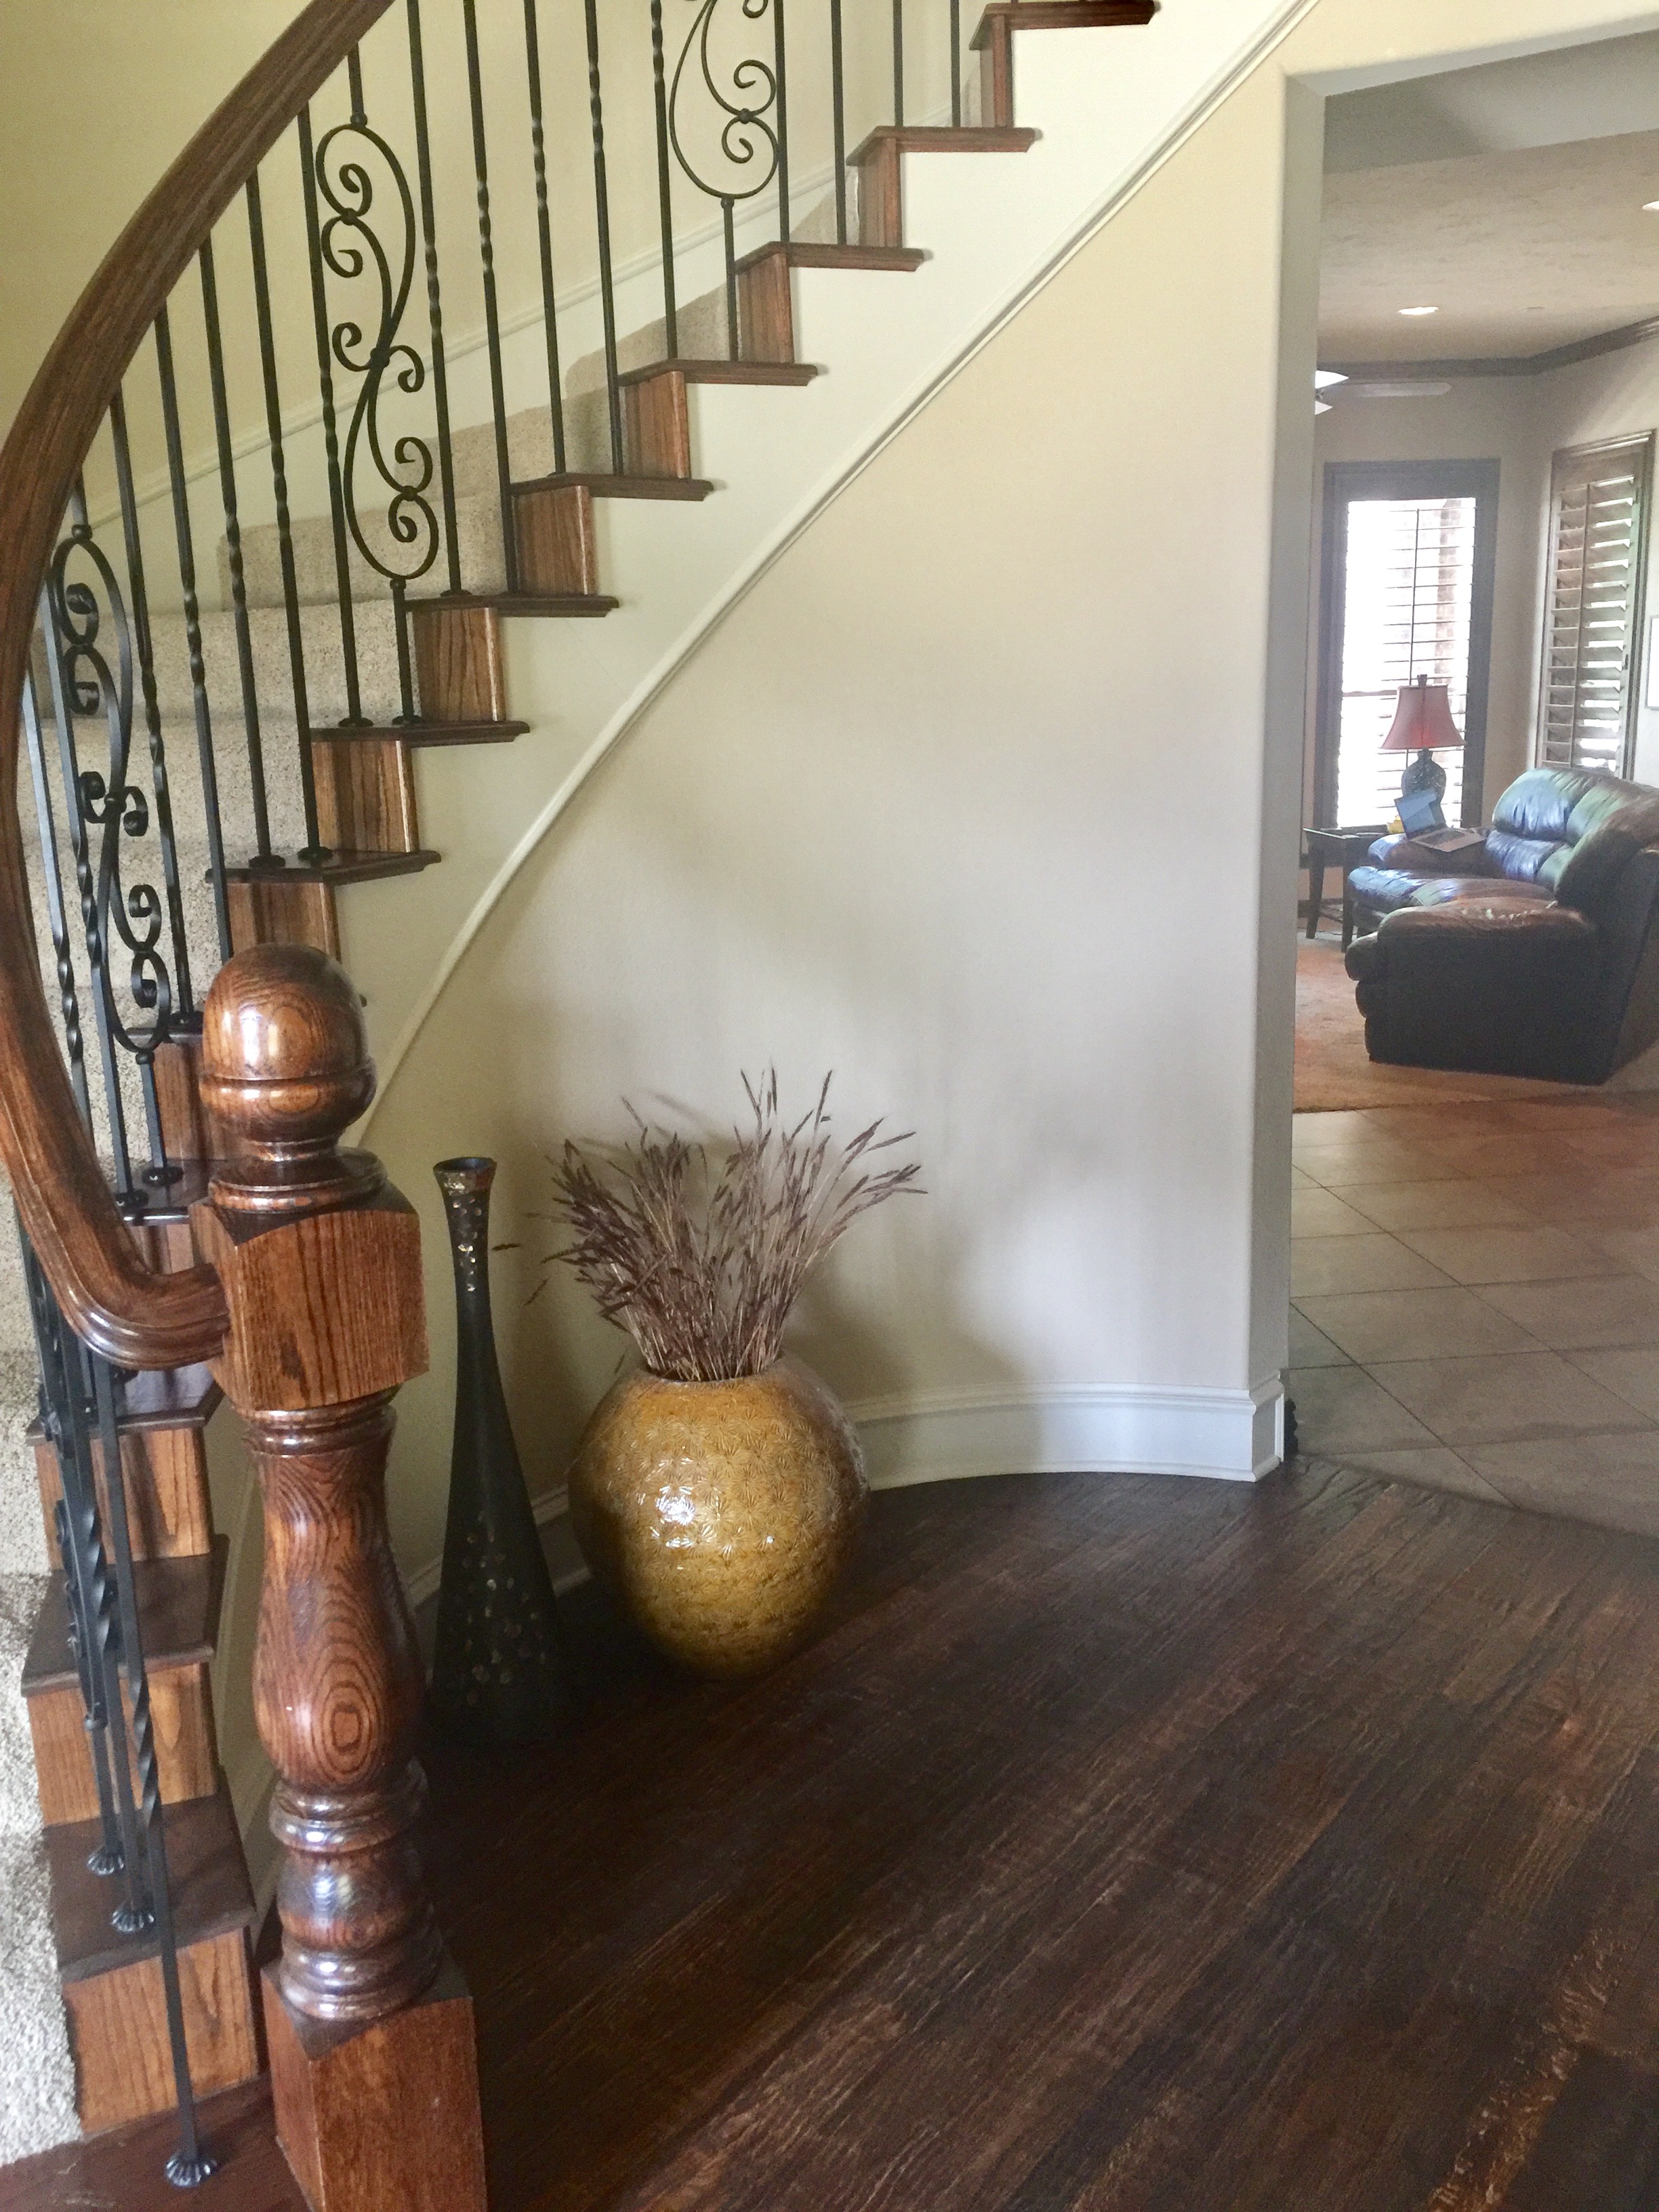
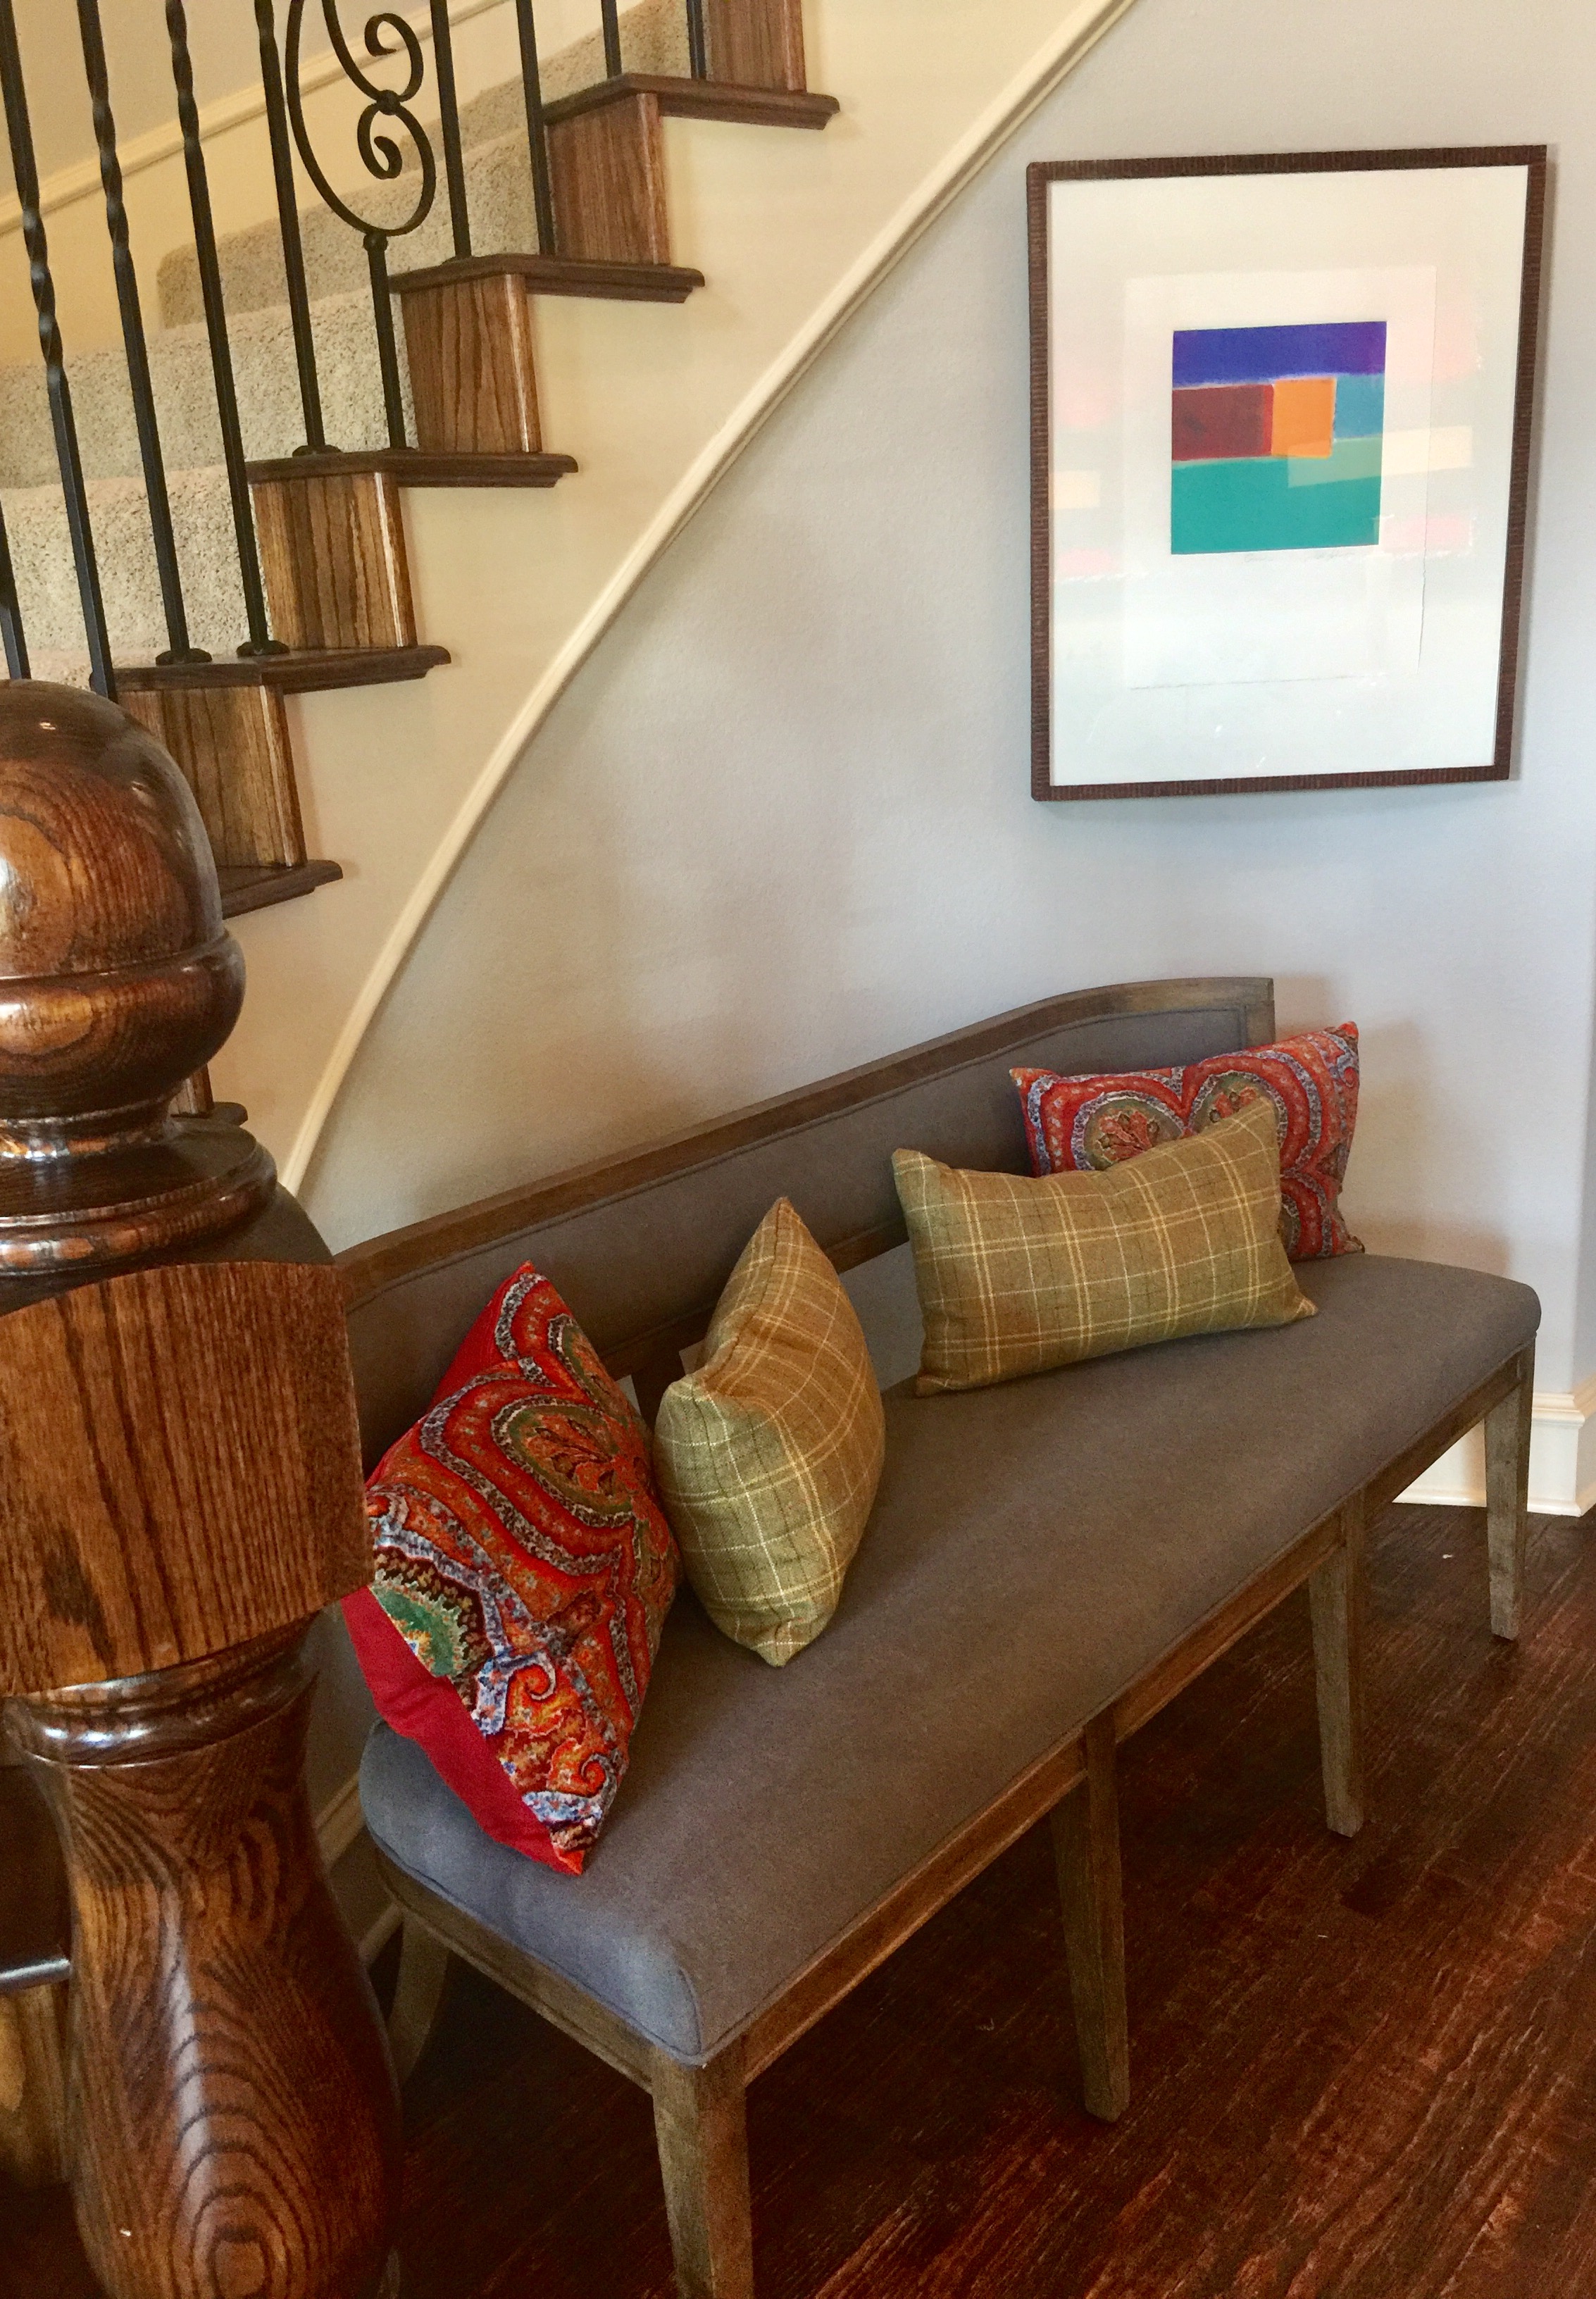
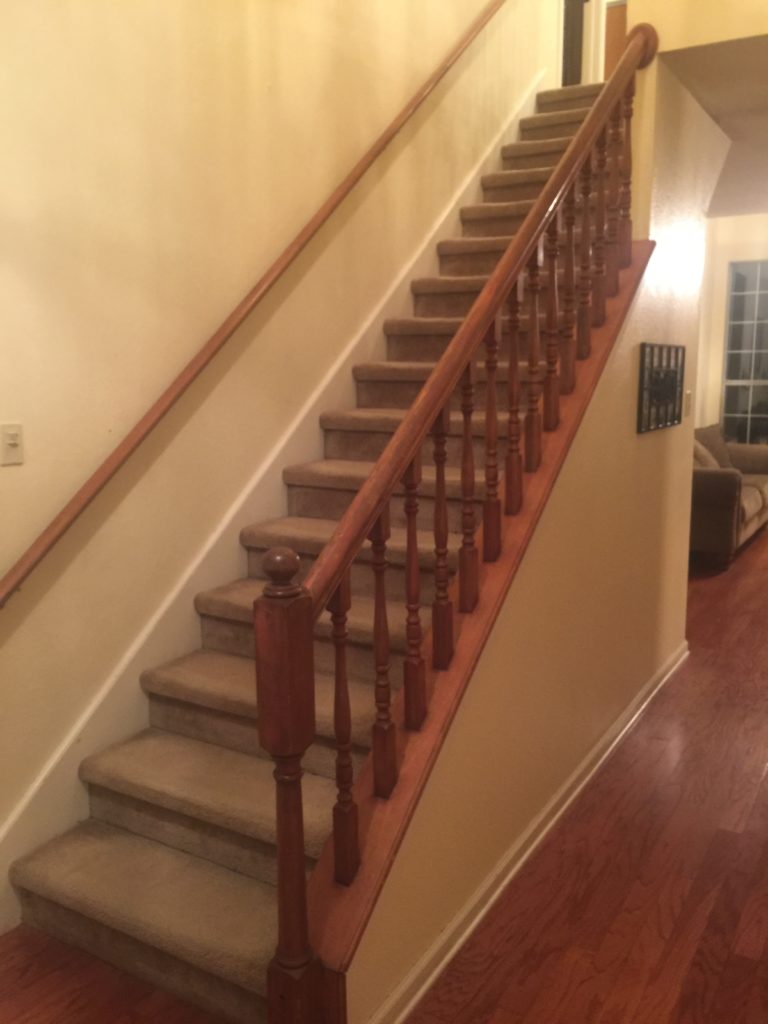
I thought I'd show you how it all turned out. Let's start with the stairs.

BEFORE

AFTER

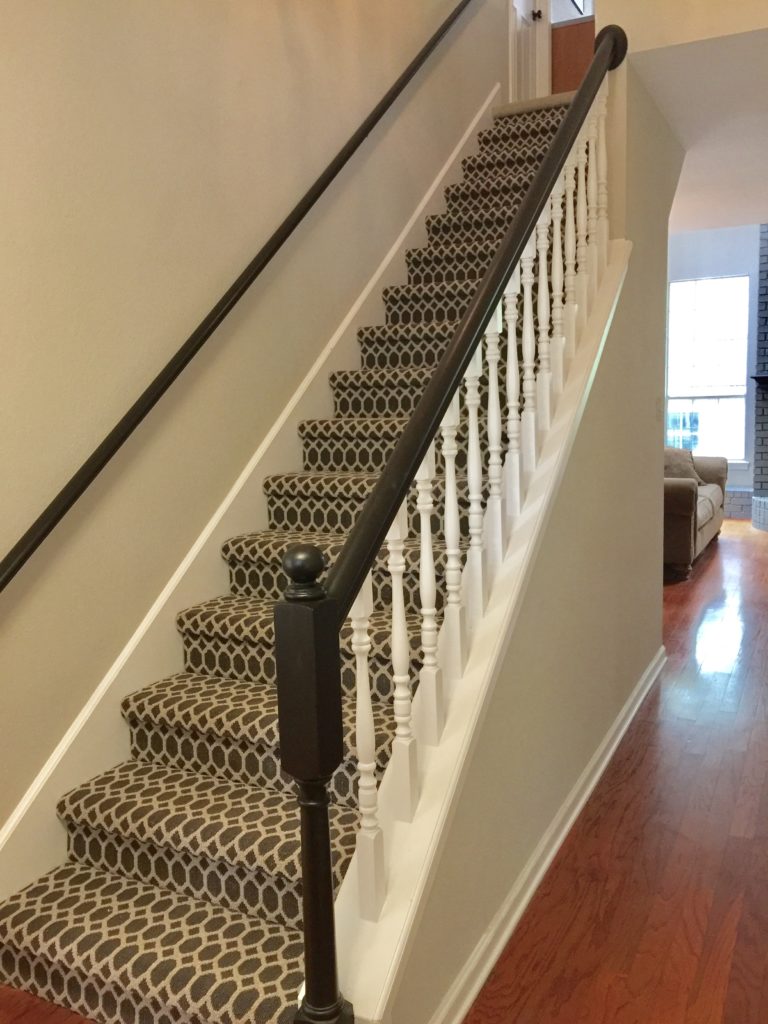
To update the stairscase, on a budget, we decided to paint the spindals white and we stained the banister a rich espresso.  It transformed it instantly and made their entry so stylish and inviting.

We added a beautiful patterned carpet and that made the staircase the star of the show when you walk in the front door.

Next up is the kitchen which needed a facelift for sure.

BEFORE

We didn't have the budget to do the floors and we figured they can do that at a different time.

AFTER

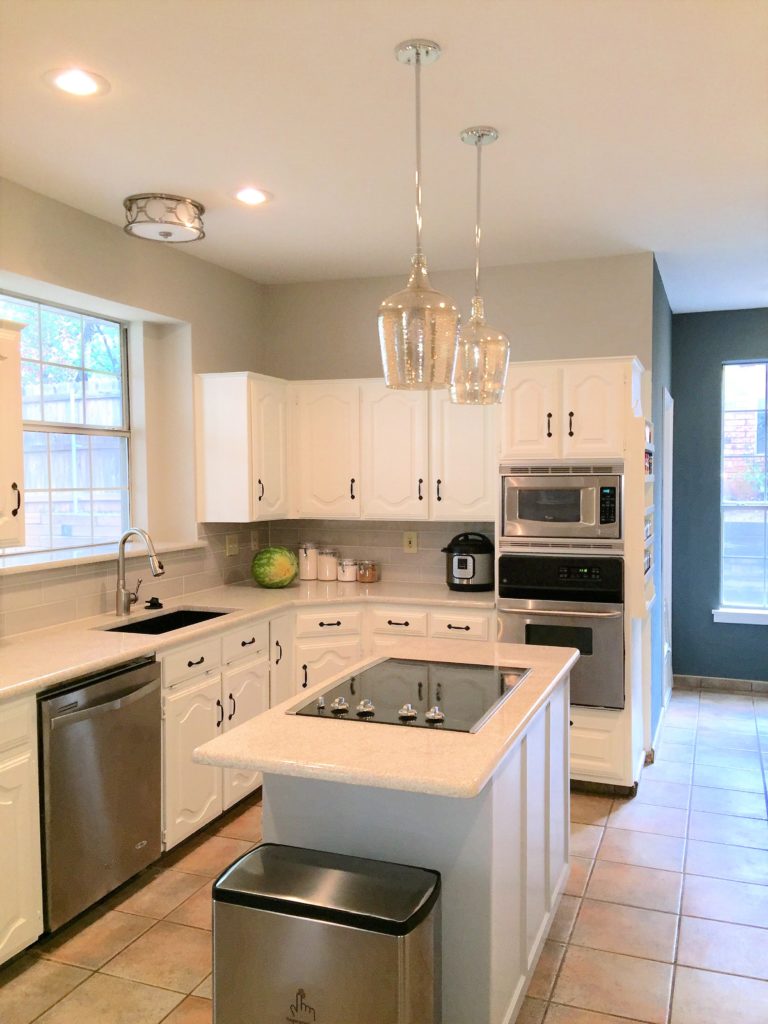
The client really wanted new countertops so that was our priority.  We selected a neutral countertop and extended the countertop on the island to give her more prepping room.

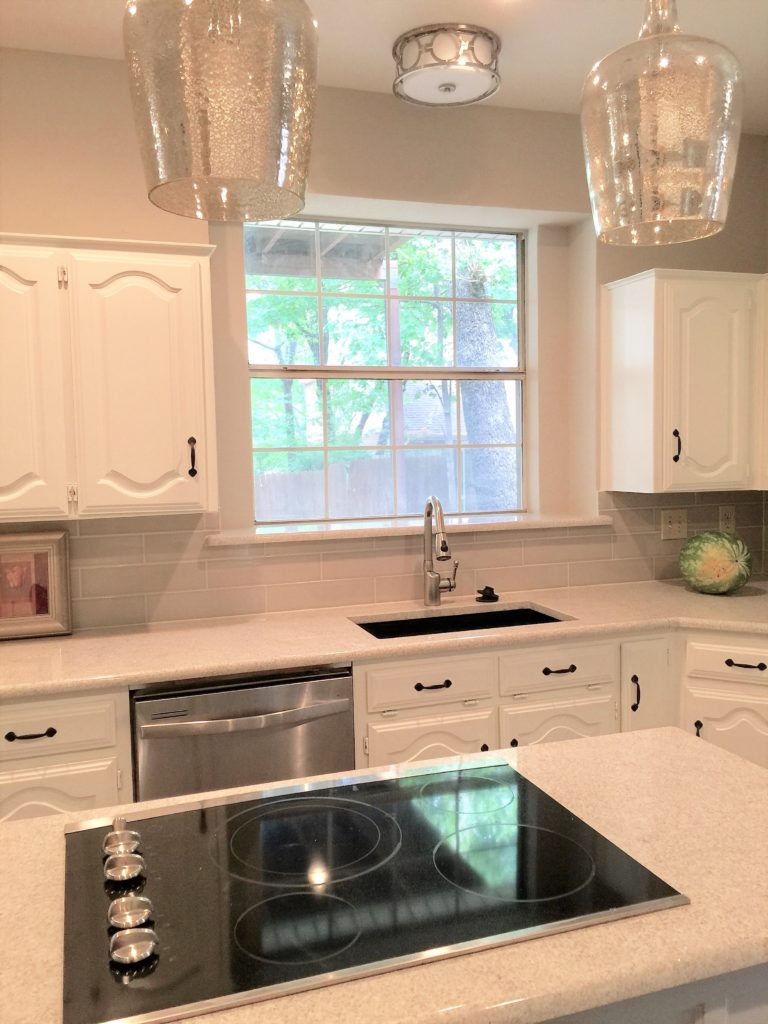
 We added a gray subway tile backsplash and removed the overhead lighting and added recessed lighting.  I just love the mercury glass pendants we chose for above the island, it coordinates beautifully with the new flush mount fixture above the sink.

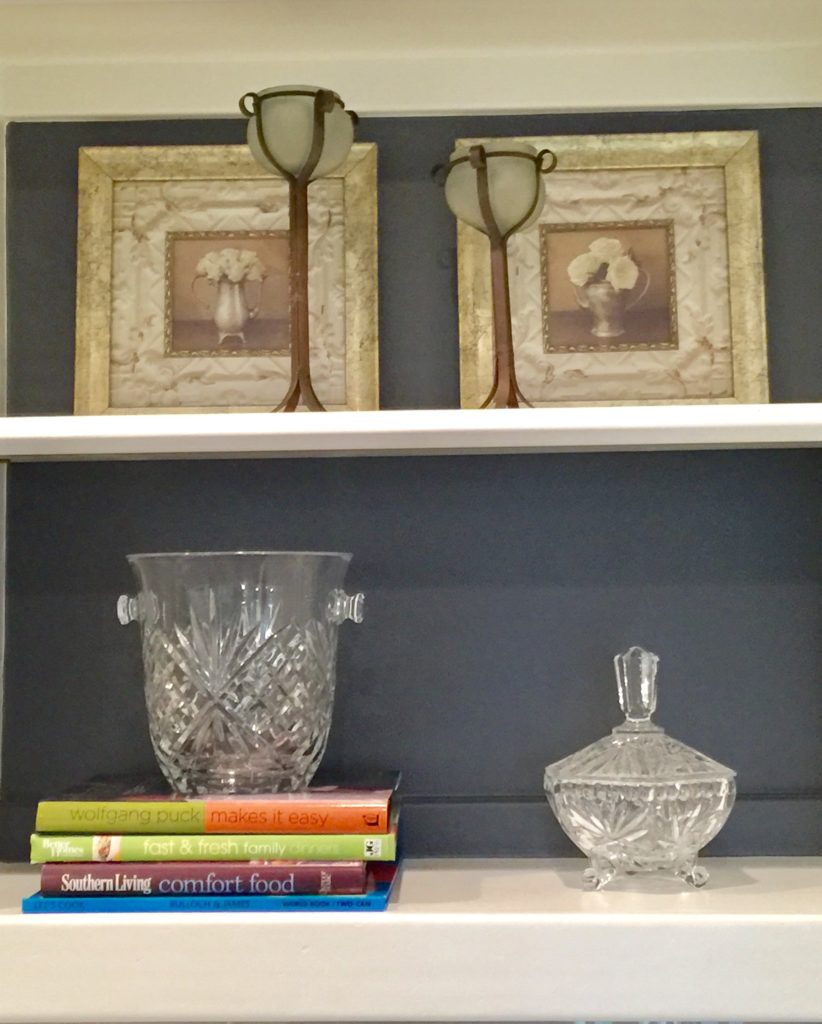
We painted behind some of the open shelving and staged it with some of the items she already had.

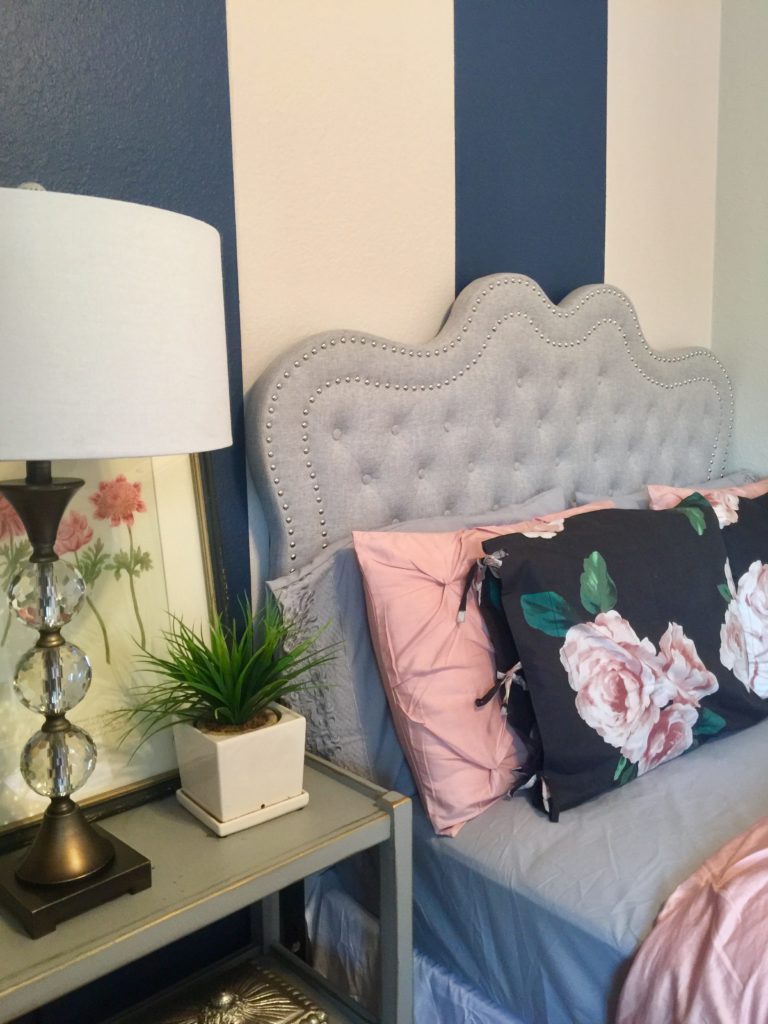
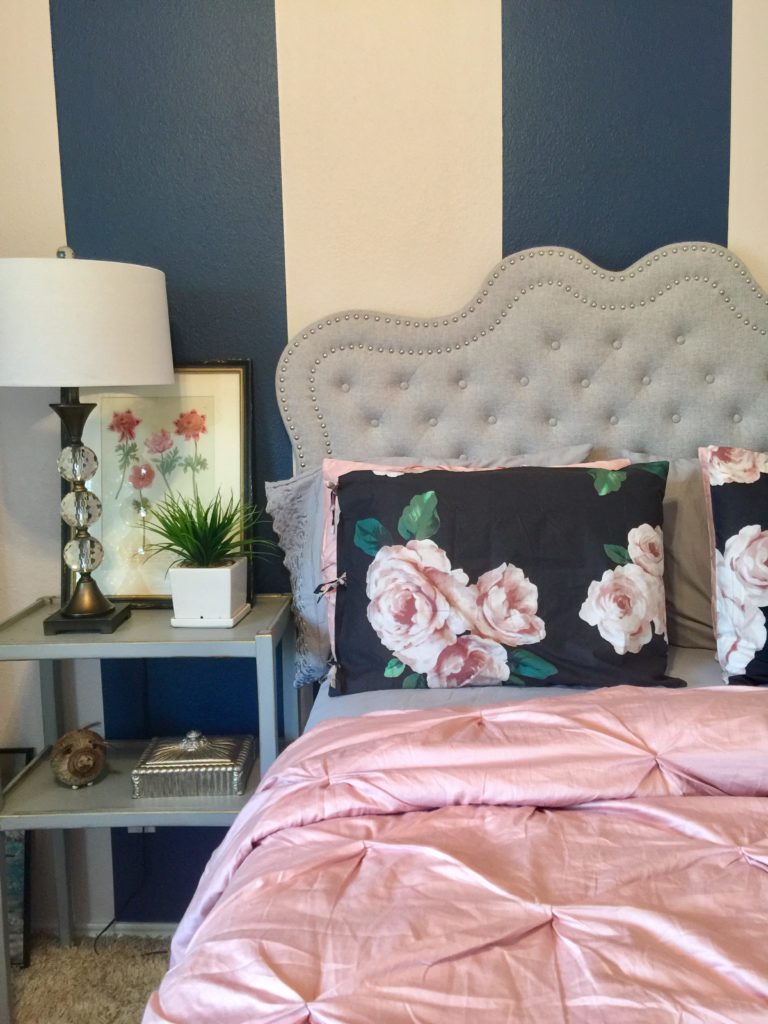
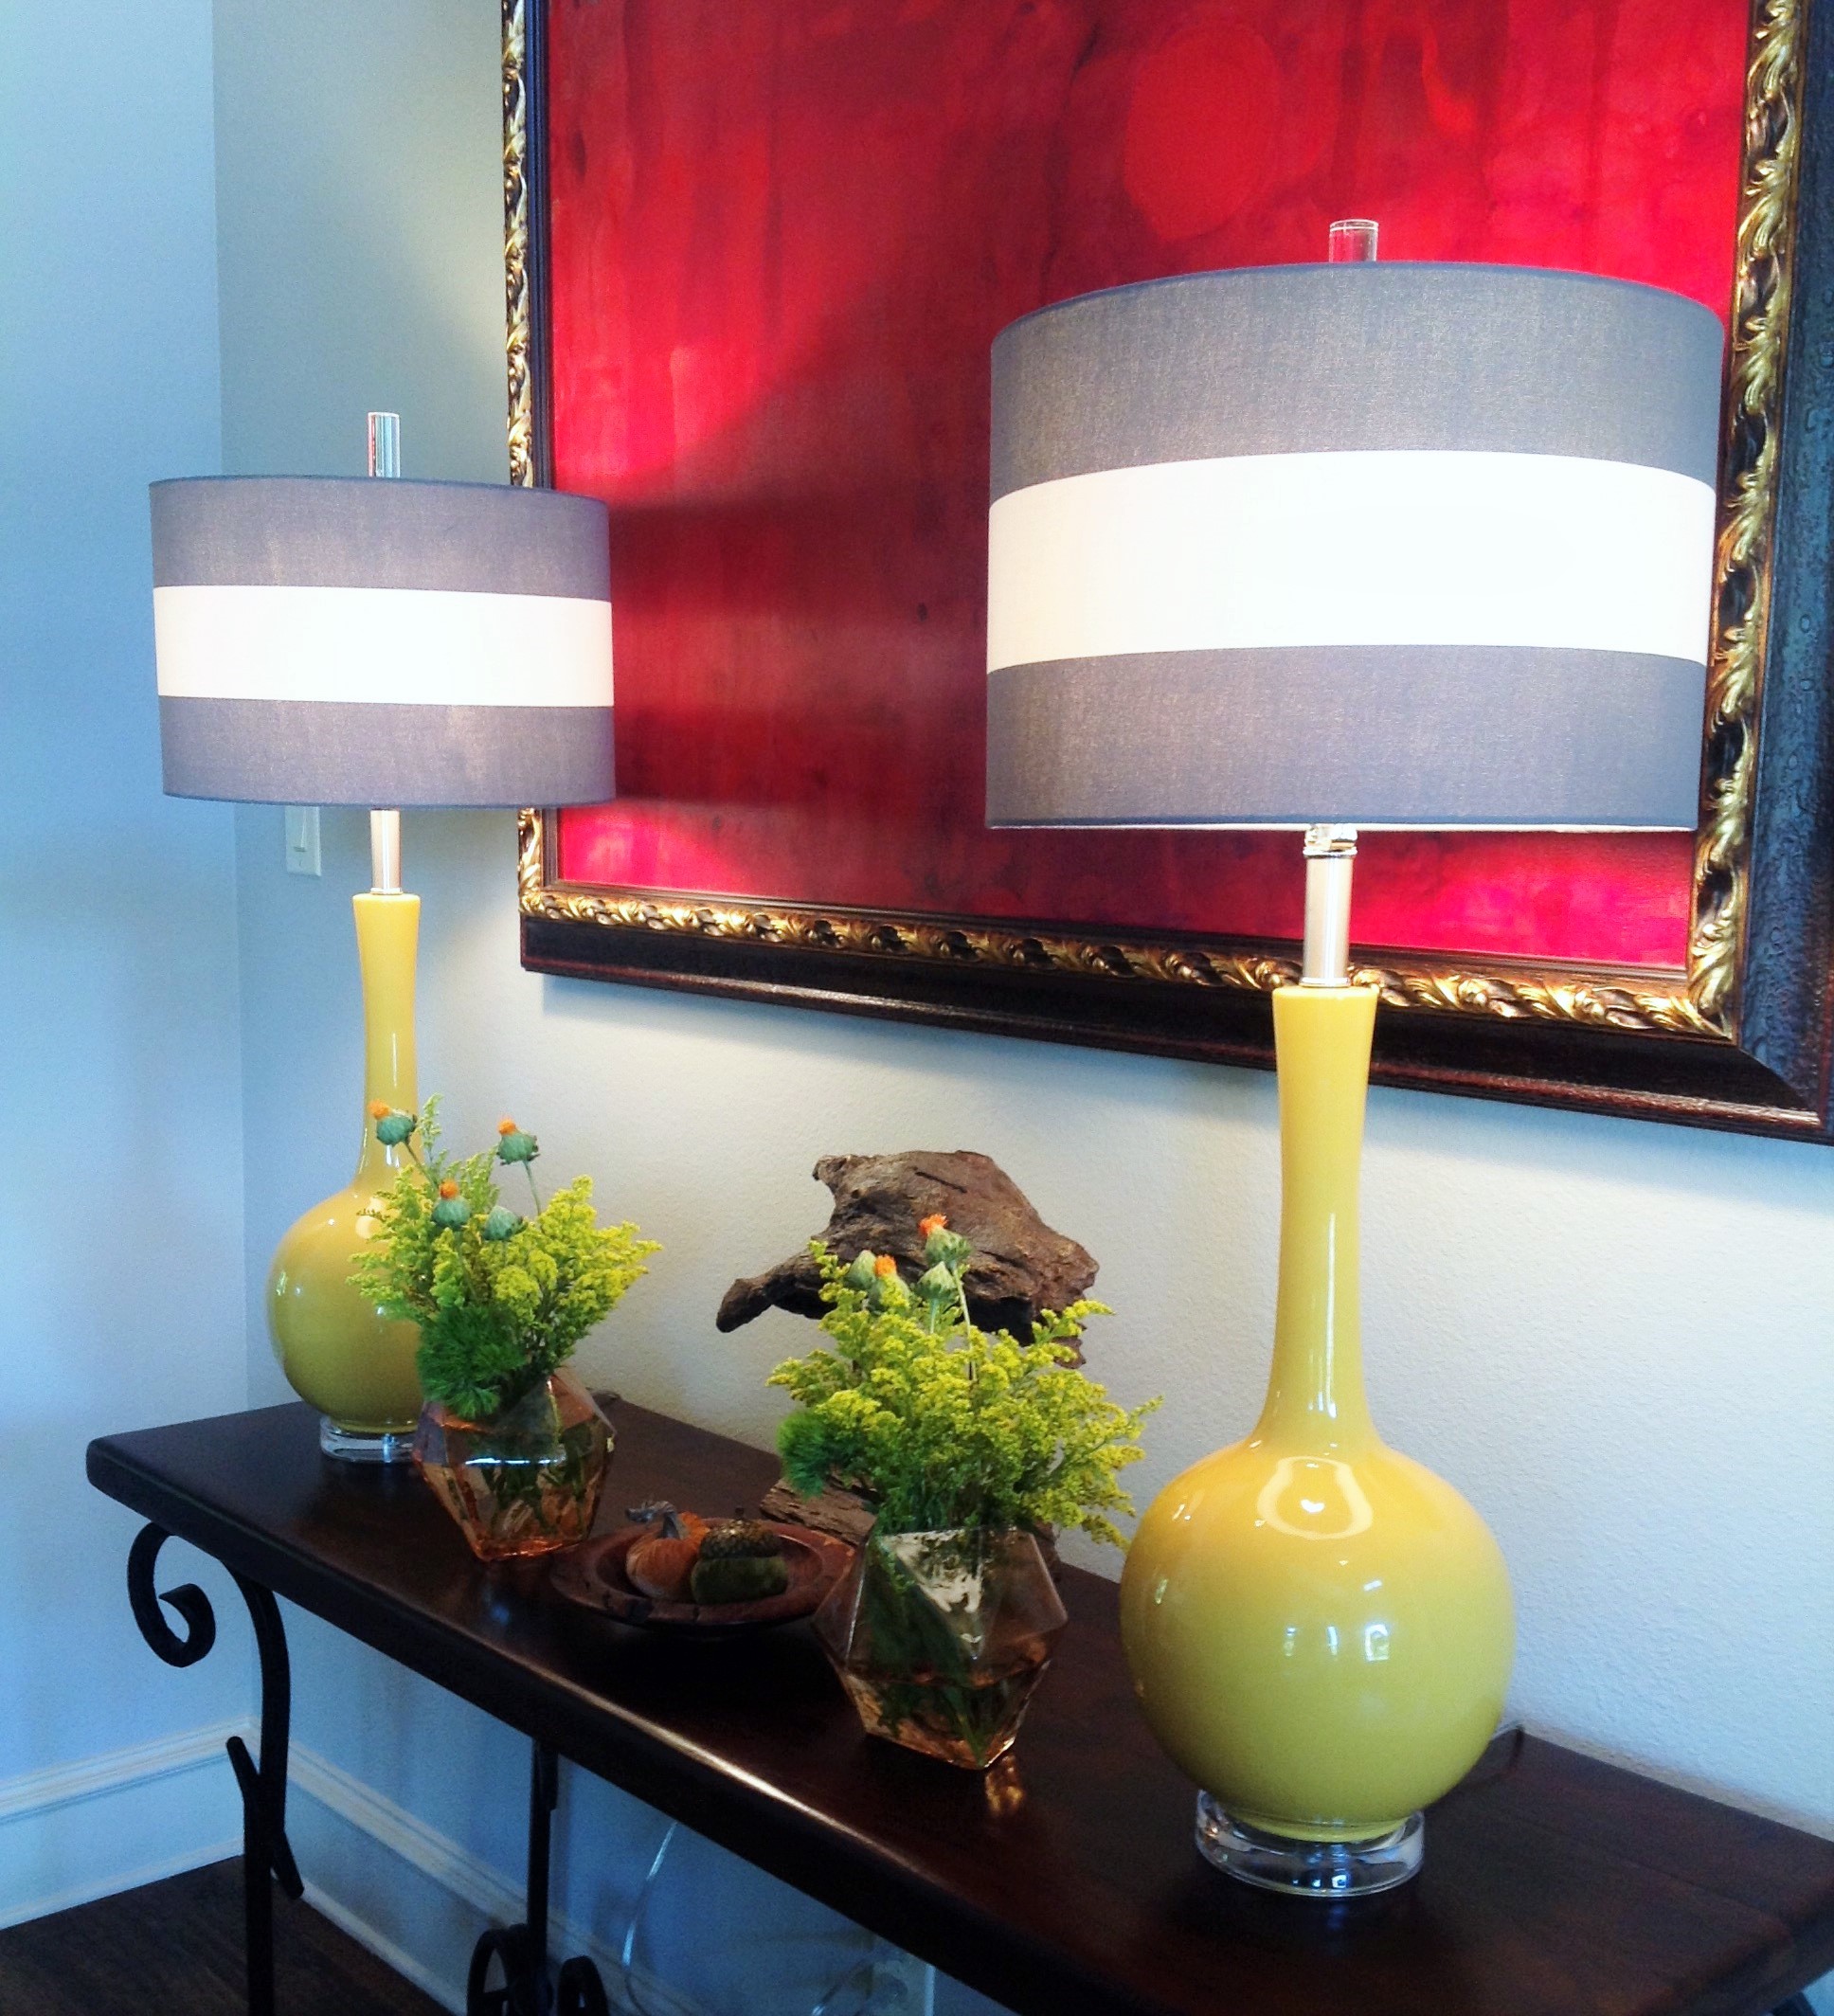
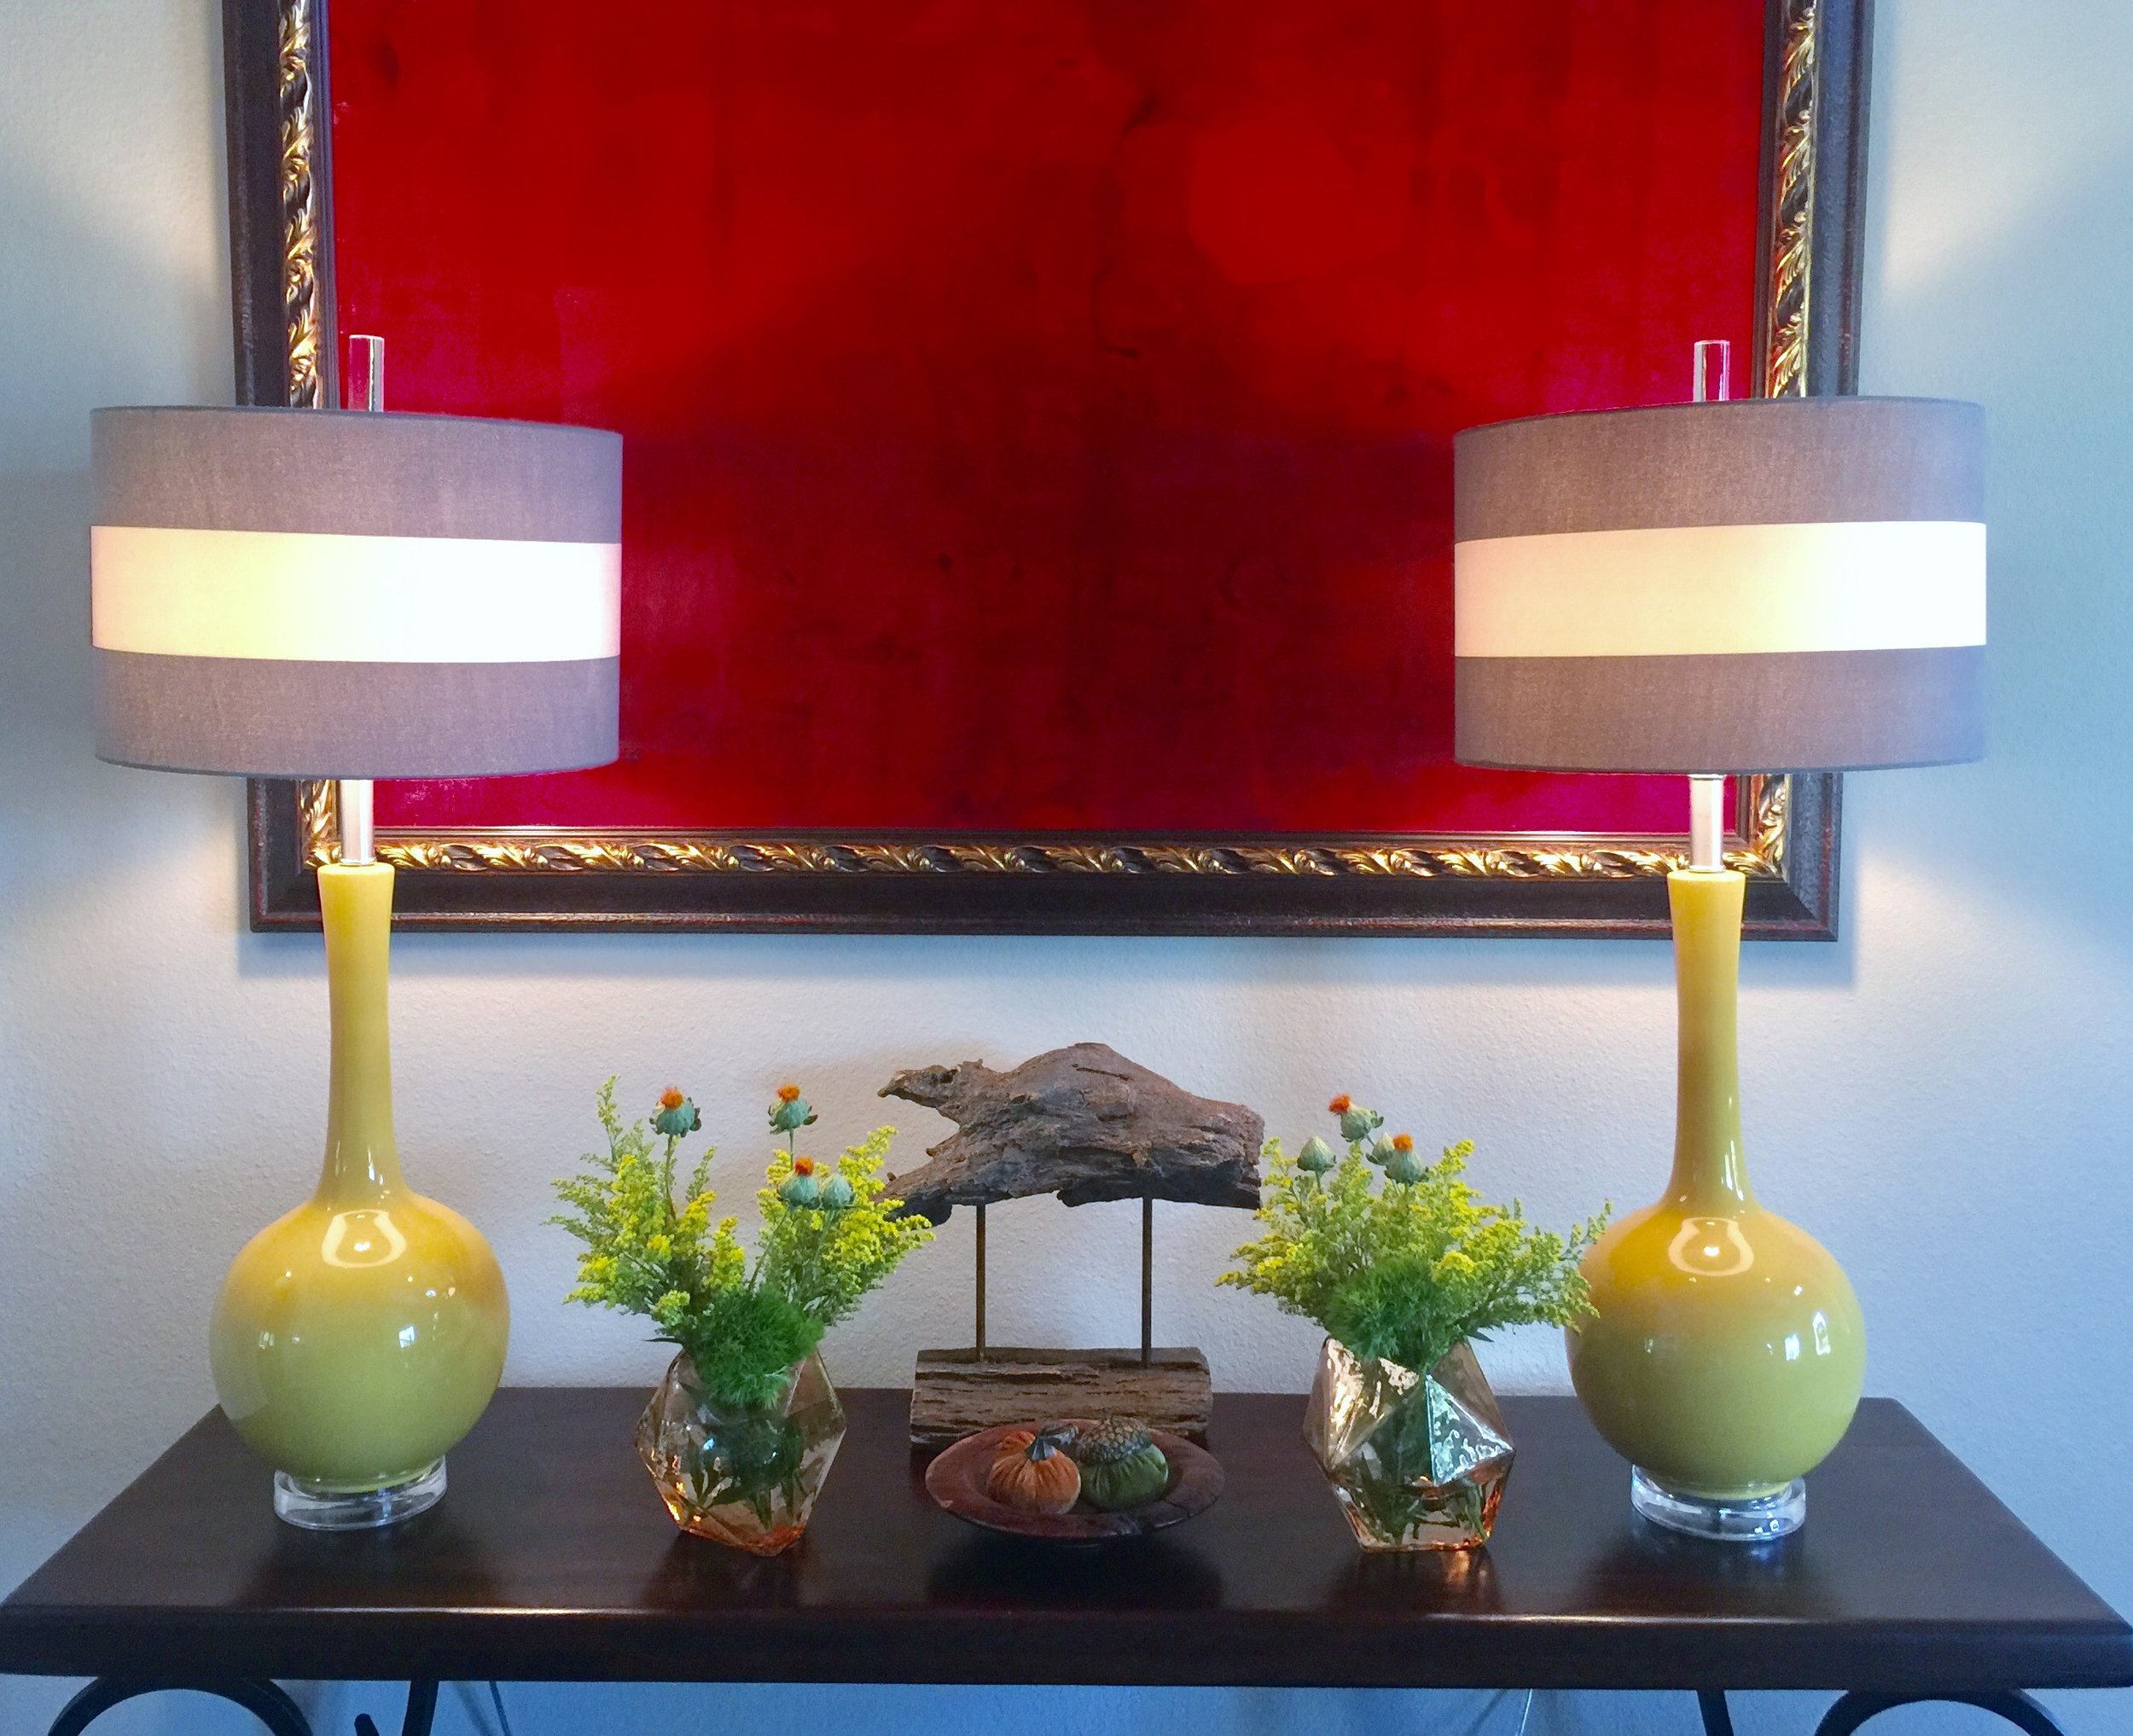
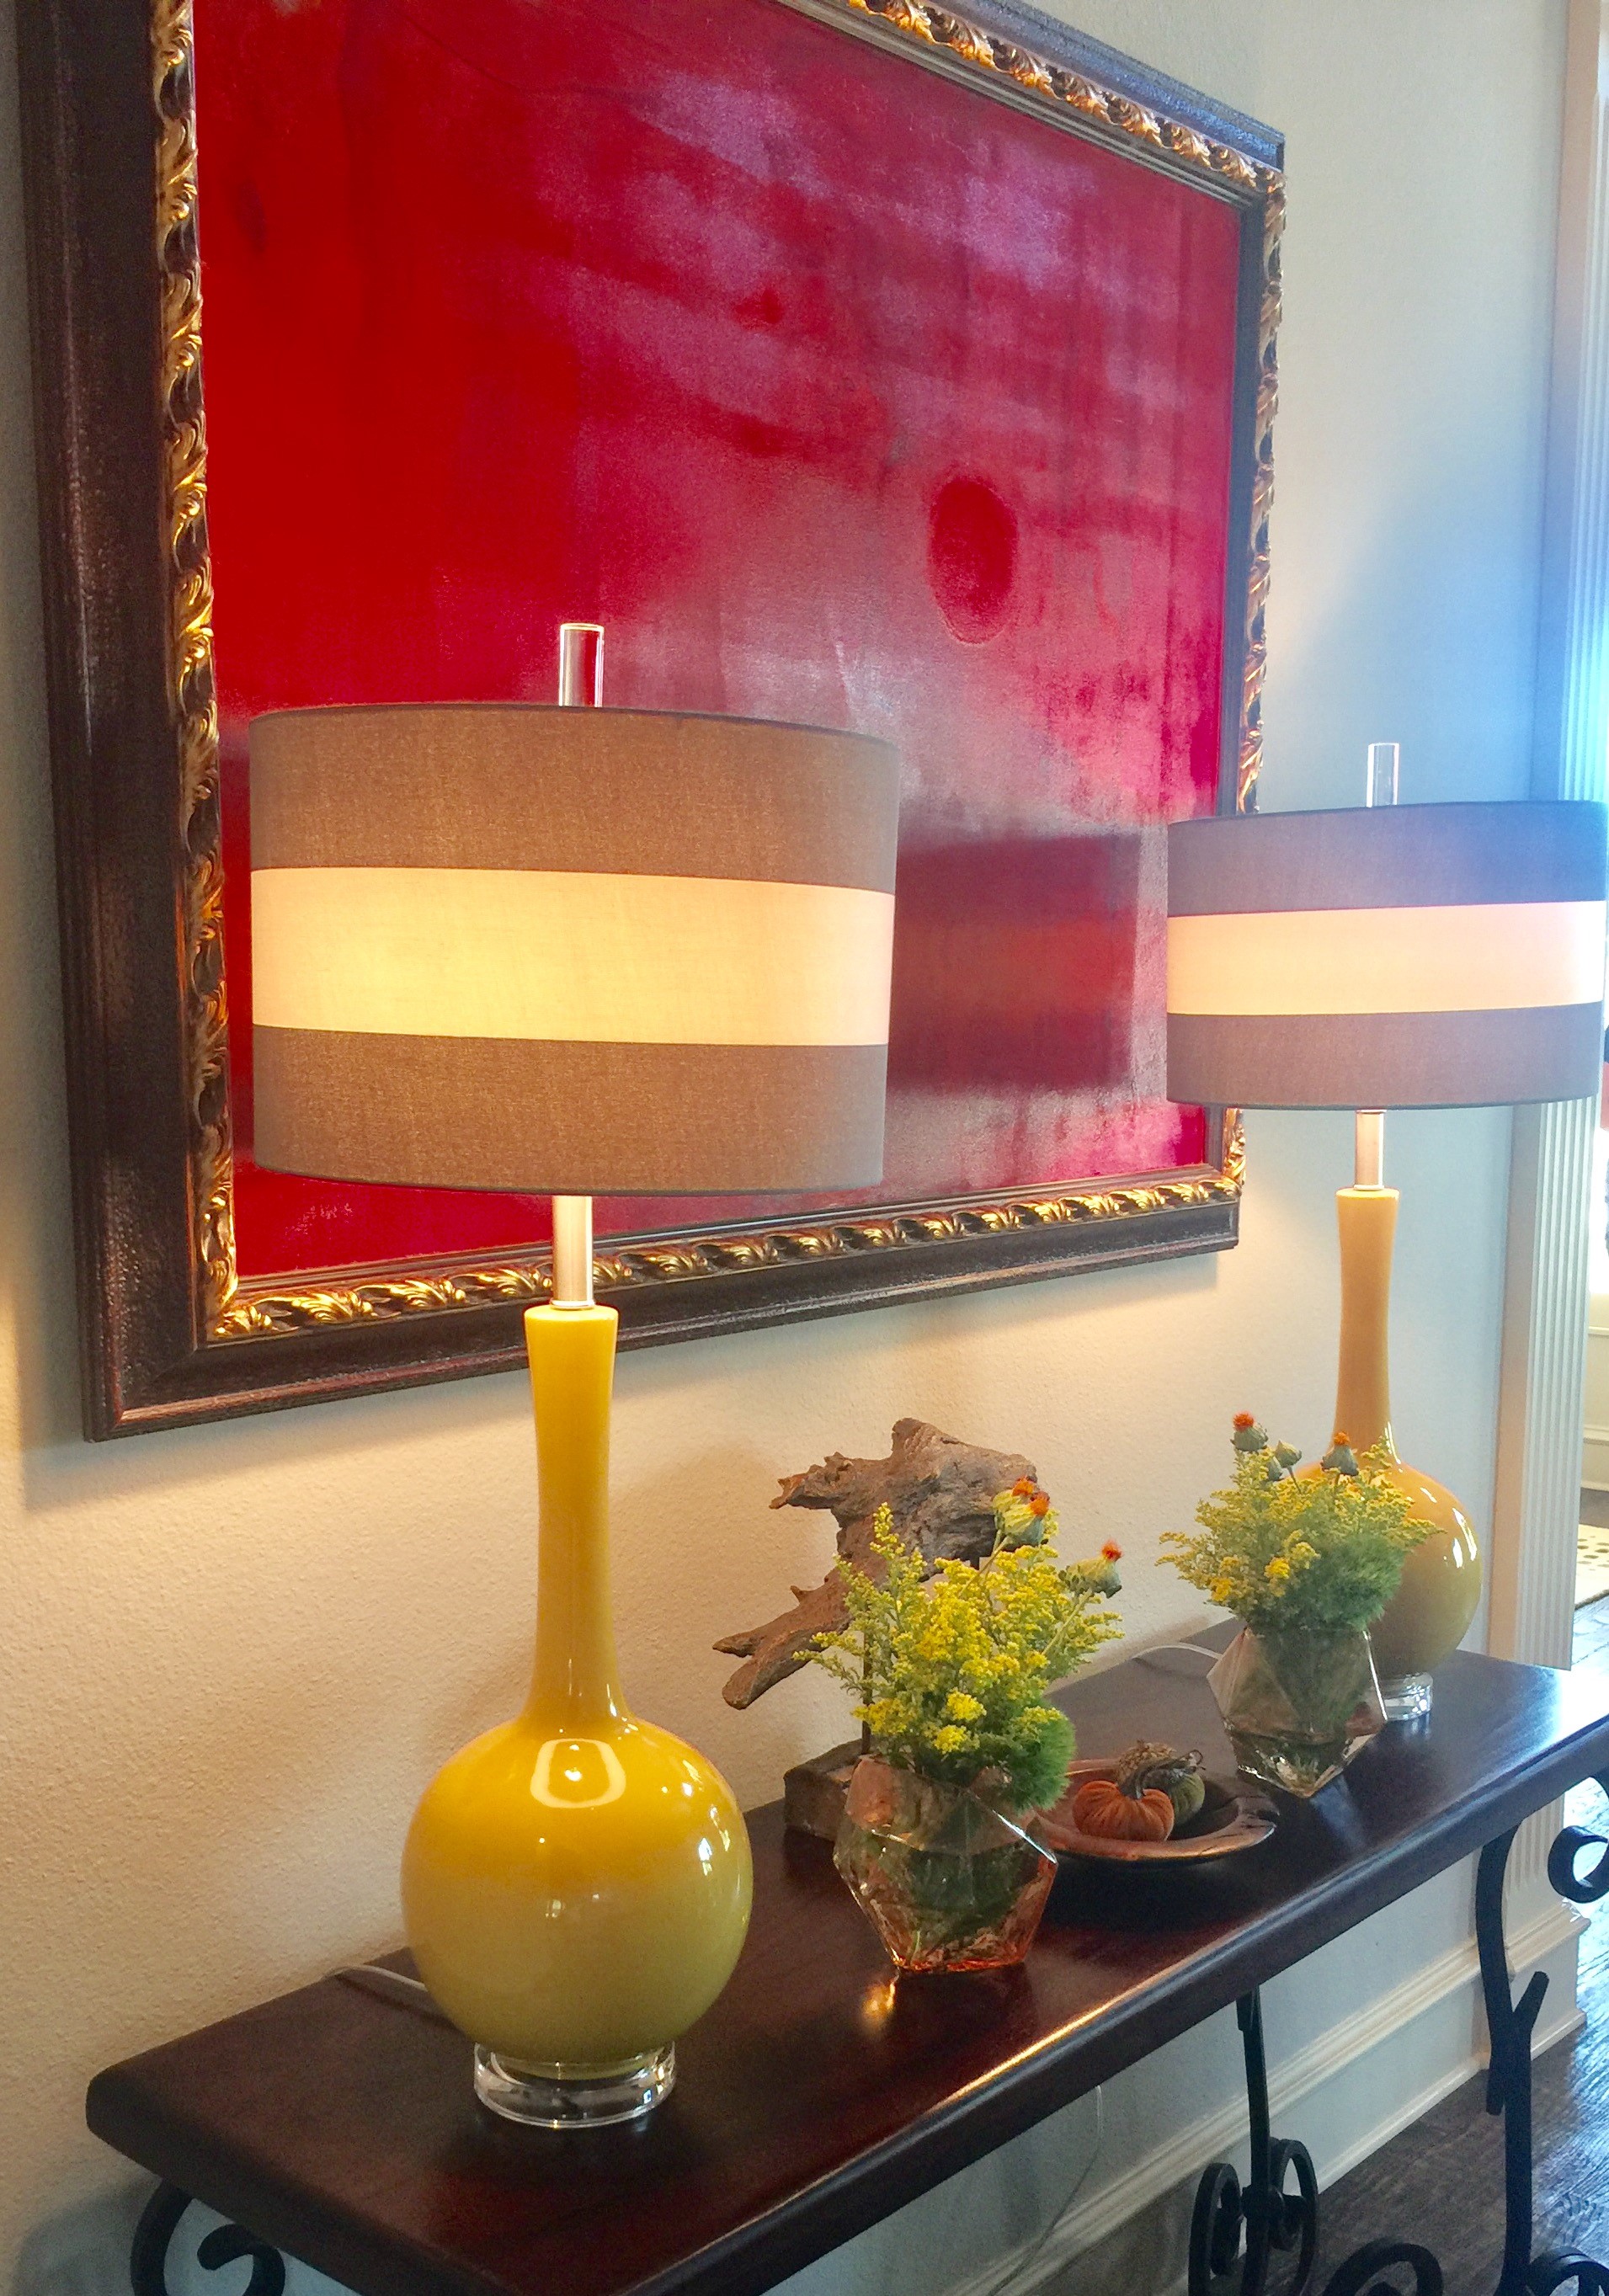
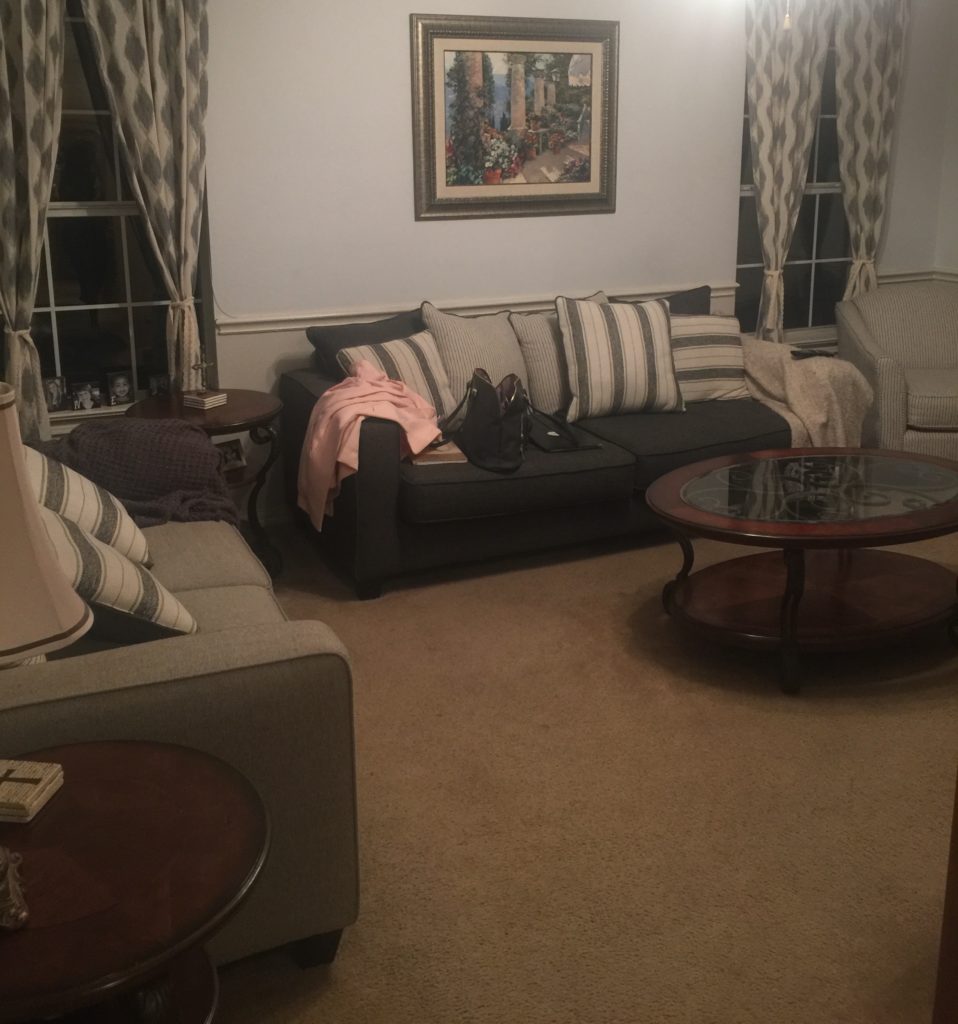
Next was the family room.

BEFORE

AFTER

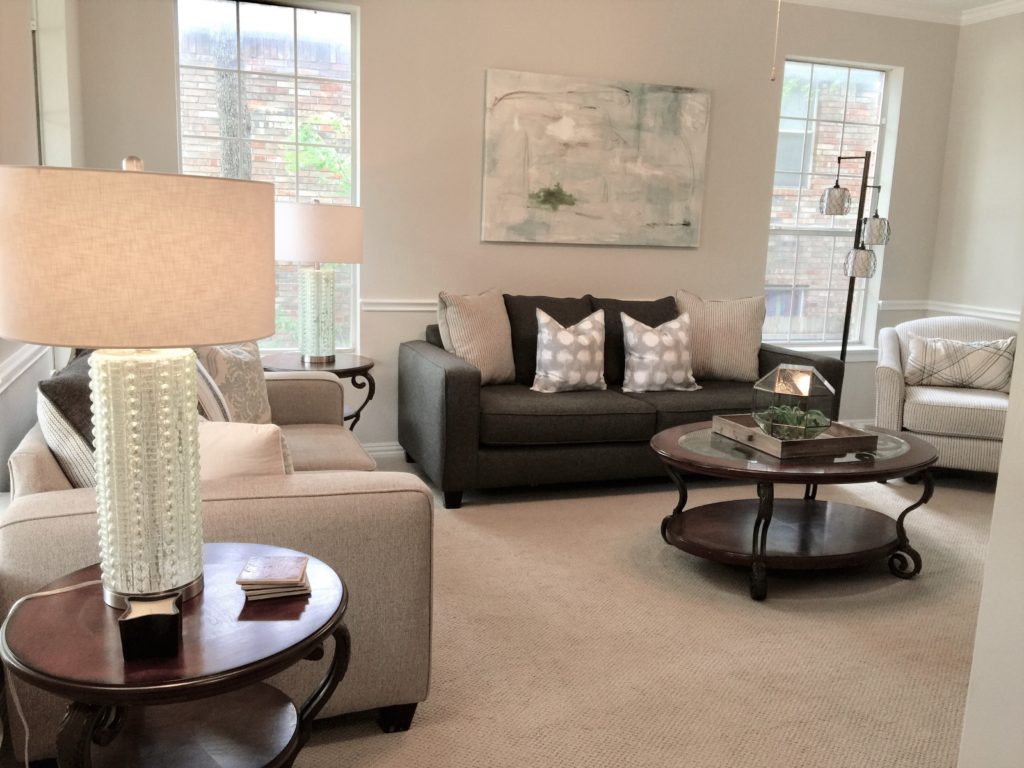
We painted this entire room to lighten it up and added new carpet. We took down the drapes (they were too short), hung new artwork and added lamps for a touch of color. The client wanted a fresh, clean look so that's what we did for her.

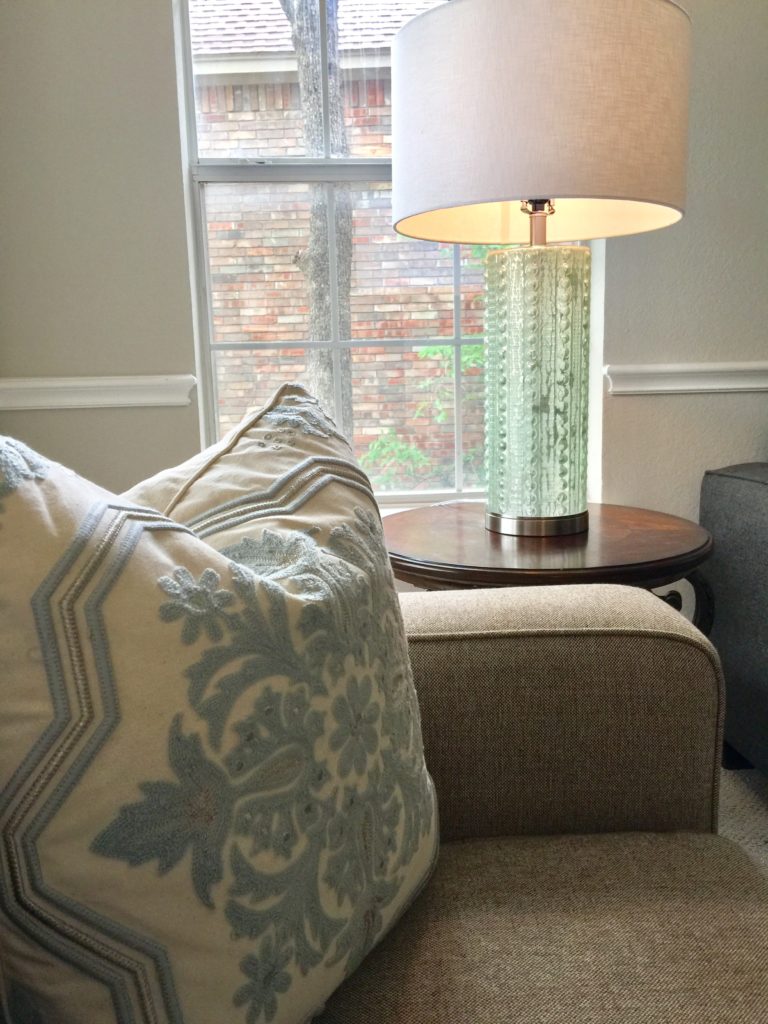
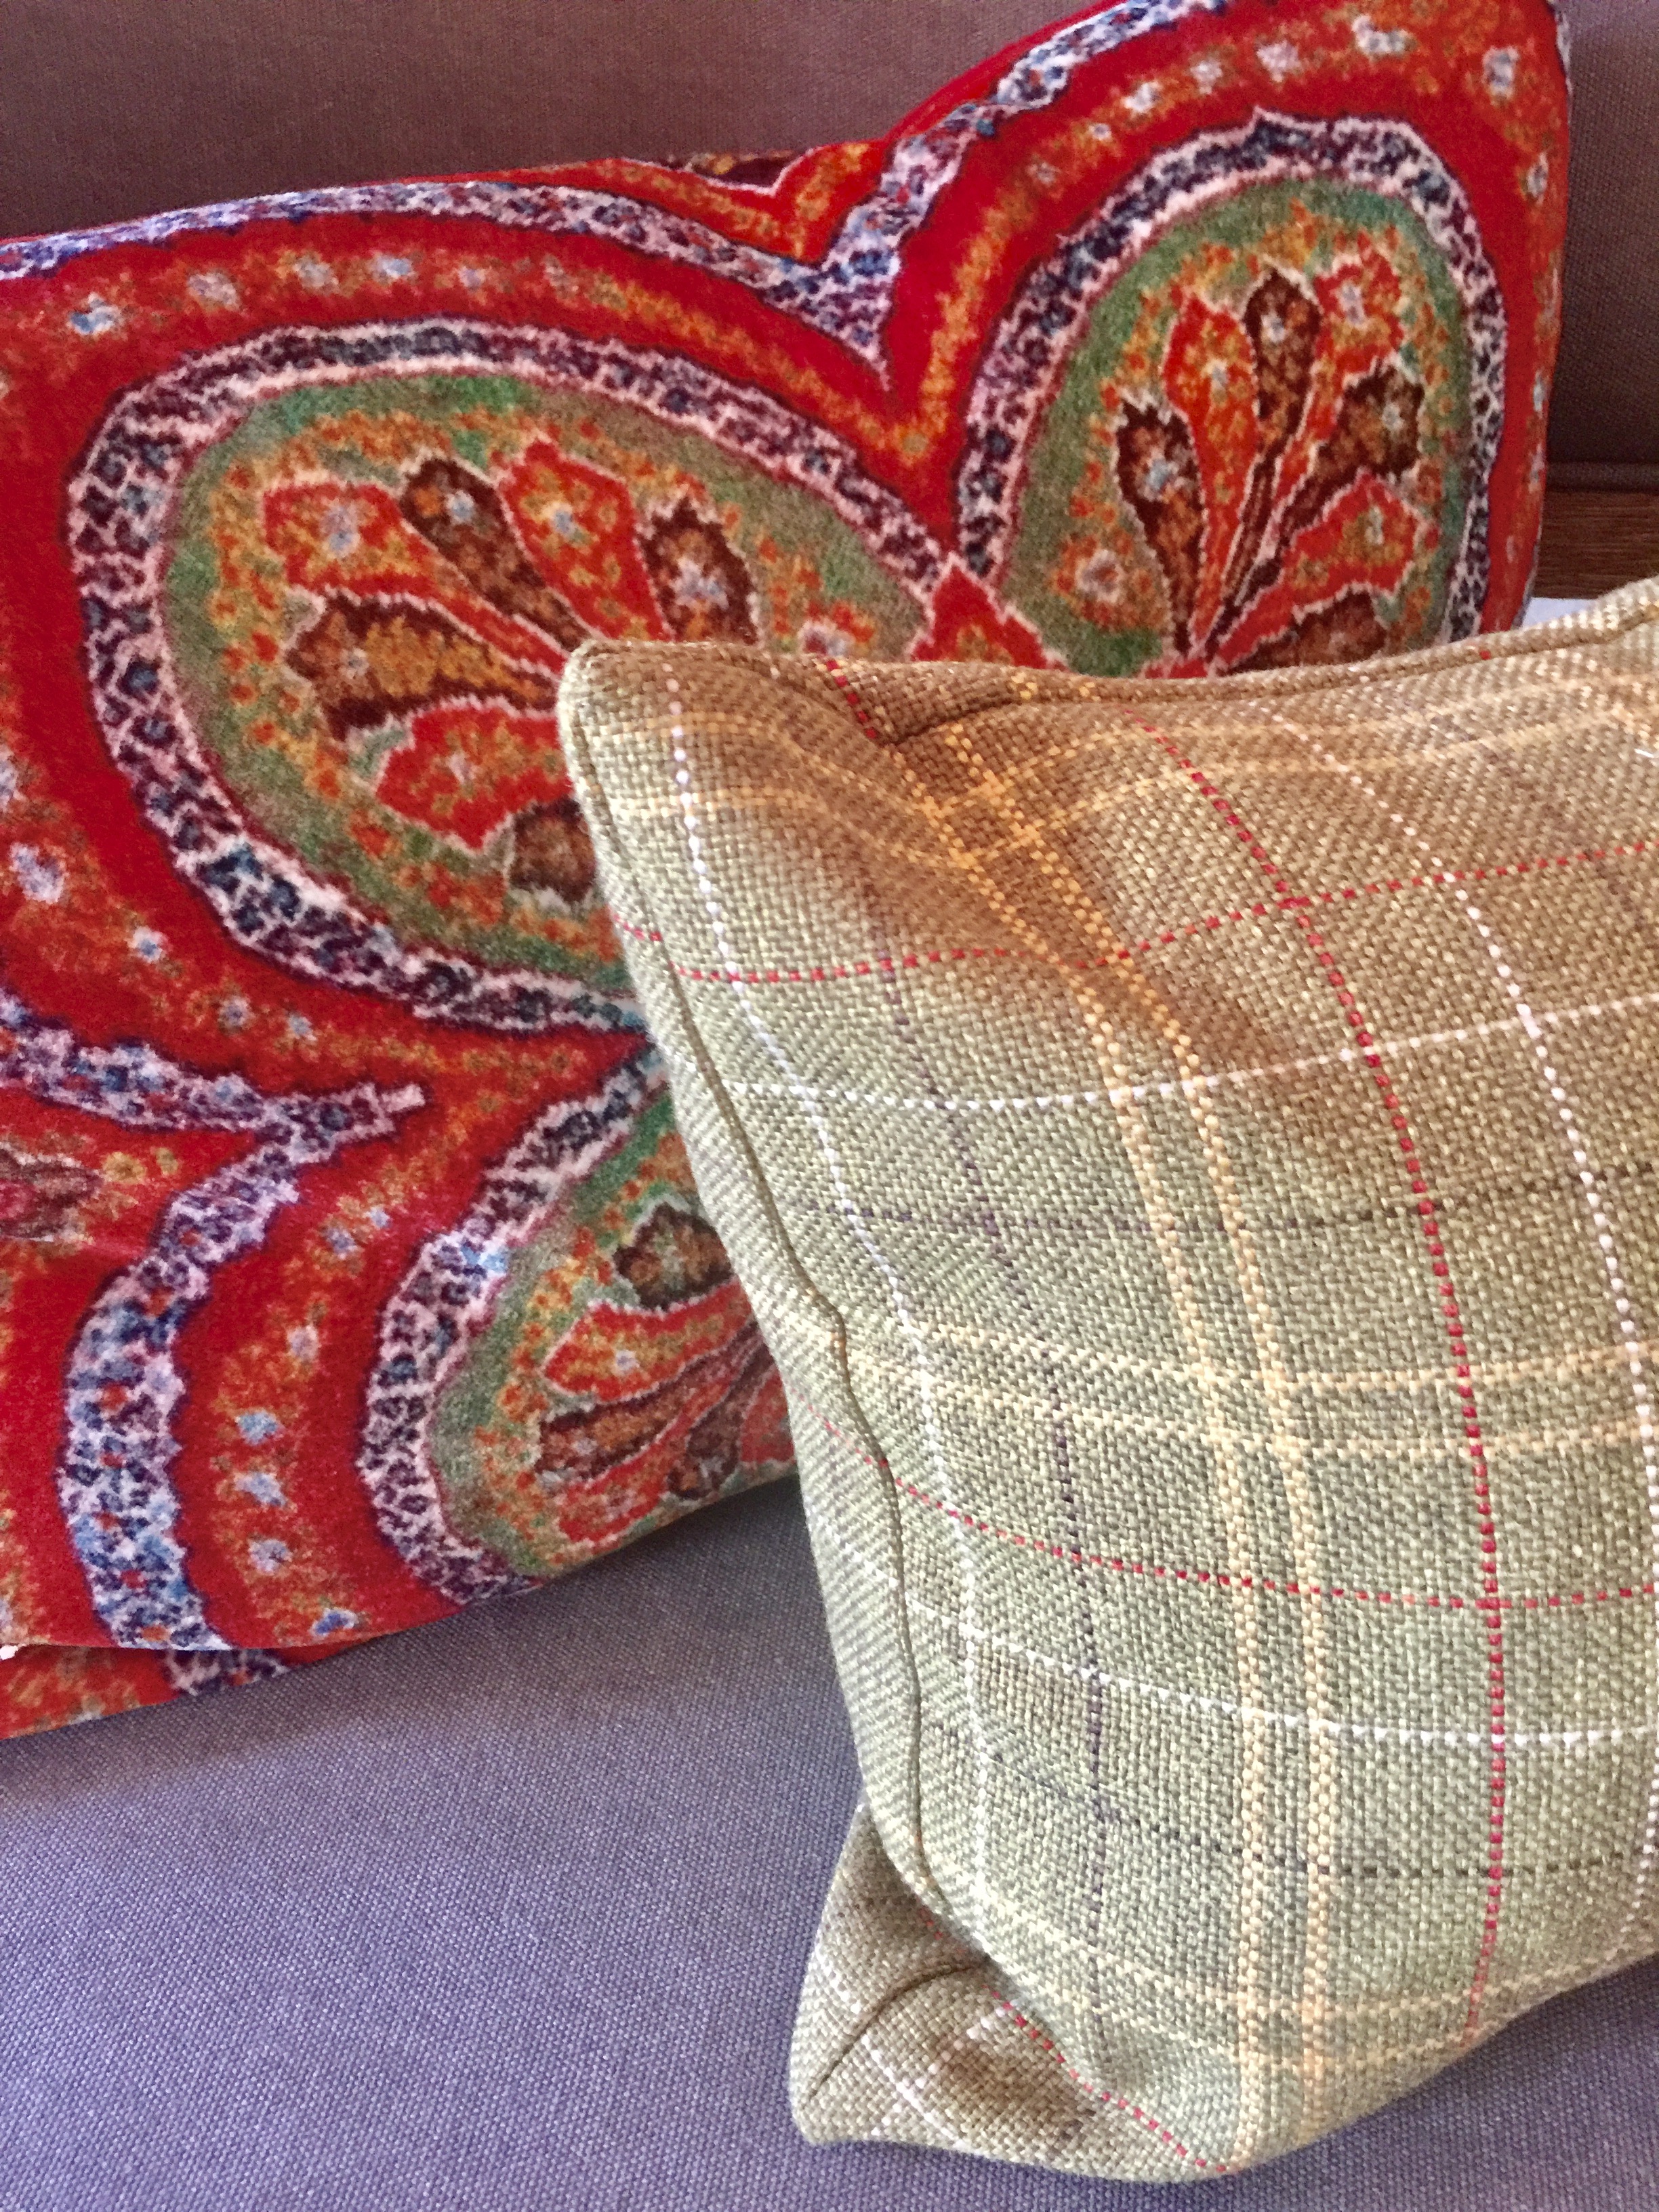
The couch had too many "matchy" pillows.

Ruthie Tip: When you purchase a couch that comes with all the matching pillows, that really cheapens the look.  By taking some of the matching pillows out and adding a few throw pillows to break it up, it gives it an instant makeover and looks more collected, rather than cookie cutter matching set.

Next up was the fireplace.

BEFORE

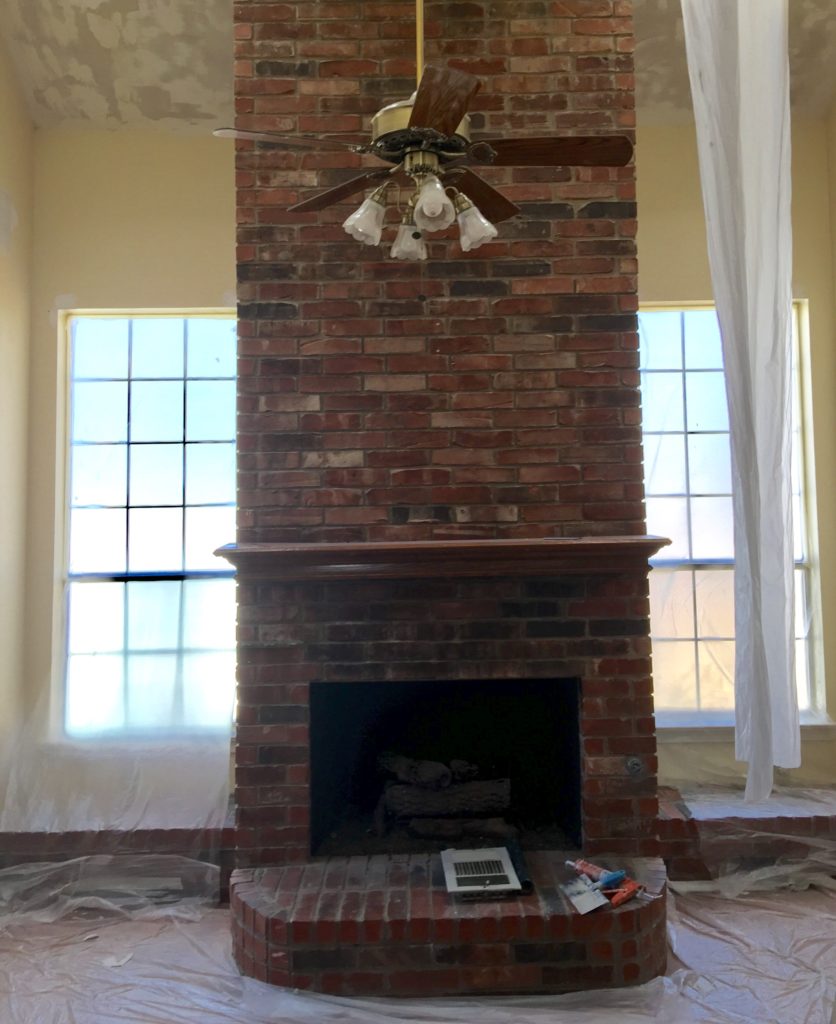
This fireplace brick was really pink and wasn't modern enough for the client.  We decided to paint it a gorgeous gray to give it a makeover. It worked and turned out beautiful.

AFTER

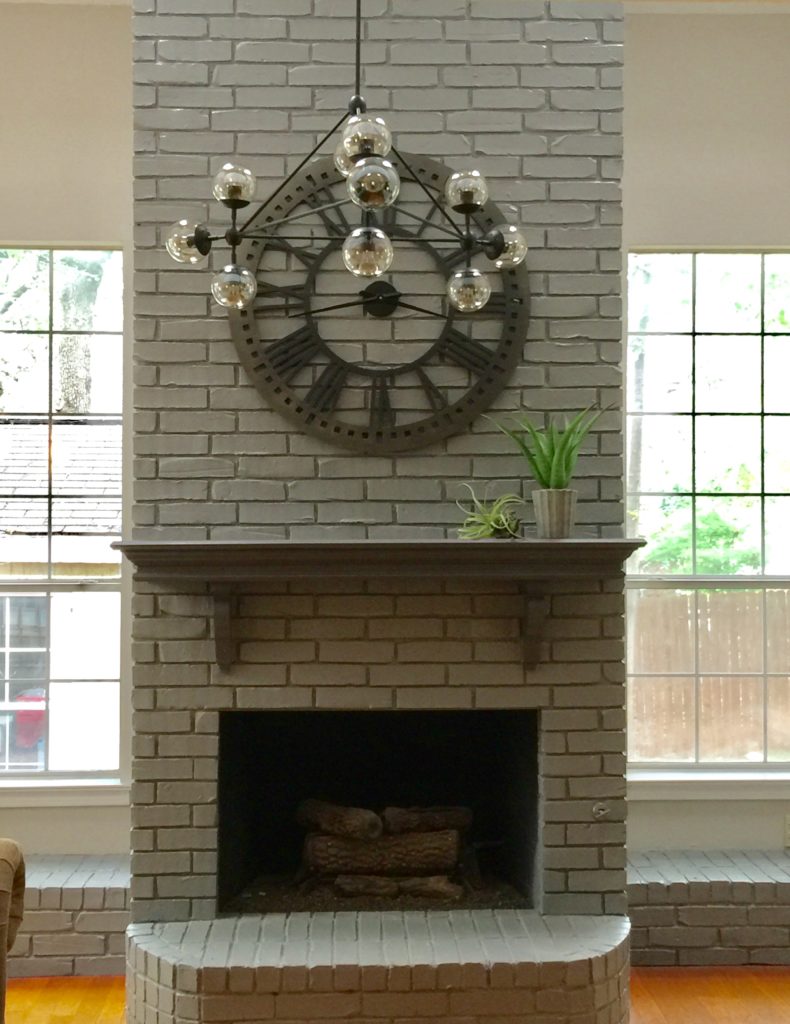
We took out the ugly fan and added a stunning chandelier that makes this fireplace come alive.  Paint covers a multitide of sins!  The mantel itself was a little small so we added corbels underneath the mantel and that made it look more to scale.

I absolutely love this kind of transformation.  The client wanted their home updated so they could enjoy it more.  It doesn't always mean you have to gut the entire place. What I love about my job is that I get to give home owners ideas that can update their homes without breaking the bank.

Of course, I have clients that want to gut the entire house and transform it all because they do have the budget to do so and that is awesome!  However, I also love to see families update their homes conservatively too.  Some people choose to do nothing because they can't afford it. Don't do nothing, any home can be turned into something wonderful with some good ideas and creativity.

I'm off to Highpoint tomorrow to be a part of the Design Bloggers Tour.  Follow me on Instagram, Twitter and Facebook to see behind the scenes.  So looking forward to getting to know these fabulous bloggers and seeing all the new trends in design for 2017/2018.

I'm also taking over Interior Design Society's National Instagram account on Friday while I'm at Highpoint. Follow along too for new trends and behind the scenes showroom tours.

Blush, Gray and Navy Girls Bedroom

My oldest daughter just got accepted into nursing school!!!  She is extremely excited and we are so proud of her.

For her 20th birthday, we decided we would redo her bedroom for her since she will living at home next semester while she attends nursing school.

She is not one for change and has had her bedroom this hot pink for years. We sold her bunk beds and started from scratch.  Bittersweet but she was finally ready for change and mama was excited!!

She knew she wanted blush and navy but had no idea what else she wanted.

So, I decided to treat her like a client and put together a design collage. That way she could get a visual of what direction I was heading with the design.

AFTER

We decided to do a navy and blush stripe on the headboard wall and it turned out so beautifully.  It took a lot of patience for my painter, but he managed and still like me!

I took these photos with my iPhone so they are not as good as I'd like but they are still so pretty.

I purchased the rose pillow cases from Pottery Barn and the duvet cover from Target. The headboard was purchased from Wayfair.

She is elated with her new room and so am I! Excited to have her back home again after two years of her being gone!

Tips to giving your entry a designer look.

decrenewinteriors12

This week I completed an entry for one of  my clients.  When I met with her, she explained to me that she really loved her entry table because it was a gift from her mom who she recently lost.  She also loved her artwork that she and her husband chose together on one of their trips.  She wanted me to add color and personality to the space to make it feel BRIGHT, HAPPY and WELCOMING.

BEFORE ENTRY

decrenewinteriors24

AFTER

decrenewinteriors14

No Problem!  I found these wonderful yellow lamps and knew they would make the space so much more inviting and happy.  They came with black shades but that wasn't going to give me the look I wanted.  I traded them out for these fabulous striped gray and white shades.

Ruthie Tip:  If you find lamps you absolutely love, trade out the shade to bring it up to the next level.  A patterned shade can change the look completely.

entry-2

Ruthie Tip:  If your lamps don't come with beautiful finials then add some gorgeous ones to make them have grandeur and class.  You will be so surprised how that one thing can bring them up to the next level.  I personally love large crystal ones like the ones above.

BEFORE

decrenewinteriorsbefore

Placing family photos on your entry table is a nice thought, however, in this case they are off scale with this large painting.

AFTER

decrenewinteriors29

Ruthie Tip:  Layer your accessories and choose items that either have a unique shape or texture.

decrenewinteriors26

If you look at my website you will see that I always use something from nature to make my designs come to life.  This driftwood looks fab against the wall color.

decrenewinteriors30

Ruthie Tip:  Fresh flowers always makes an entry feel alive and happy.

BEFORE

decrenewinteriors25

Curved entry walls are always a challenge.  Because we were on a strict budget for this entry, I had to be creative without going over budget.

AFTER

entry

I found this wonderful bench with a curved back.  It fit perfectly in the space.  I added colorful pillows that coordinate with the artwork and we were all set.

Ruthie Tip:  If you have a large open entry, don't put small items there.  Choose large items that fill the space so the scale looks right.  I'd rather have one larger item that makes a statement than lots of clutter that says nothing.

decrenewinteriors27

Ruthie Tip:  When using a bold, colorful pattern, tone it down with a masculine print like a plaid, stripe or houndstooth.

Hope you are inspired to go decorate your entry this weekend.

Enjoy!