
Several months ago I got a call from a client who needed help with her entire home renovation. We had worked together before, but now they were ready for a total home renovation.
Read moreWhat paint and some styling can do to improve your home!
I love it when a client calls and says "we need some updating to our home and we need your help guiding us through the decision making process so we don't make mistakes"

Yes, that's me! They hired me to assist with remodeling their home within the budget they had set aside. I helped them prioritize what was important to do right now and what could wait.
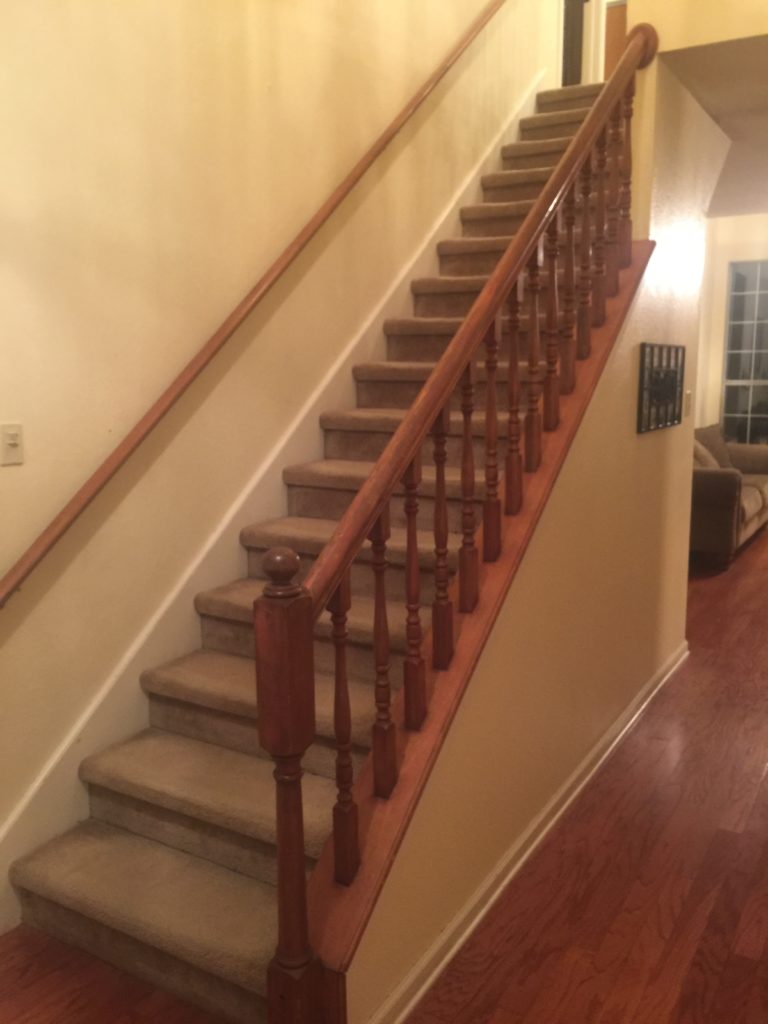
I thought I'd show you how it all turned out. Let's start with the stairs.
BEFORE
AFTER
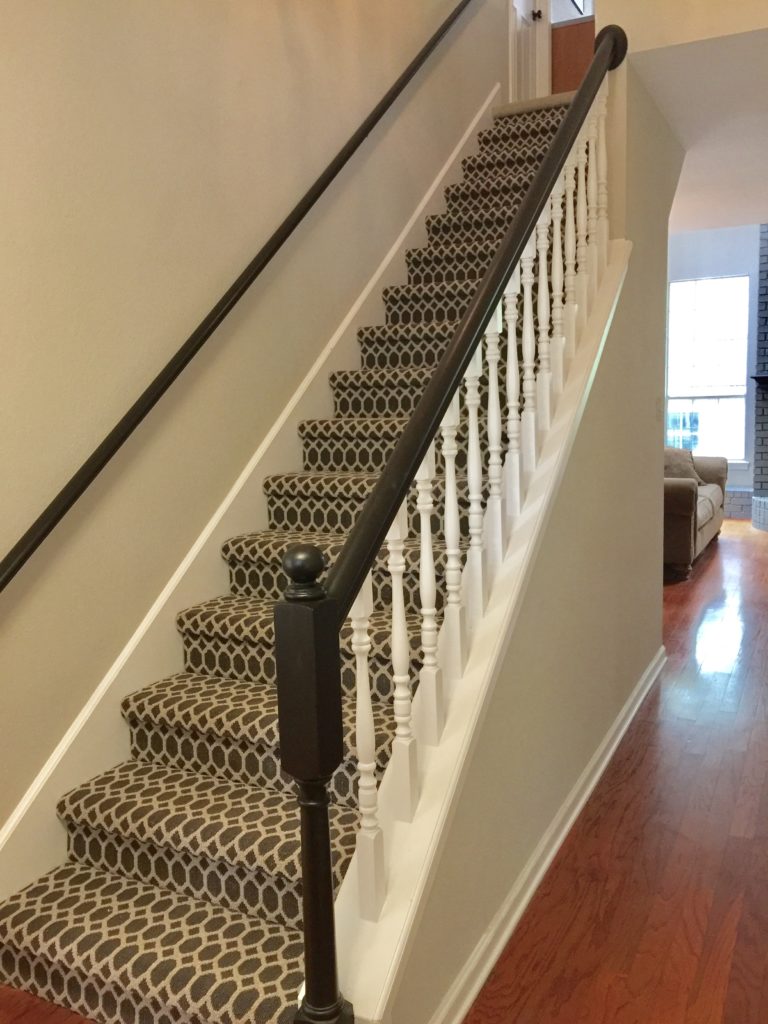
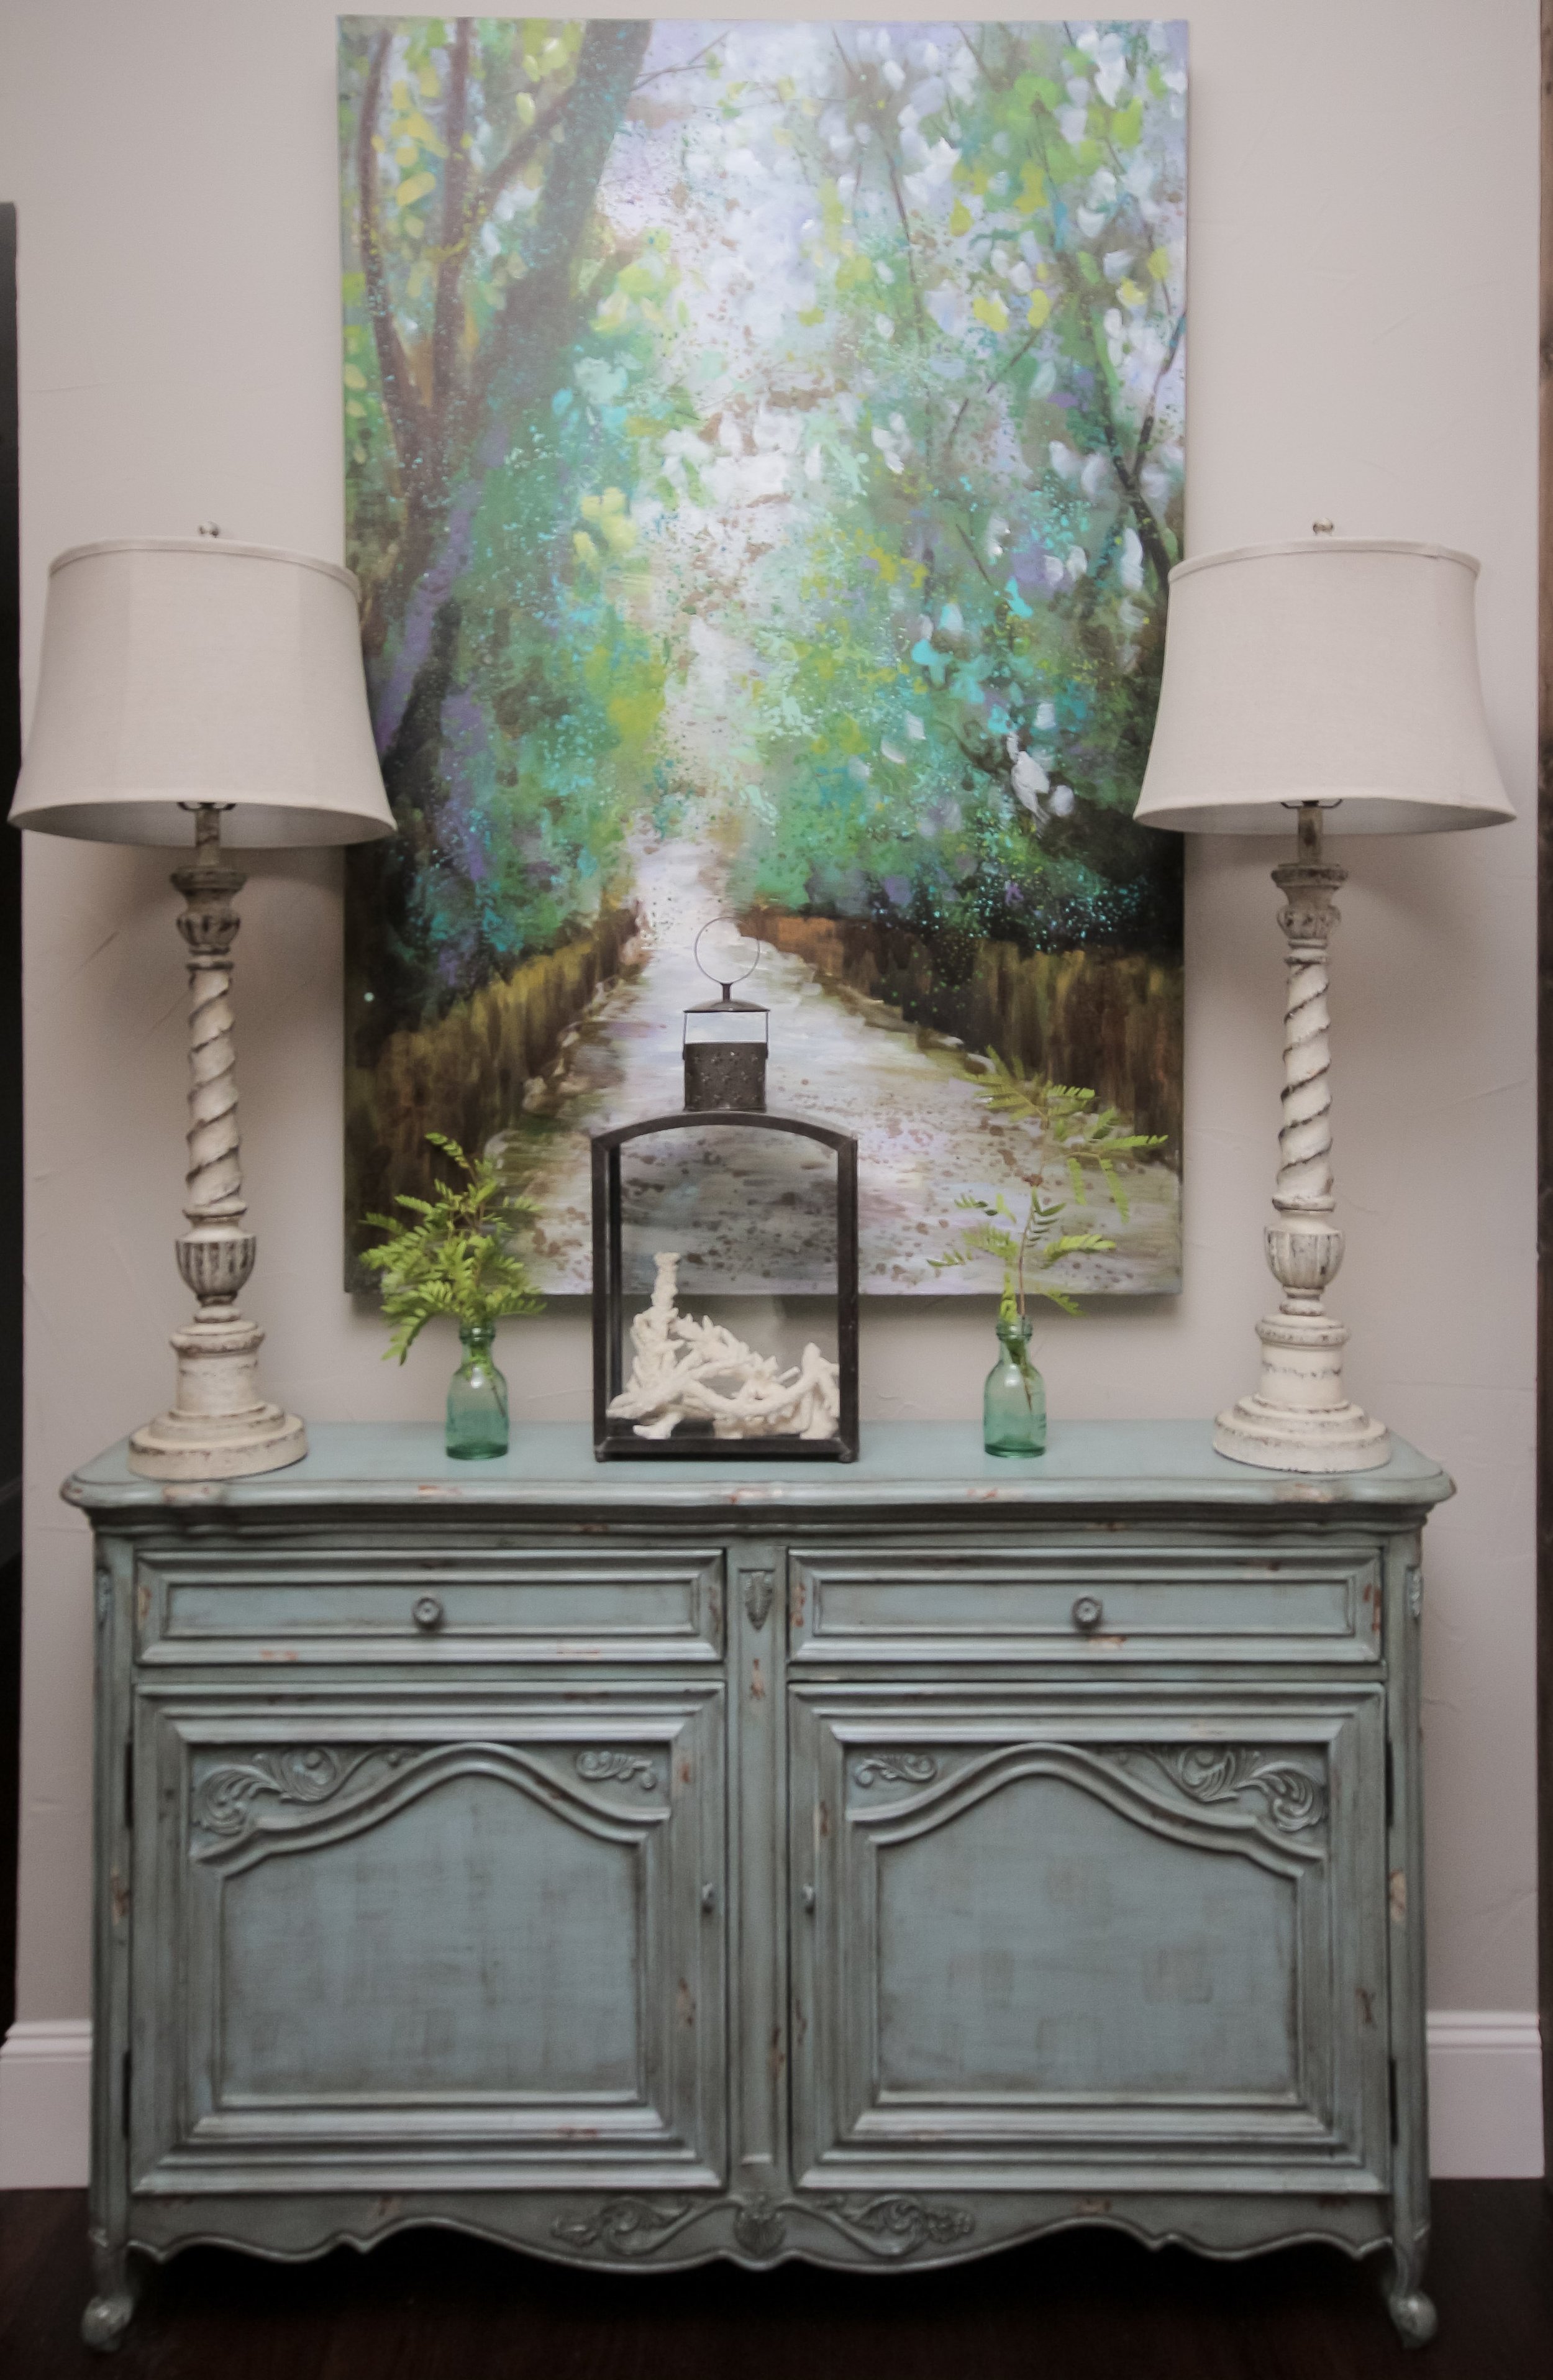
To update the stairscase, on a budget, we decided to paint the spindals white and we stained the banister a rich espresso. It transformed it instantly and made their entry so stylish and inviting.
We added a beautiful patterned carpet and that made the staircase the star of the show when you walk in the front door.
Next up is the kitchen which needed a facelift for sure.
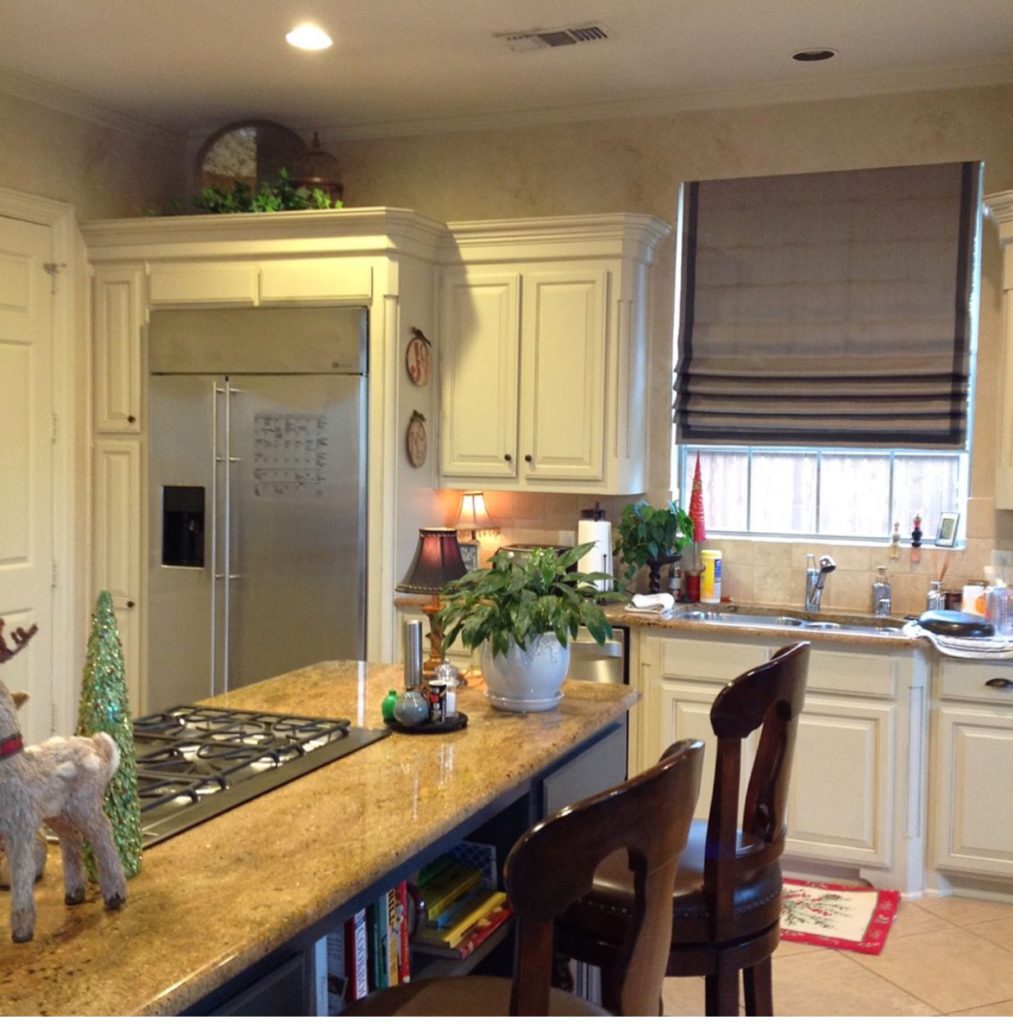
BEFORE
We didn't have the budget to do the floors and we figured they can do that at a different time.
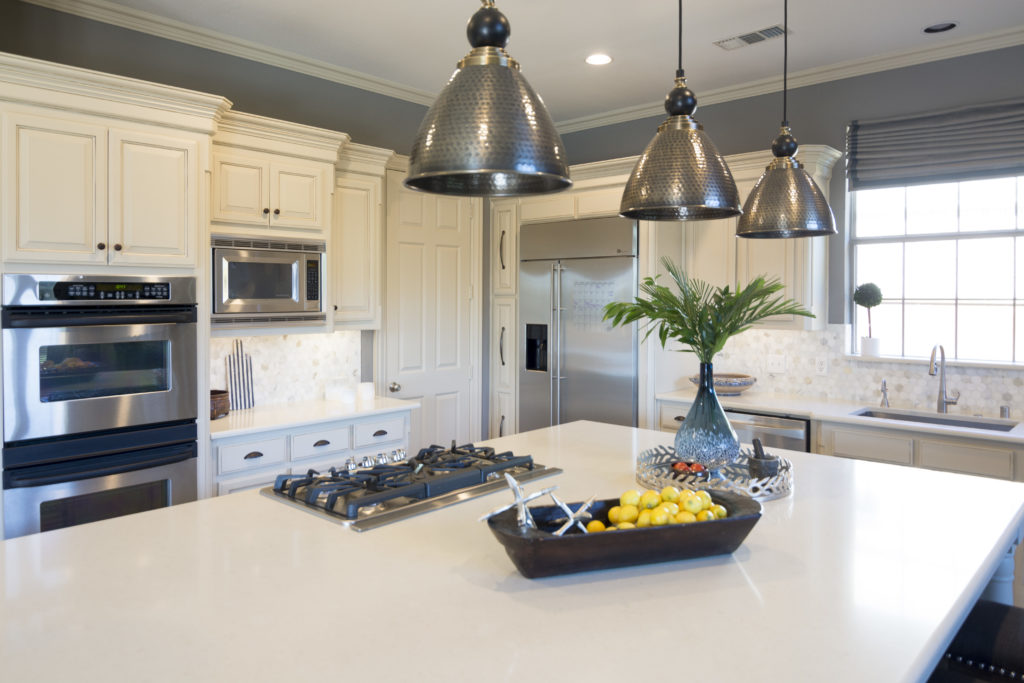
AFTER
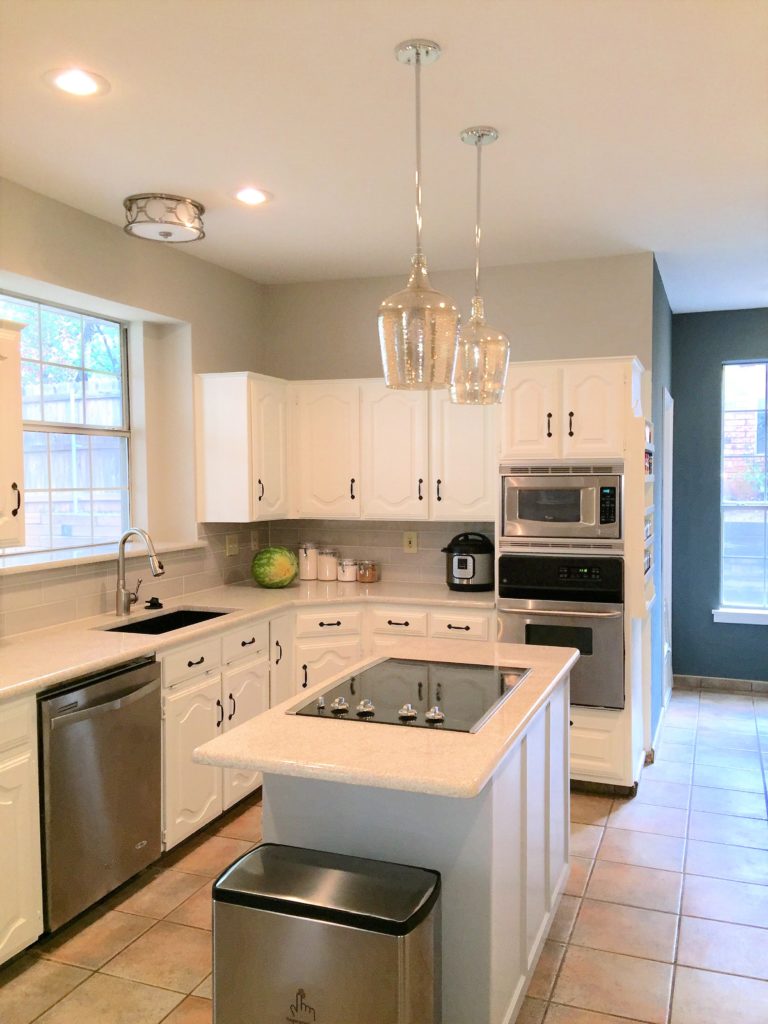
The client really wanted new countertops so that was our priority. We selected a neutral countertop and extended the countertop on the island to give her more prepping room.
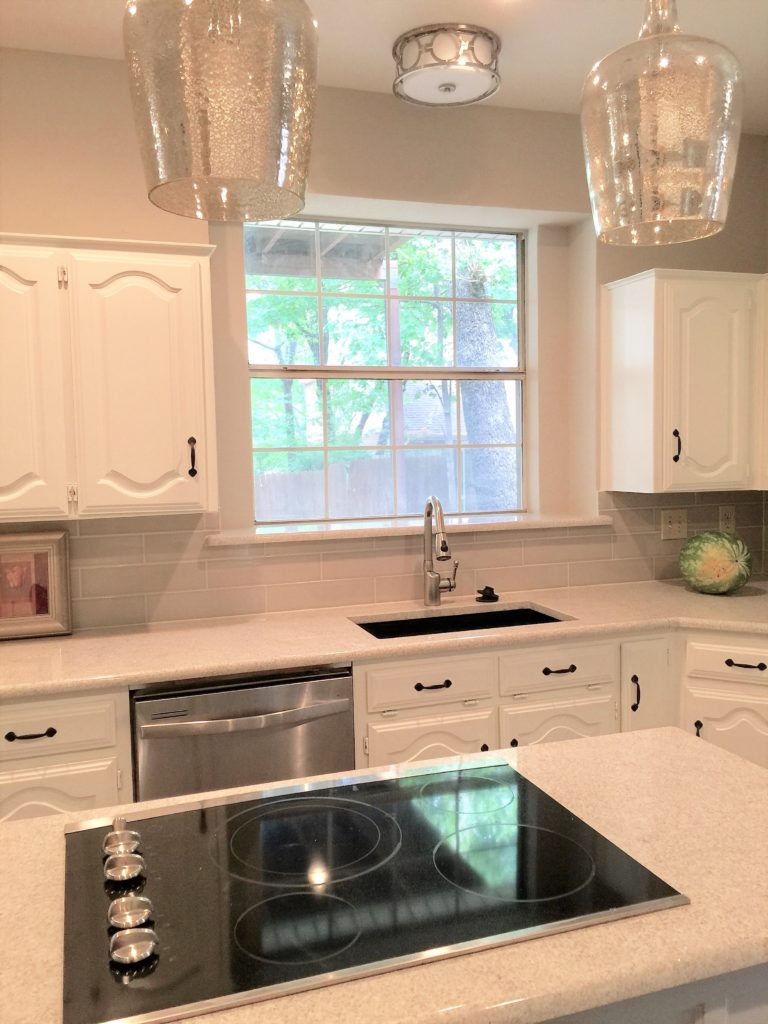
We added a gray subway tile backsplash and removed the overhead lighting and added recessed lighting. I just love the mercury glass pendants we chose for above the island, it coordinates beautifully with the new flush mount fixture above the sink.
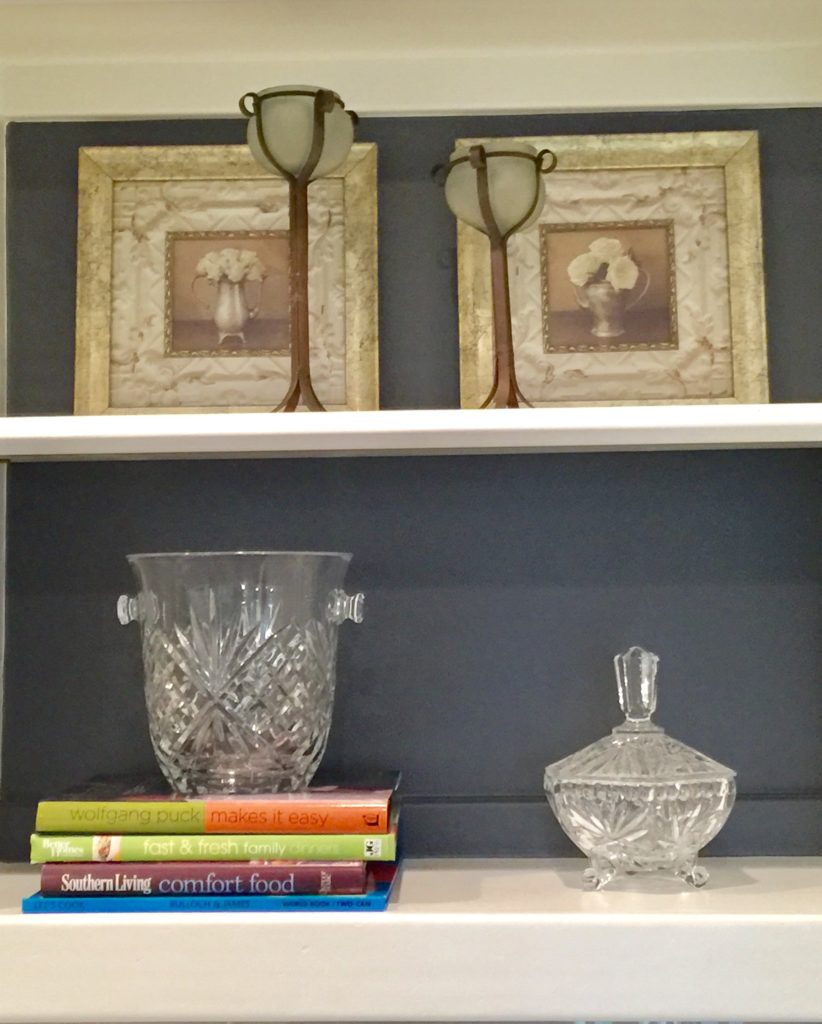
We painted behind some of the open shelving and staged it with some of the items she already had.
Next was the family room.
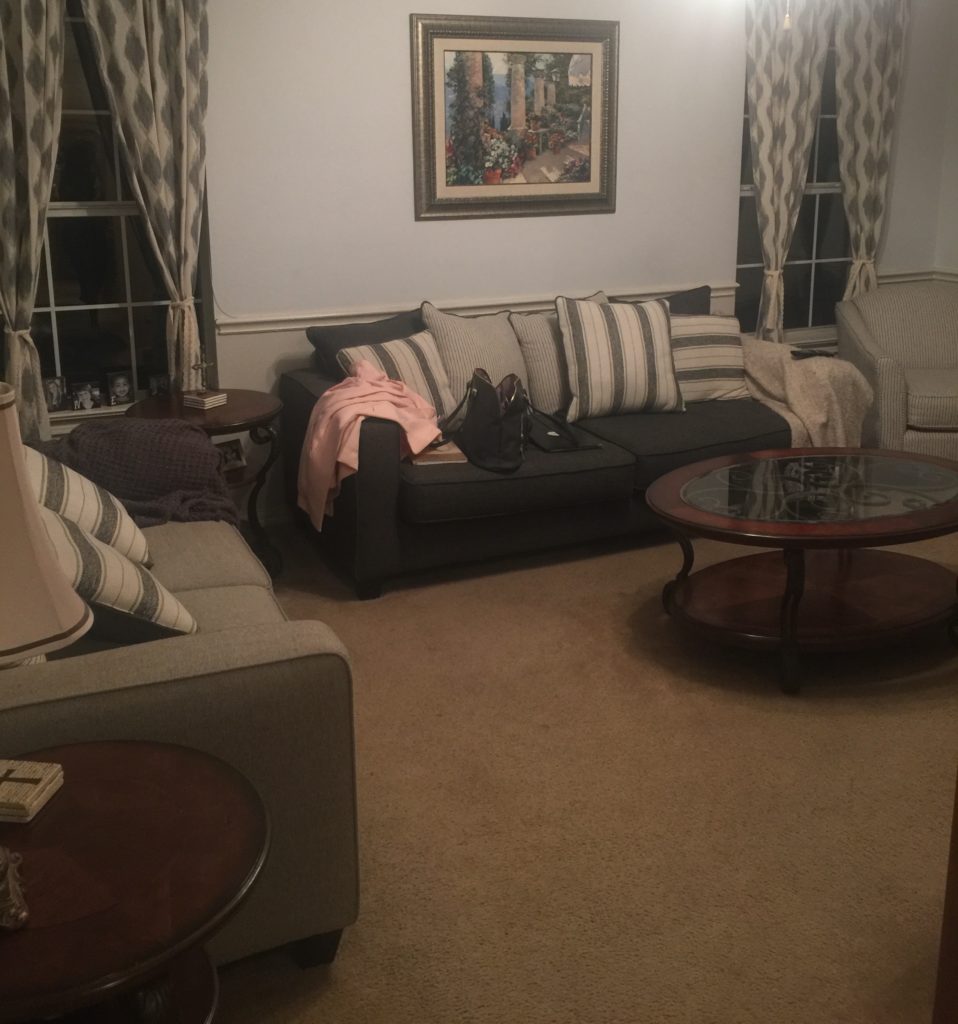
BEFORE
AFTER
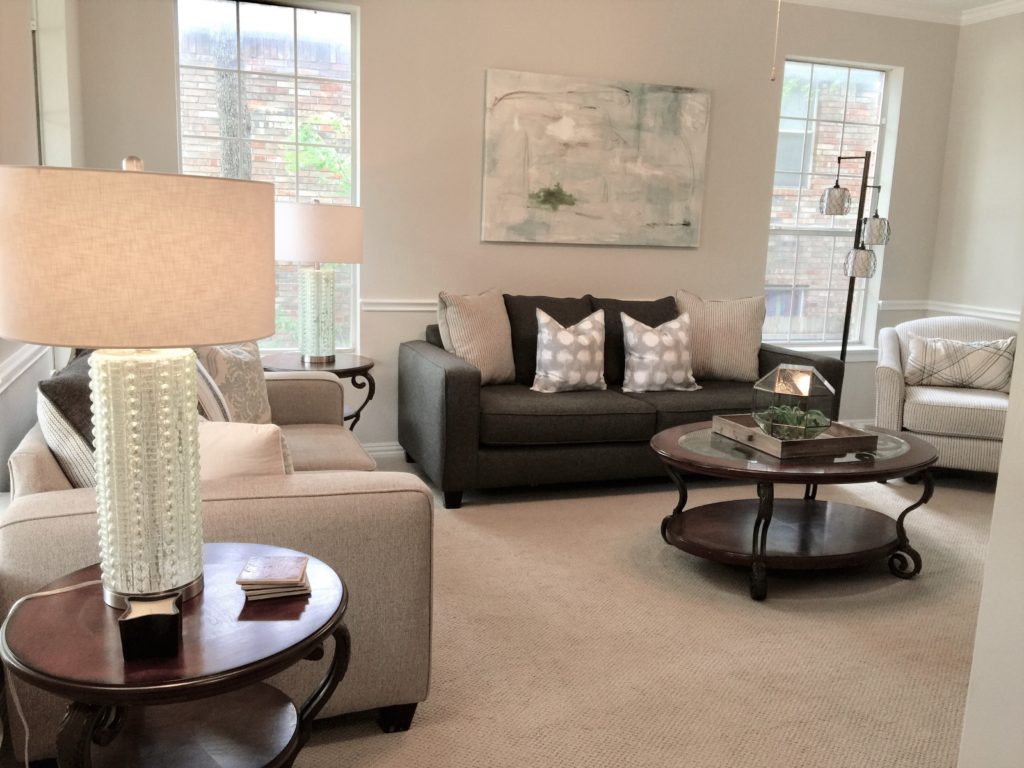
We painted this entire room to lighten it up and added new carpet. We took down the drapes (they were too short), hung new artwork and added lamps for a touch of color. The client wanted a fresh, clean look so that's what we did for her.
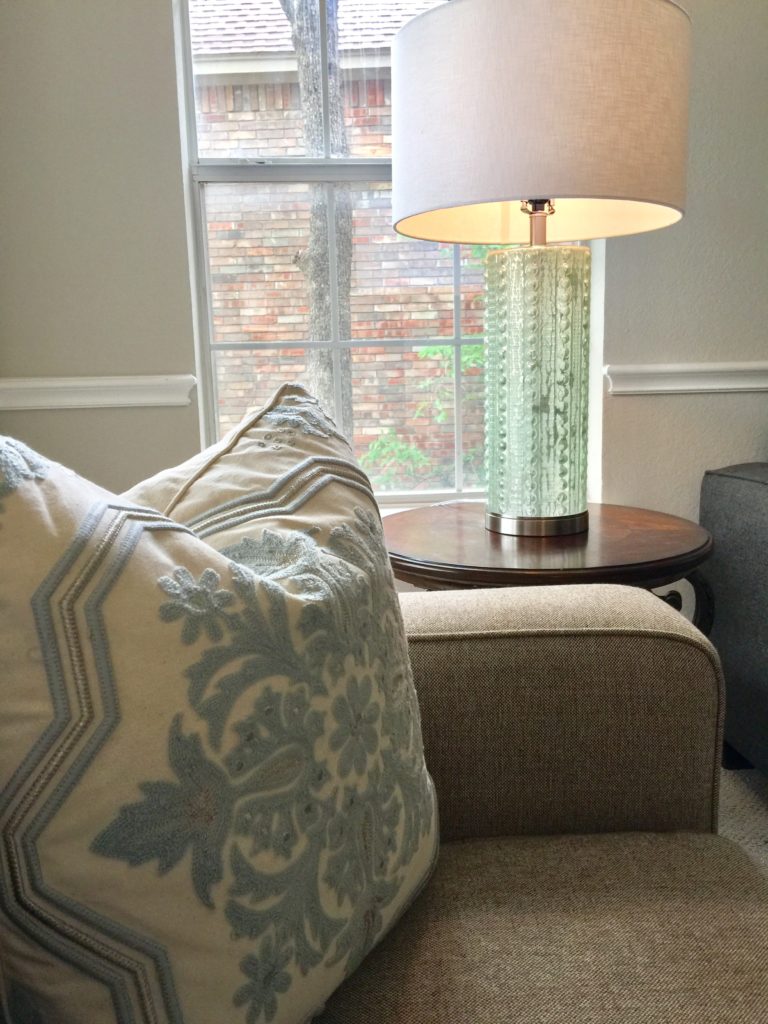
The couch had too many "matchy" pillows.
Ruthie Tip: When you purchase a couch that comes with all the matching pillows, that really cheapens the look. By taking some of the matching pillows out and adding a few throw pillows to break it up, it gives it an instant makeover and looks more collected, rather than cookie cutter matching set.
Next up was the fireplace.
BEFORE
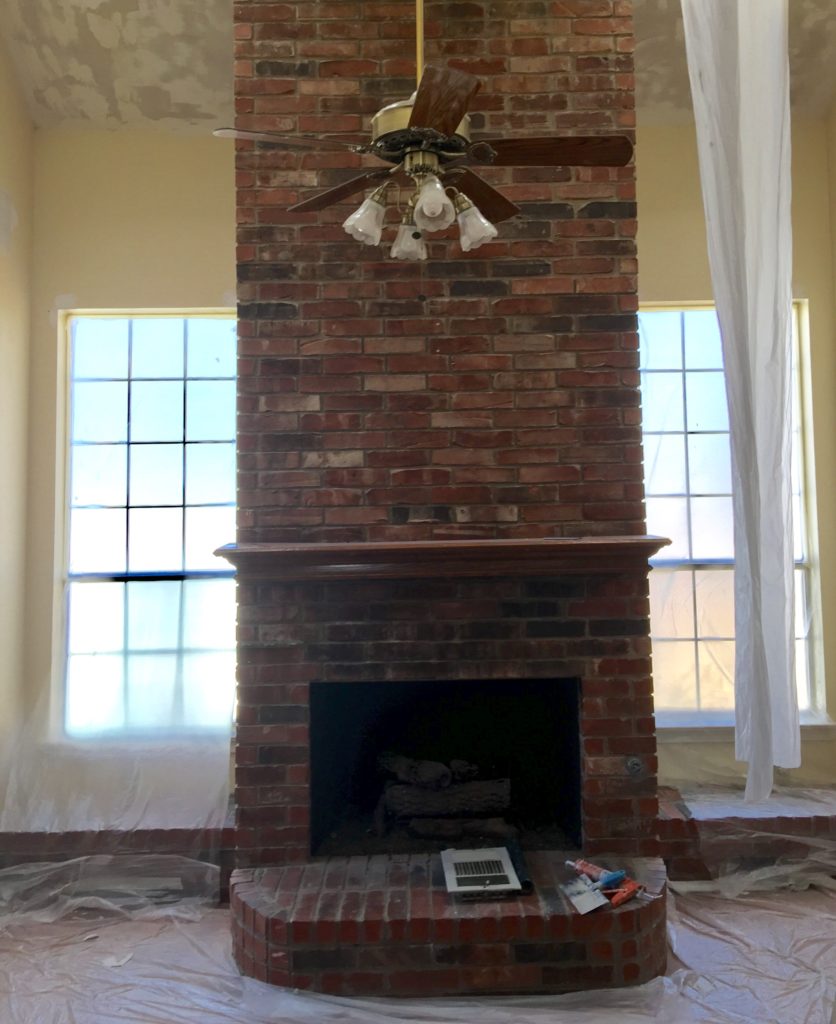
This fireplace brick was really pink and wasn't modern enough for the client. We decided to paint it a gorgeous gray to give it a makeover. It worked and turned out beautiful.
AFTER
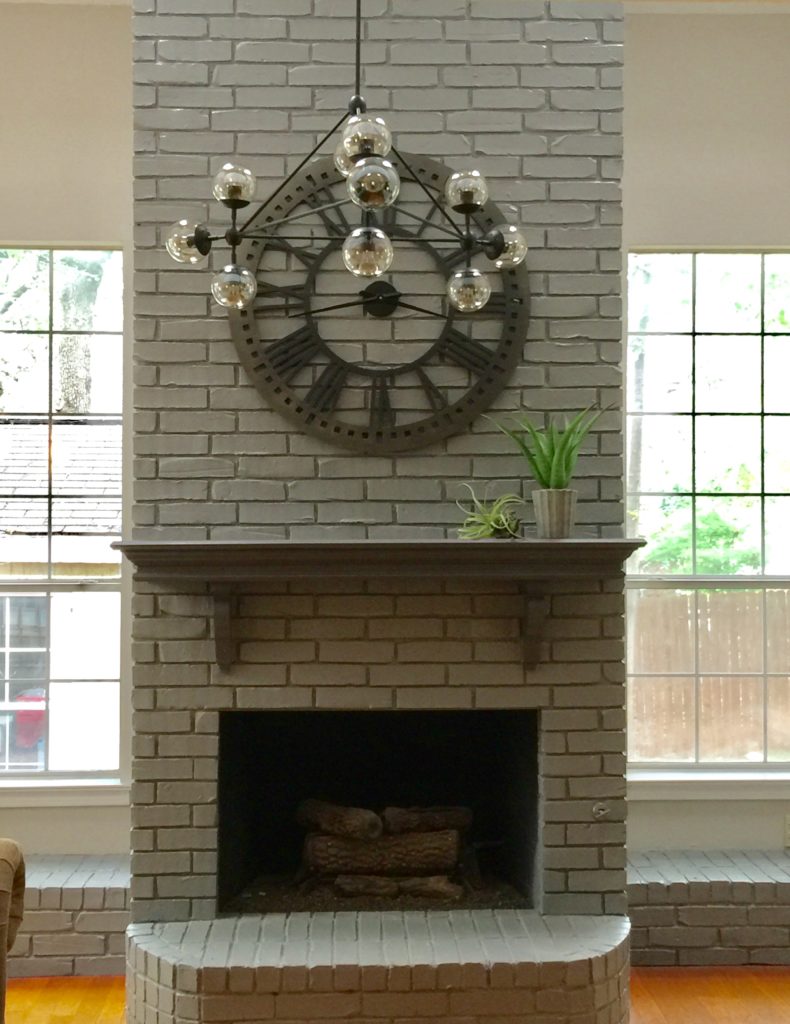
We took out the ugly fan and added a stunning chandelier that makes this fireplace come alive. Paint covers a multitide of sins! The mantel itself was a little small so we added corbels underneath the mantel and that made it look more to scale.
I absolutely love this kind of transformation. The client wanted their home updated so they could enjoy it more. It doesn't always mean you have to gut the entire place. What I love about my job is that I get to give home owners ideas that can update their homes without breaking the bank.
Of course, I have clients that want to gut the entire house and transform it all because they do have the budget to do so and that is awesome! However, I also love to see families update their homes conservatively too. Some people choose to do nothing because they can't afford it. Don't do nothing, any home can be turned into something wonderful with some good ideas and creativity.
I'm off to Highpoint tomorrow to be a part of the Design Bloggers Tour. Follow me on Instagram, Twitter and Facebook to see behind the scenes. So looking forward to getting to know these fabulous bloggers and seeing all the new trends in design for 2017/2018.

I'm also taking over Interior Design Society's National Instagram account on Friday while I'm at Highpoint. Follow along too for new trends and behind the scenes showroom tours.
McKinney Large Island Kitchen Makeover
I just finished up a kitchen renovation this past week. The client wanted to enlarge their island so it was more functional for their busy family.
They wanted to keep the existing floor as well as the cabinet color. I am alwasys happy to work around a budget because sometimes it just isn't affordable to totally gut a kitchen and start over. I'm know as the designer that can work within the clients budget and pull it all together beautifully.
BEFORE
AFTER
We took out the old island and had a new one made for them. We added storage to the side of it and some great column legs. We painted the island a nice blue/green color from Sherwin Williams to make it the center of attention.
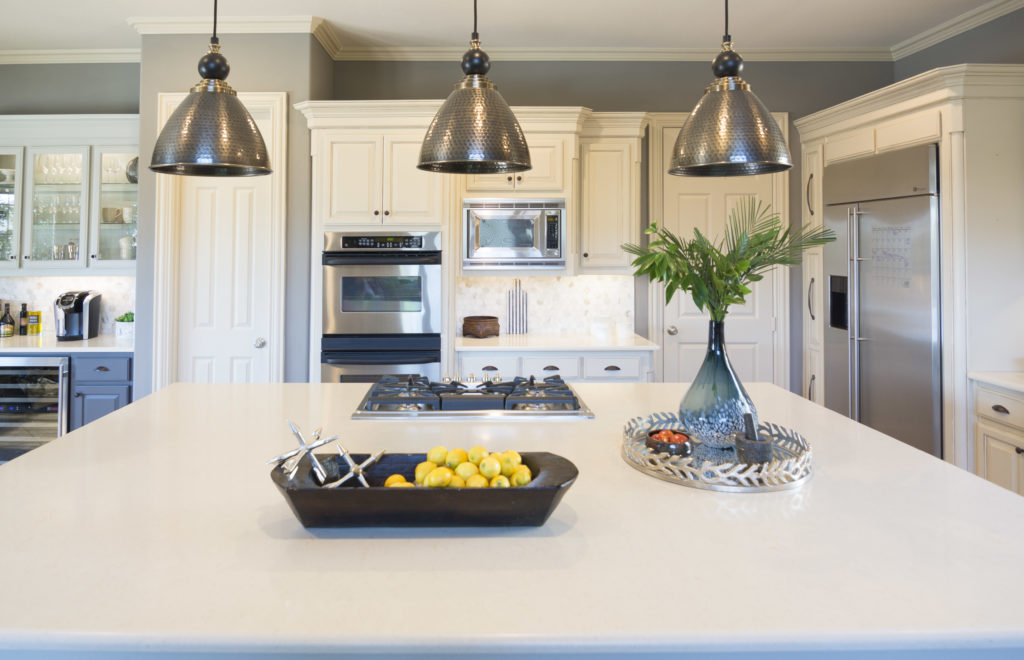
We chose a creamy white quartz countertop and made sure it worked with the cabinet color. We chose beautifully.
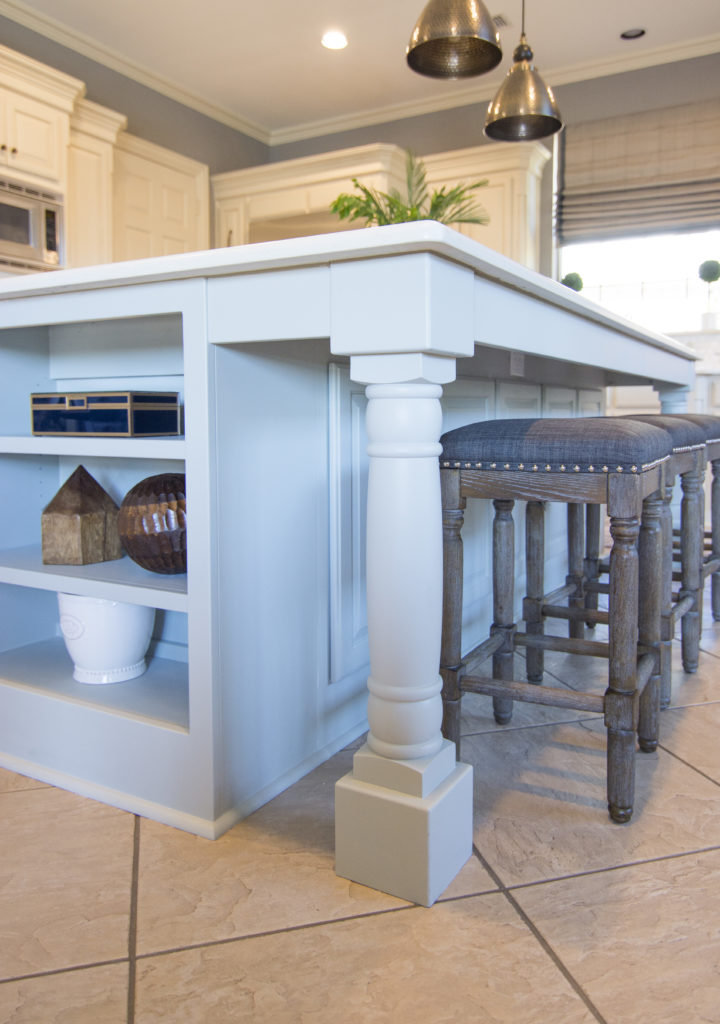
I just love the new legs! They really add some charm to the kitchen.
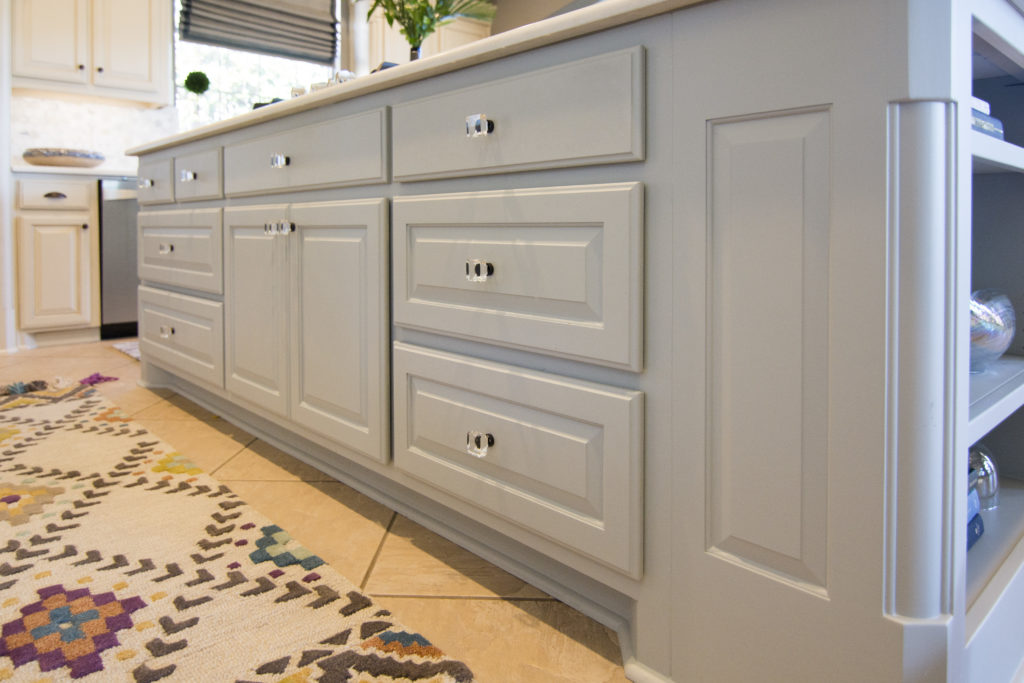
We added crystal knobs to the island. They are brushed bronze like the rest of the cabinets but the crystal makes the island unique.
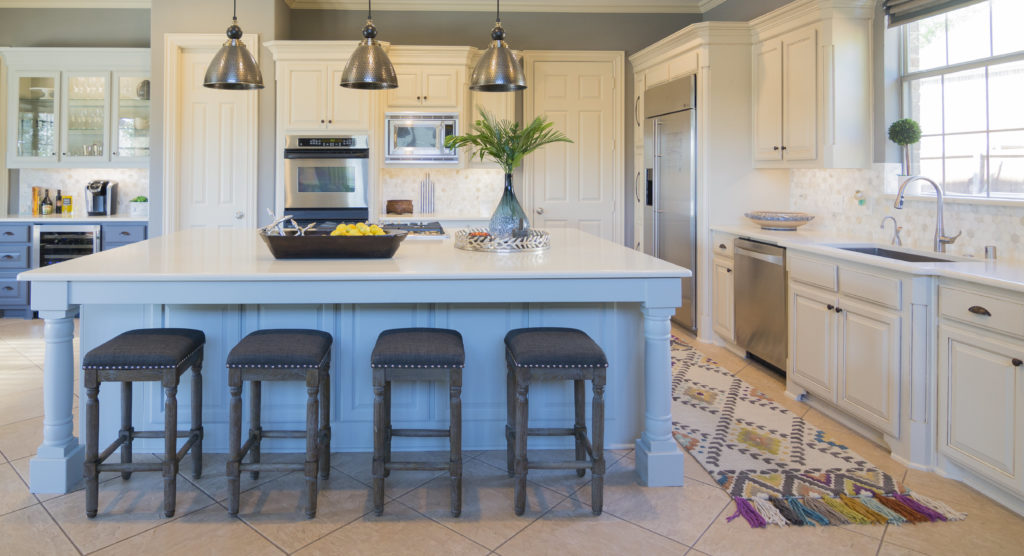
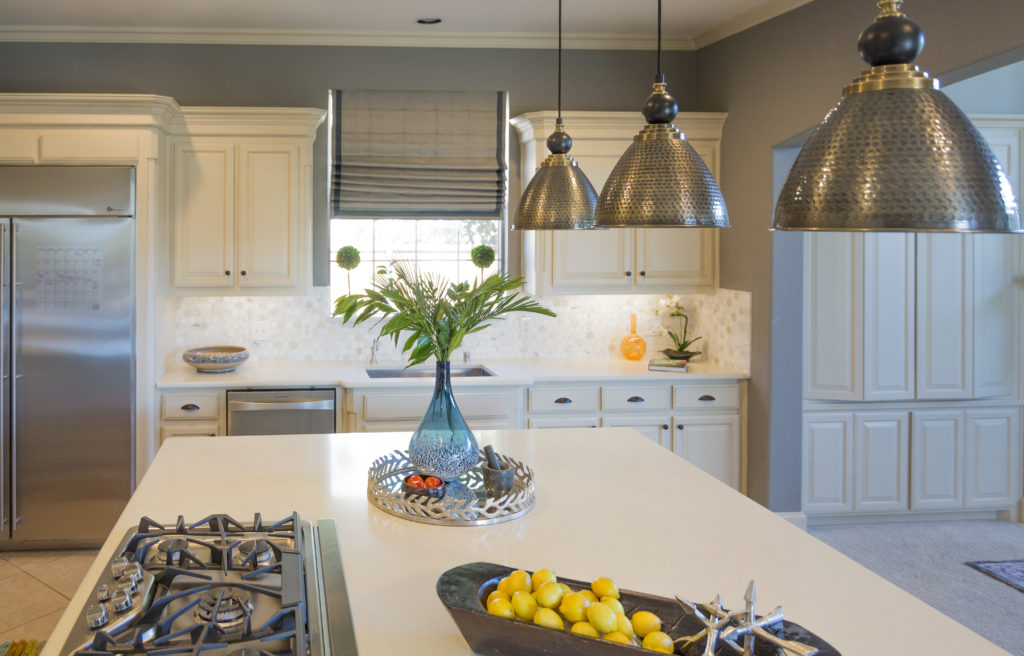
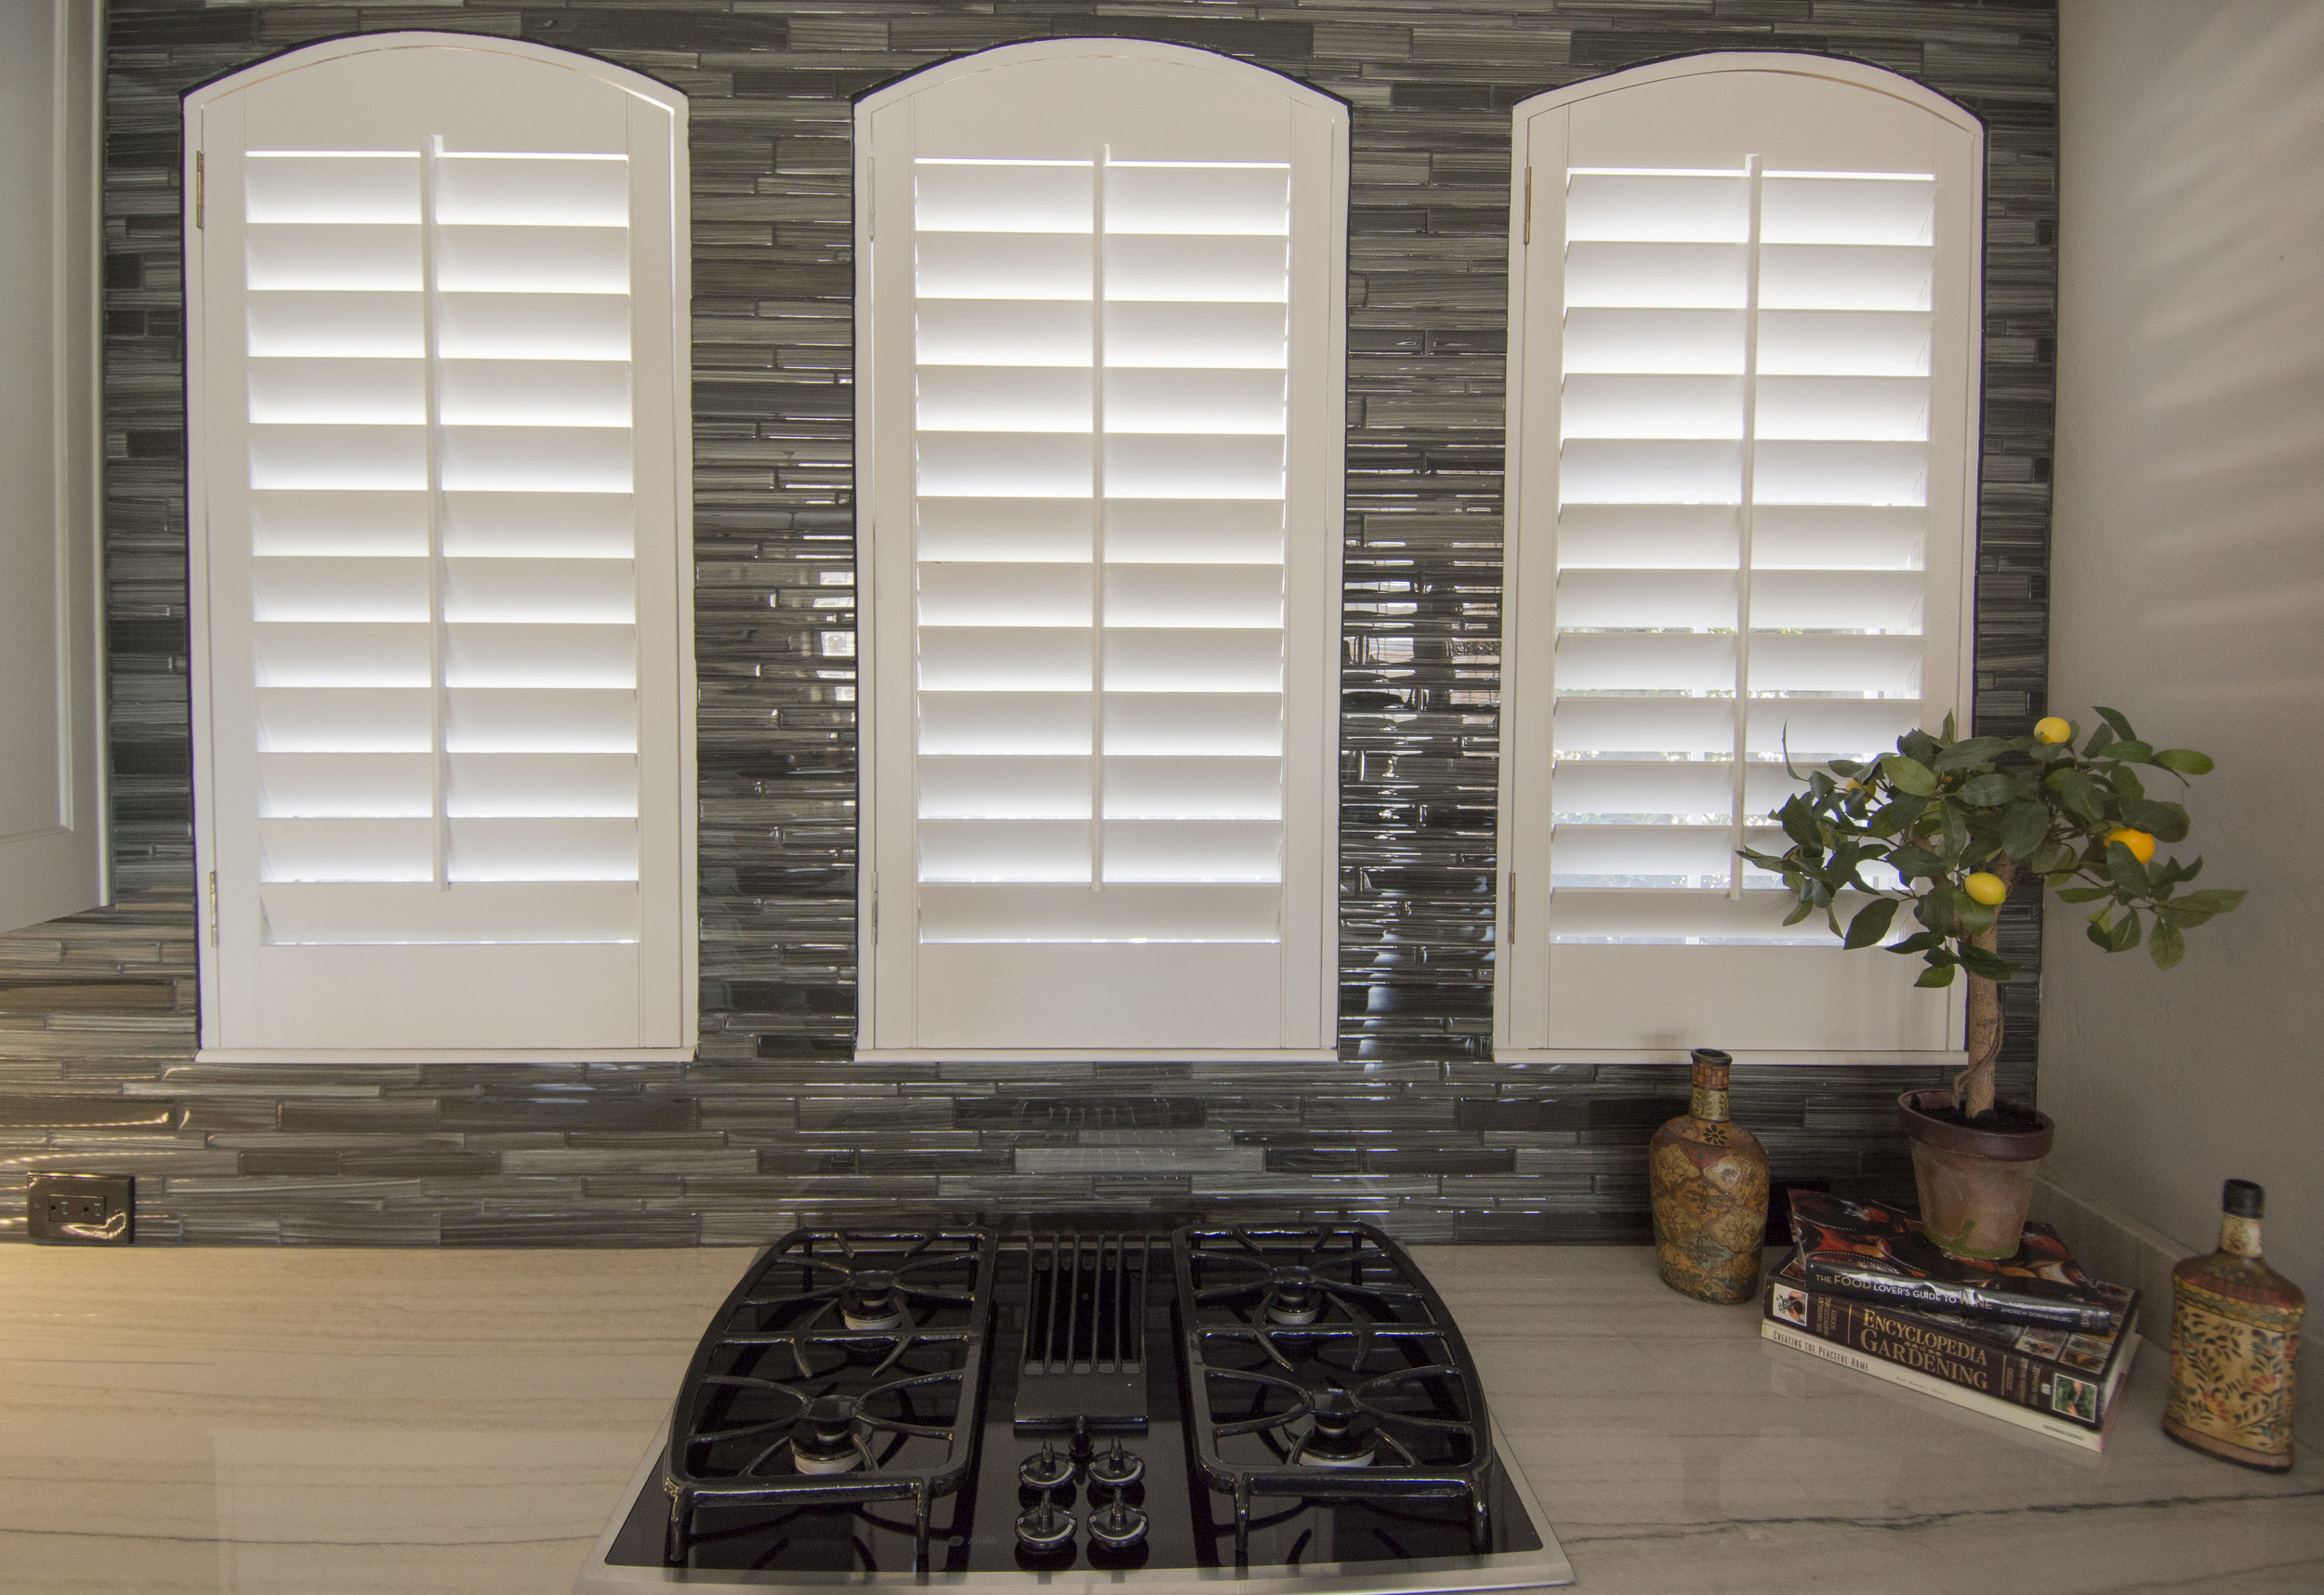
We added 3 new pendant lights and painted the wall too.
BEFORE AND AFTER
![]()
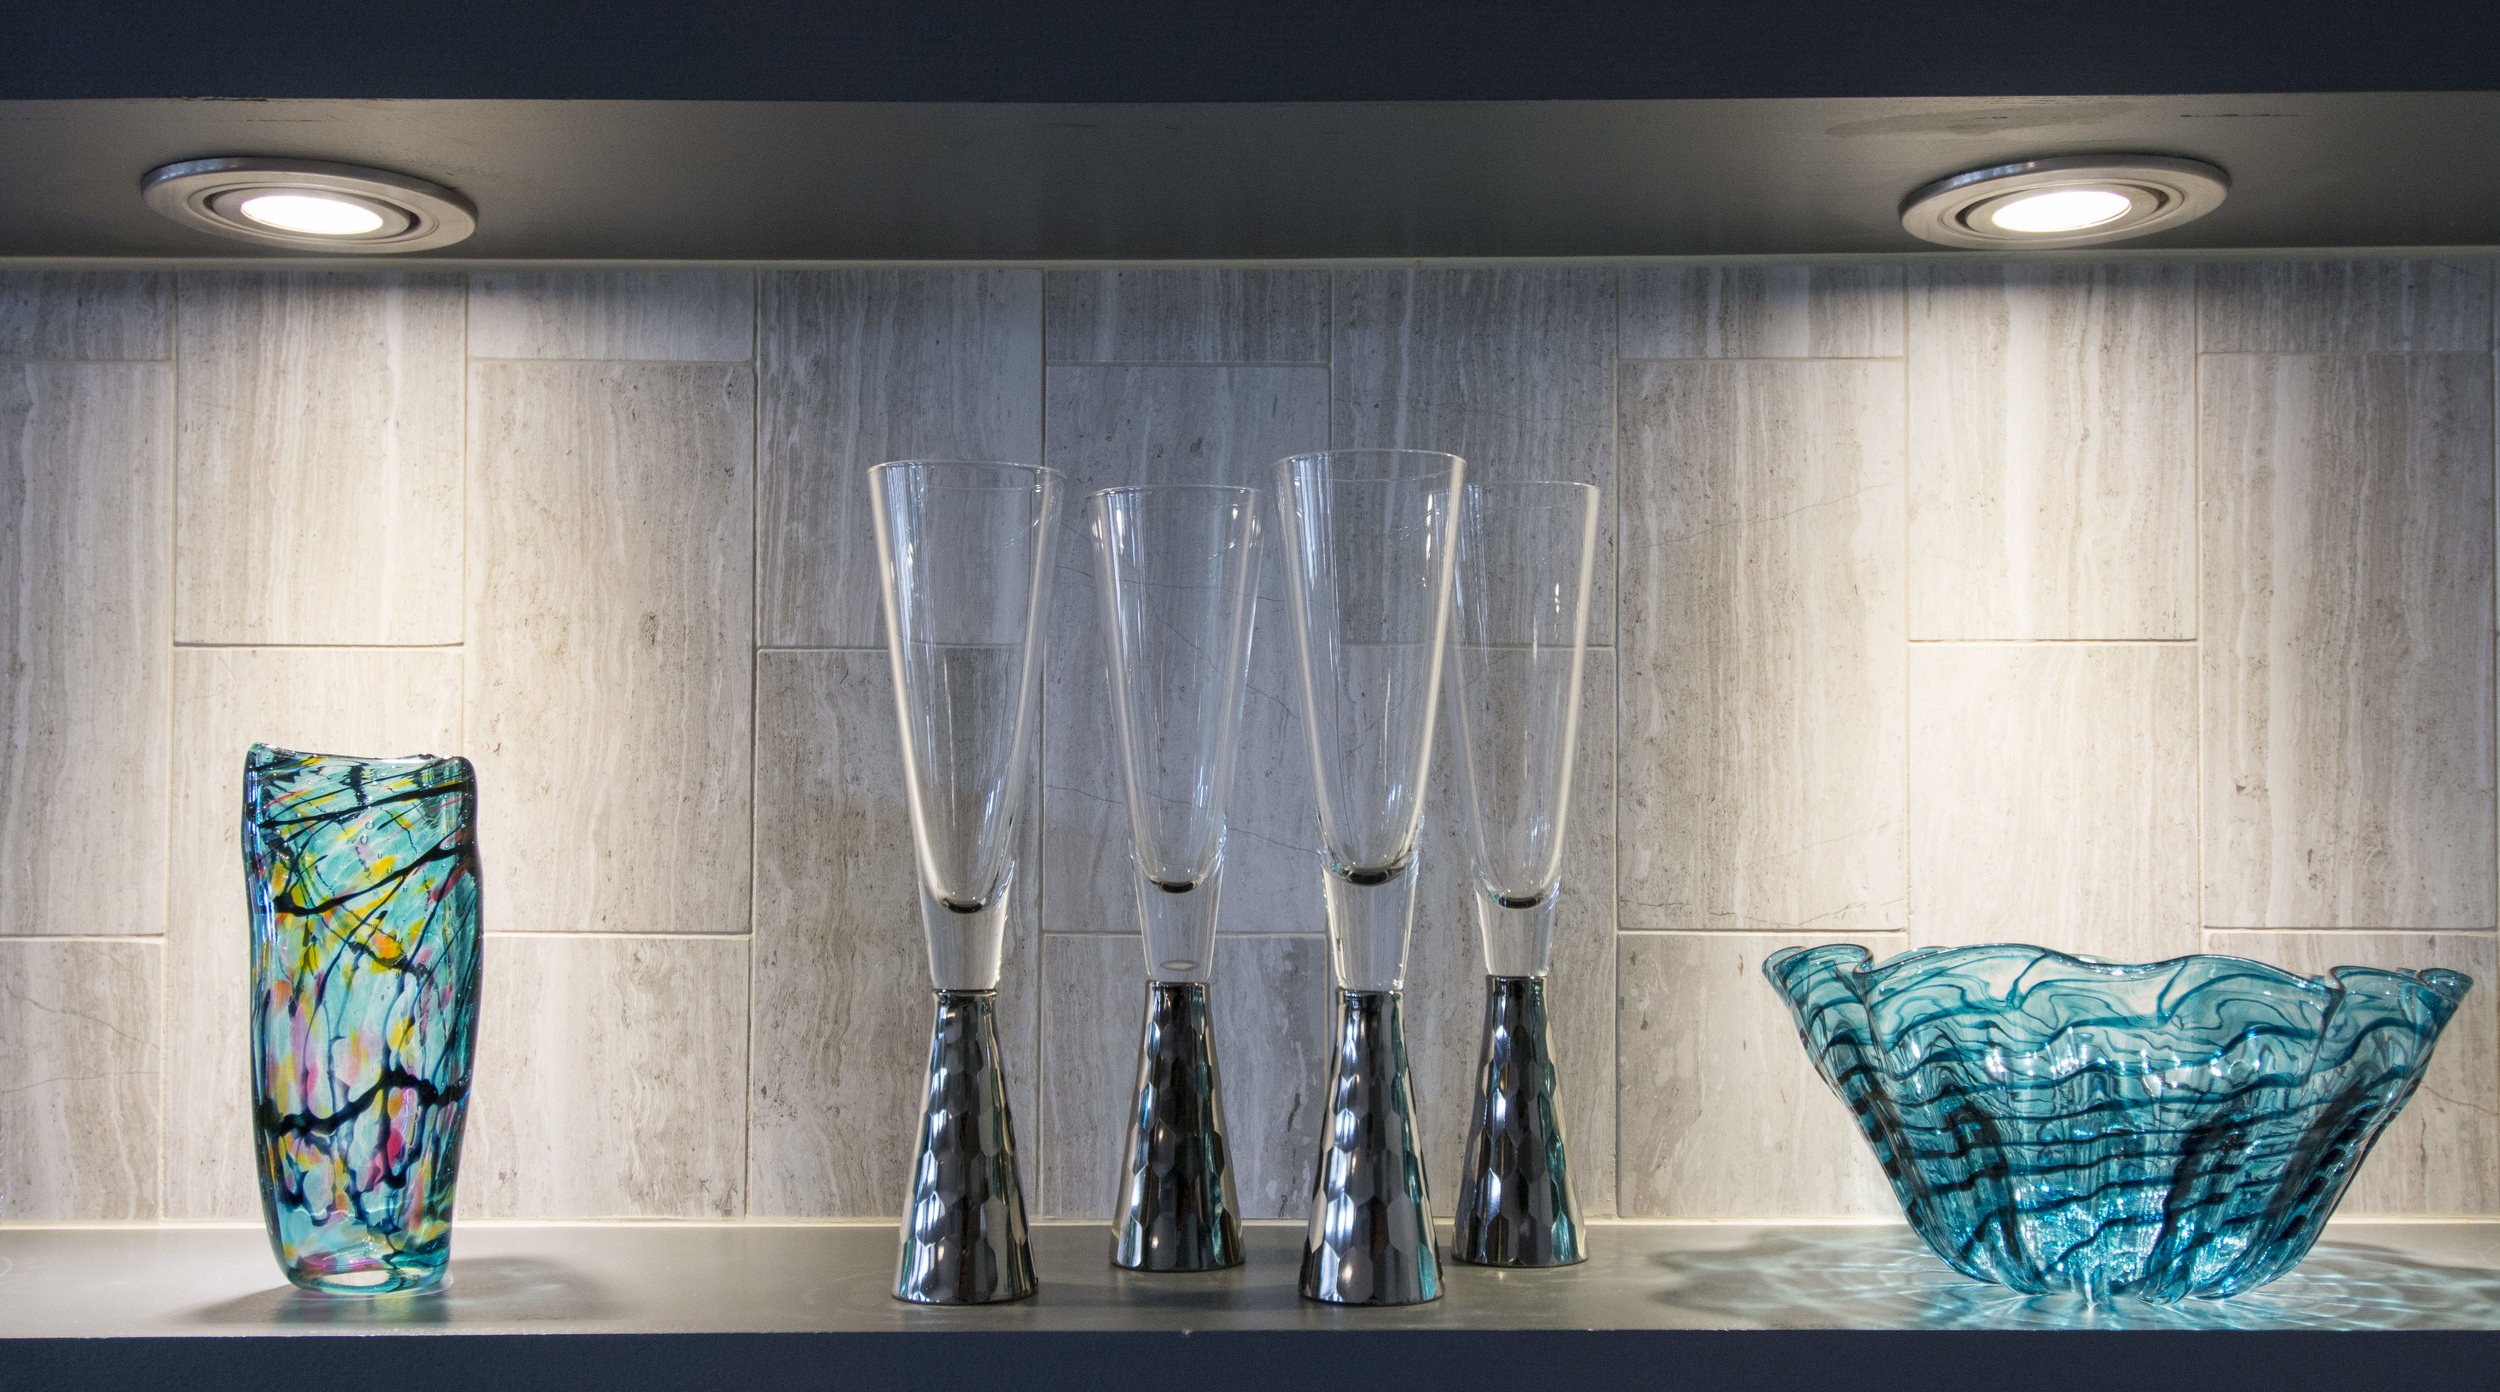
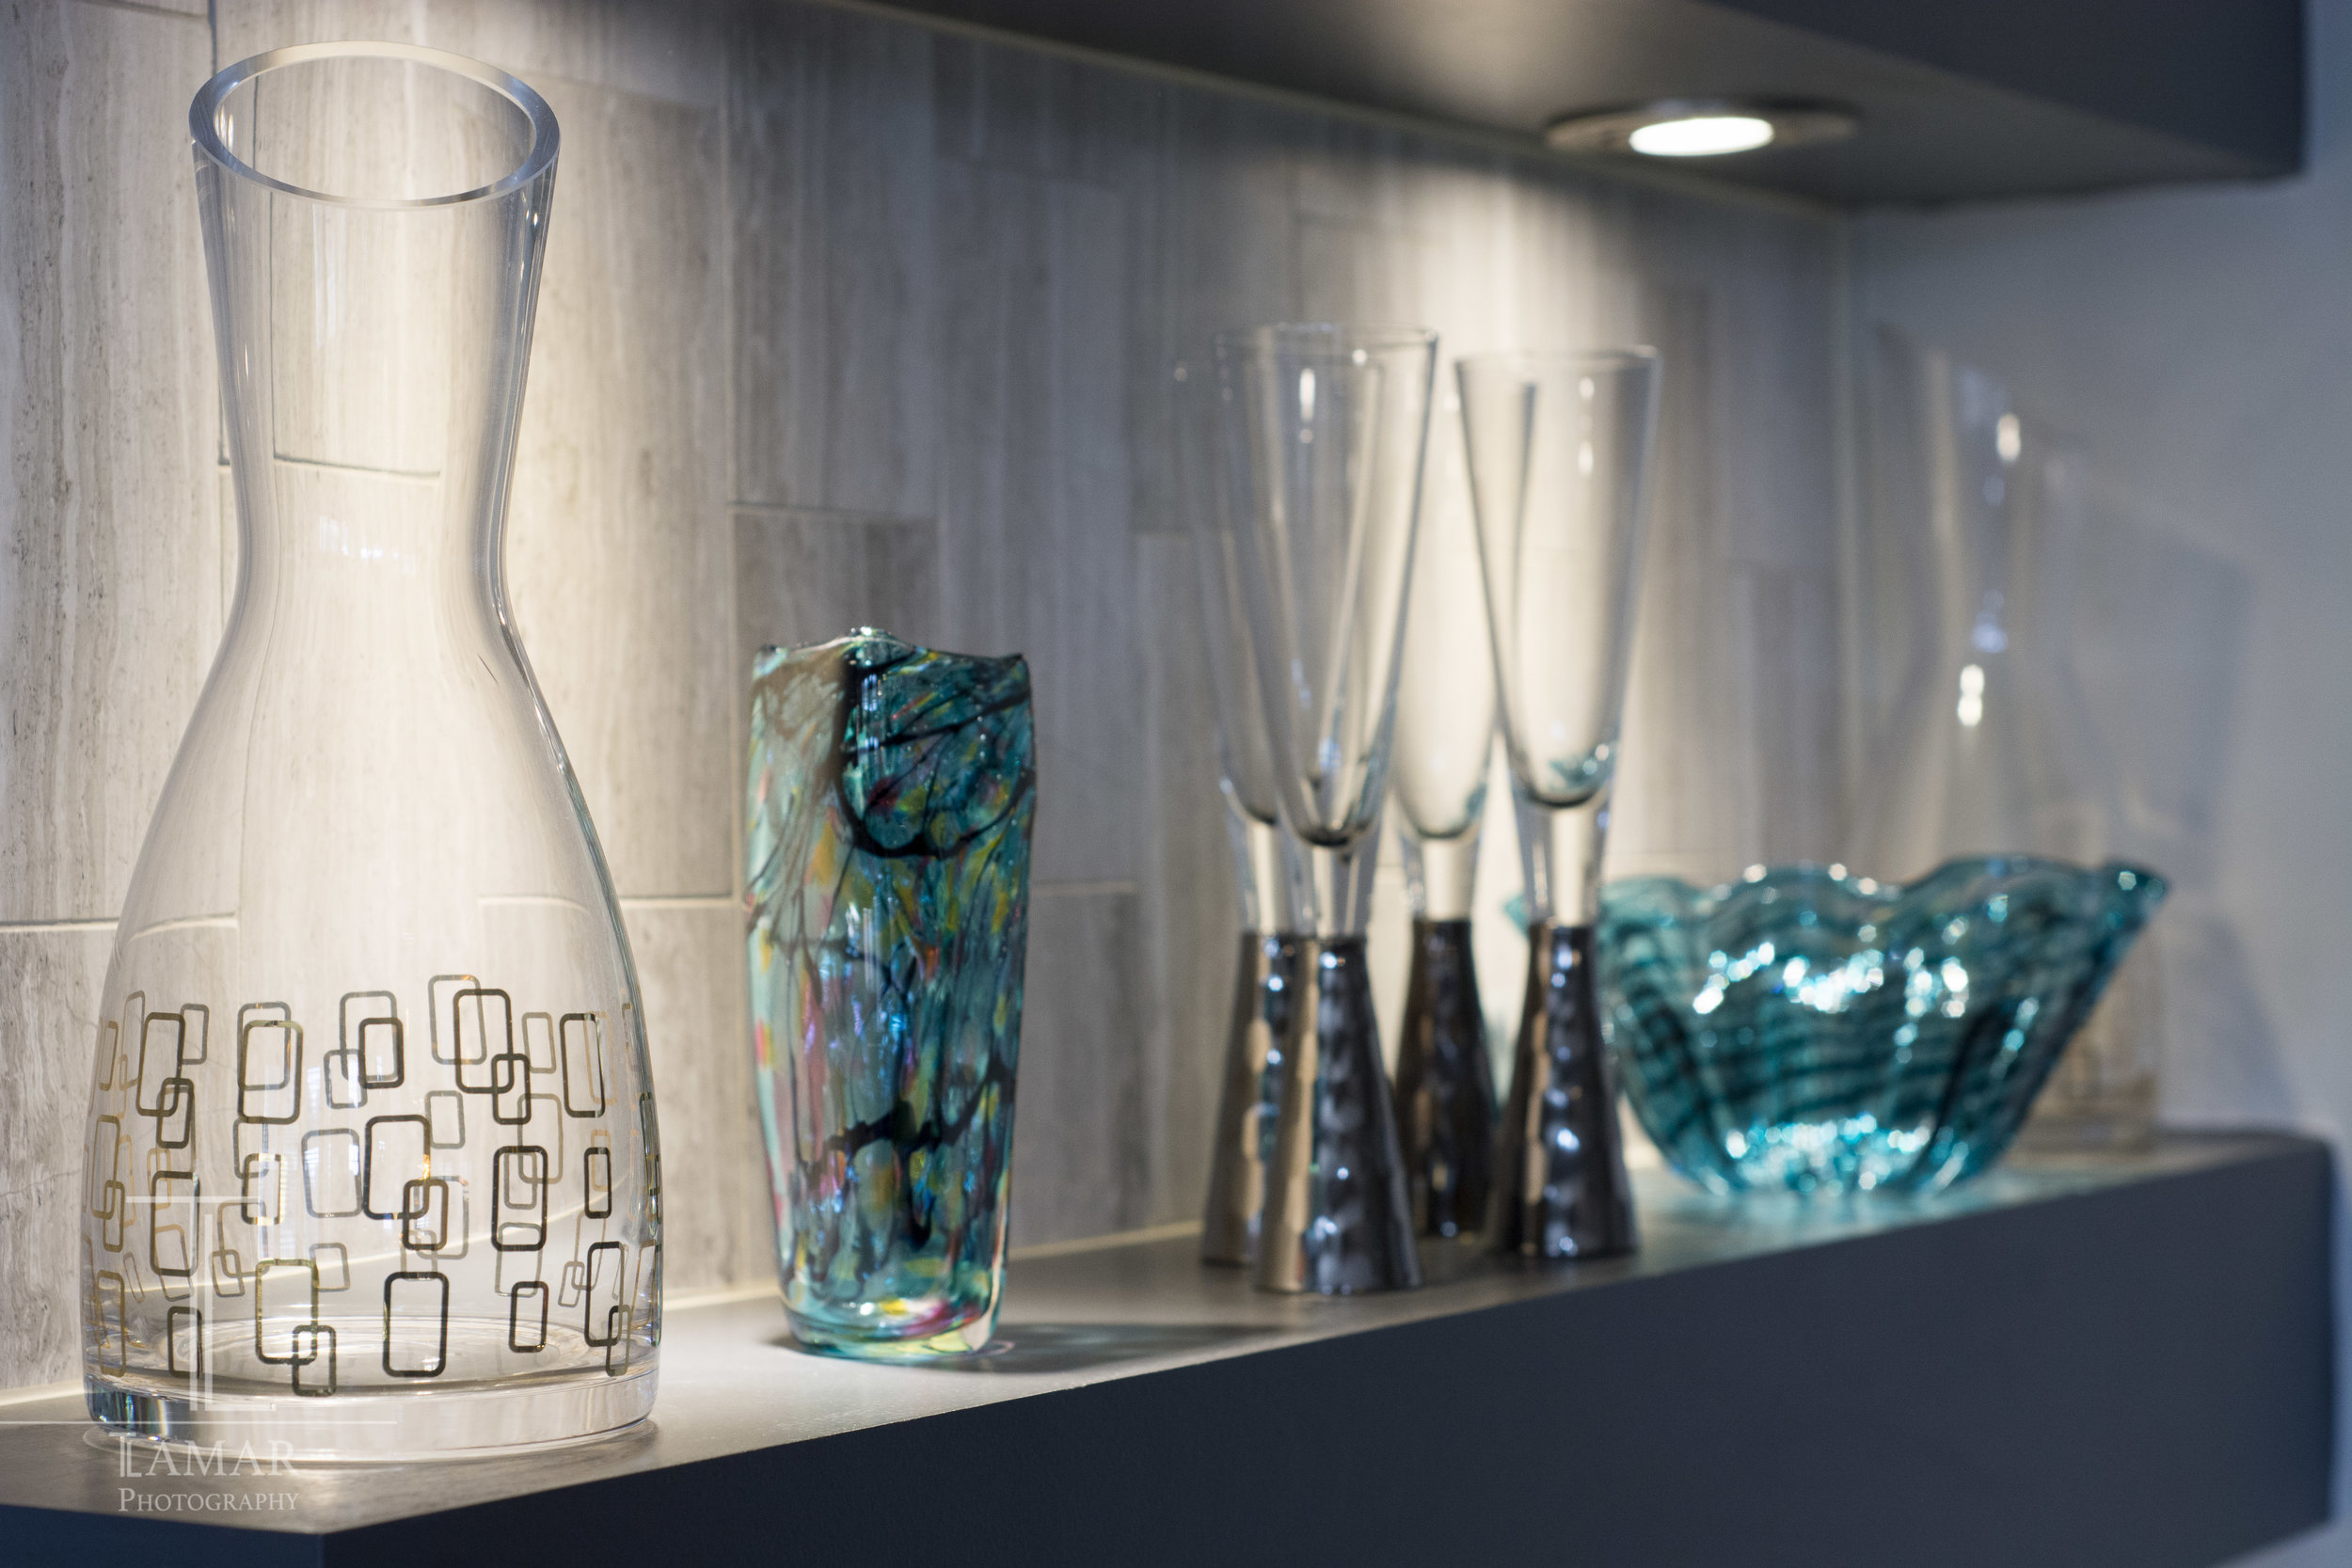
They had a built in desk area that wasn't used too often, other than a dumping ground for clutter. We turned it into a coffee/wine bar. We added glass shelving and lighting so we could display some pretty glasses and mugs. Painting the bottom half darker really made it stand out and gave it a sophisticated, classy look.

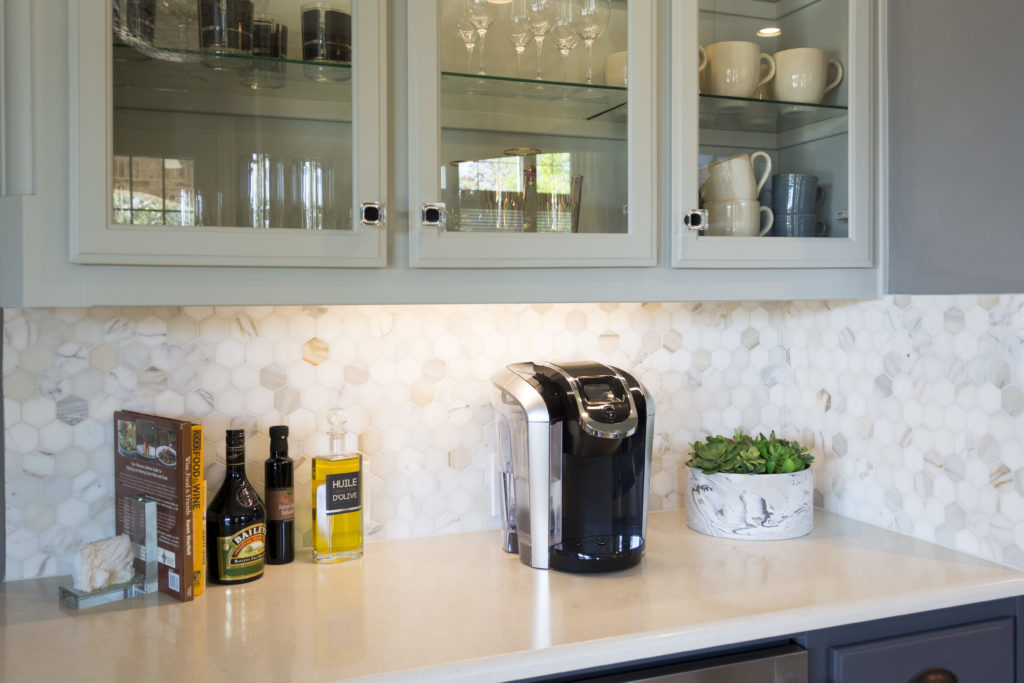
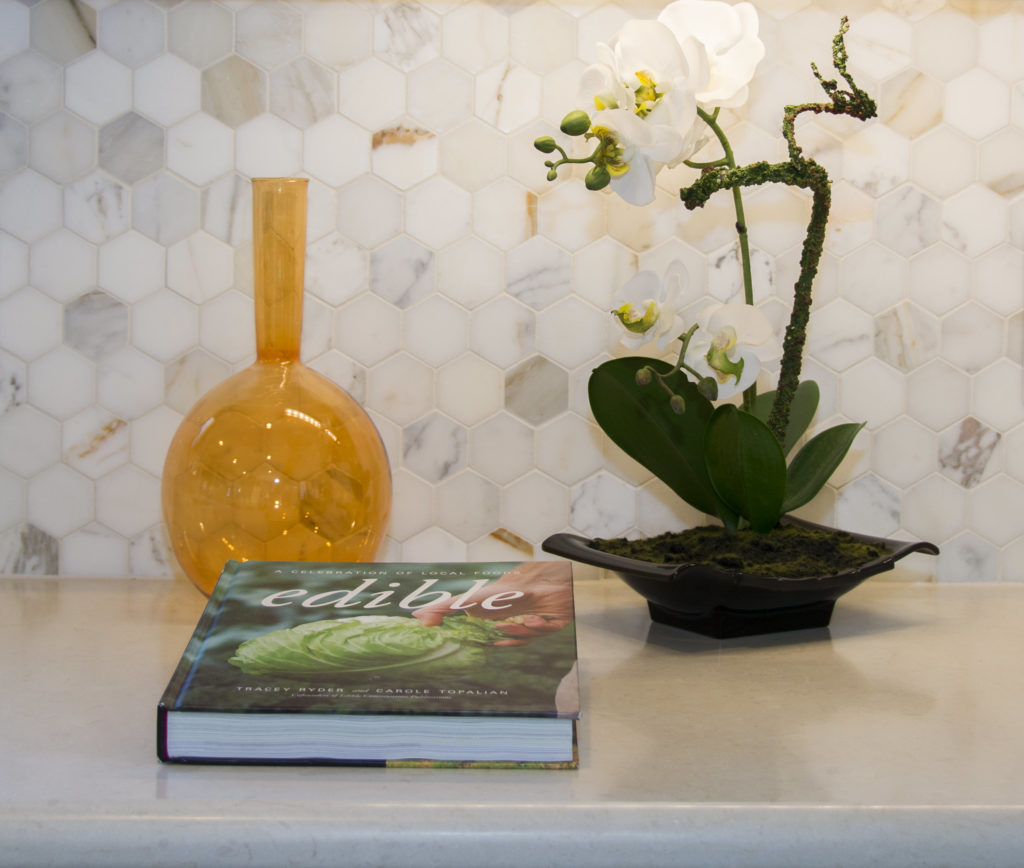
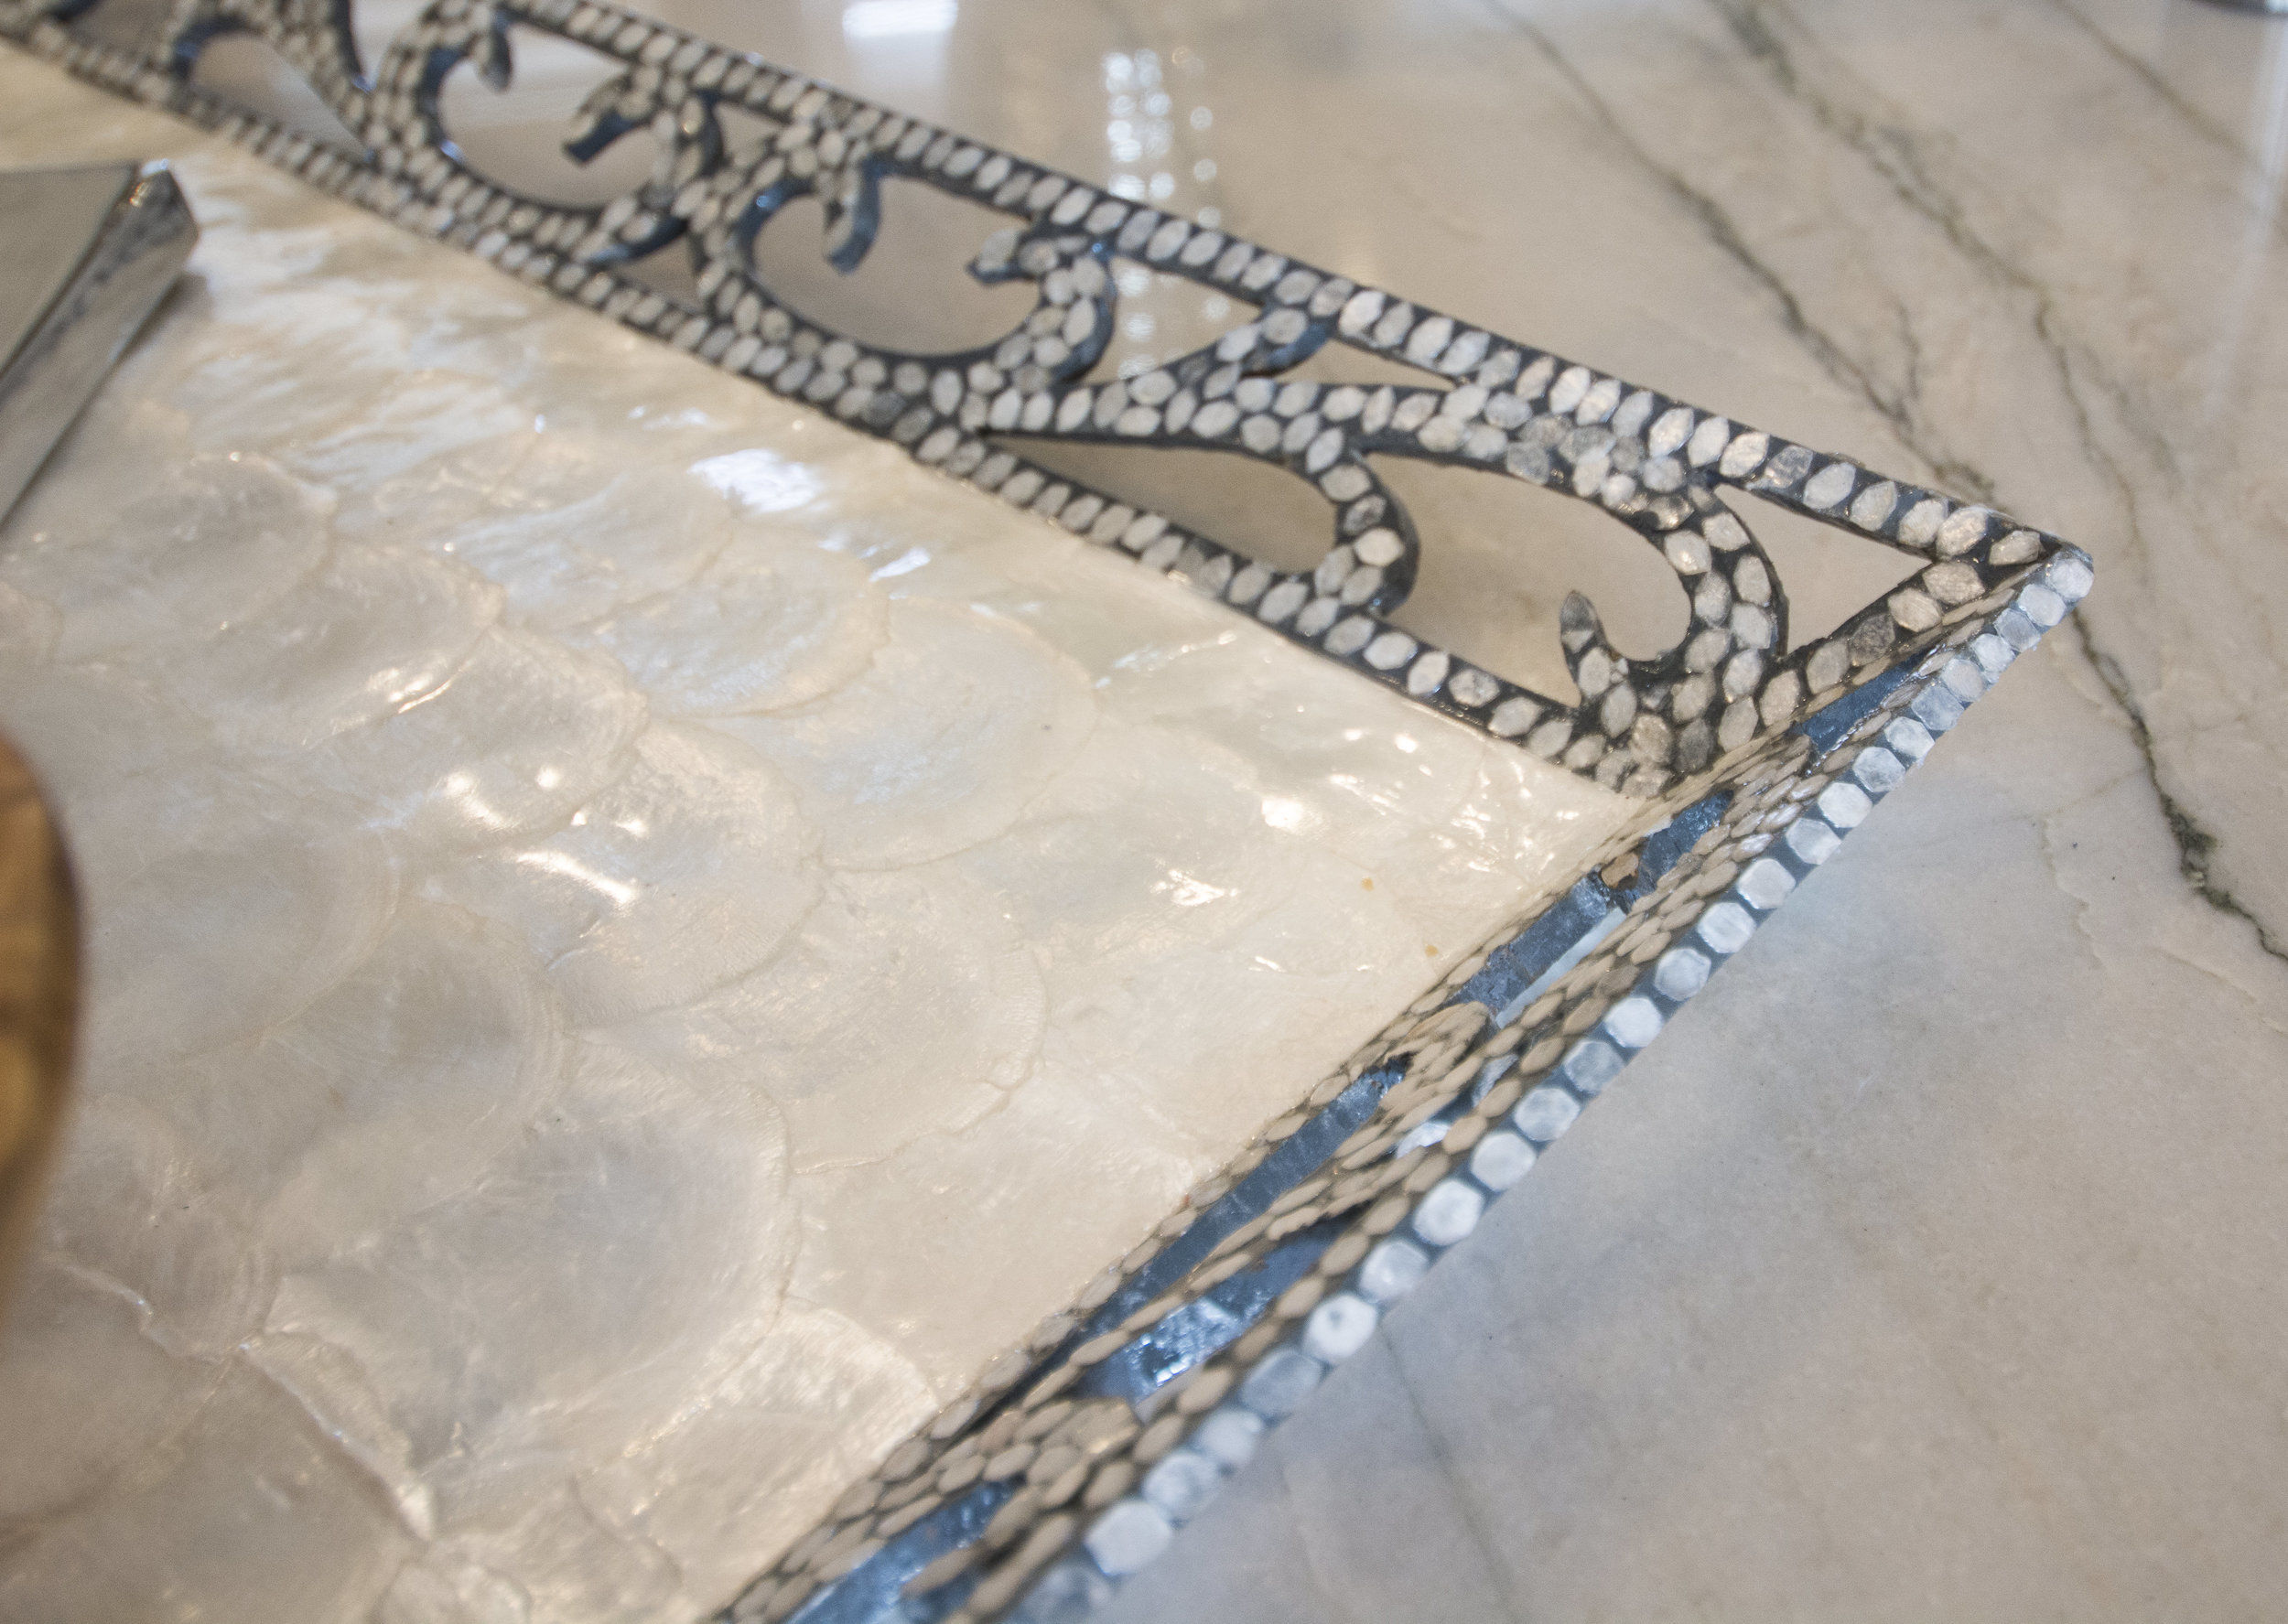
We changed the backsplsh in the entire kitchen. The honeycomb marble backsplash is to die for and makes the floor we couldn't change work. There is a touch of the floor color in the marble.
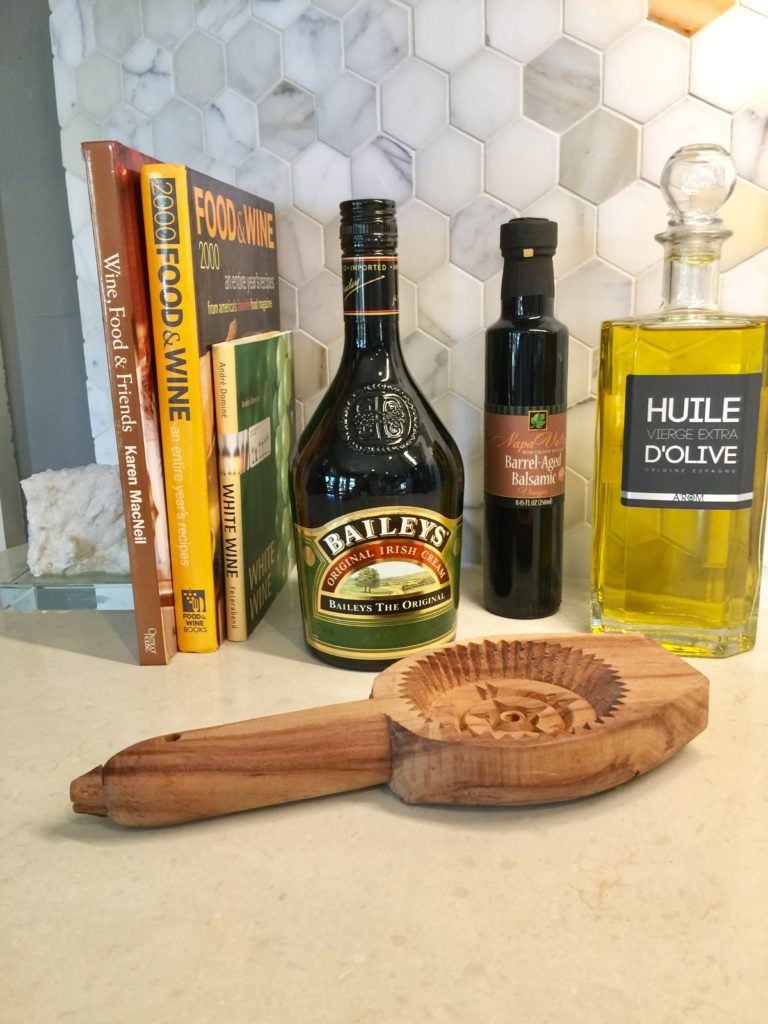
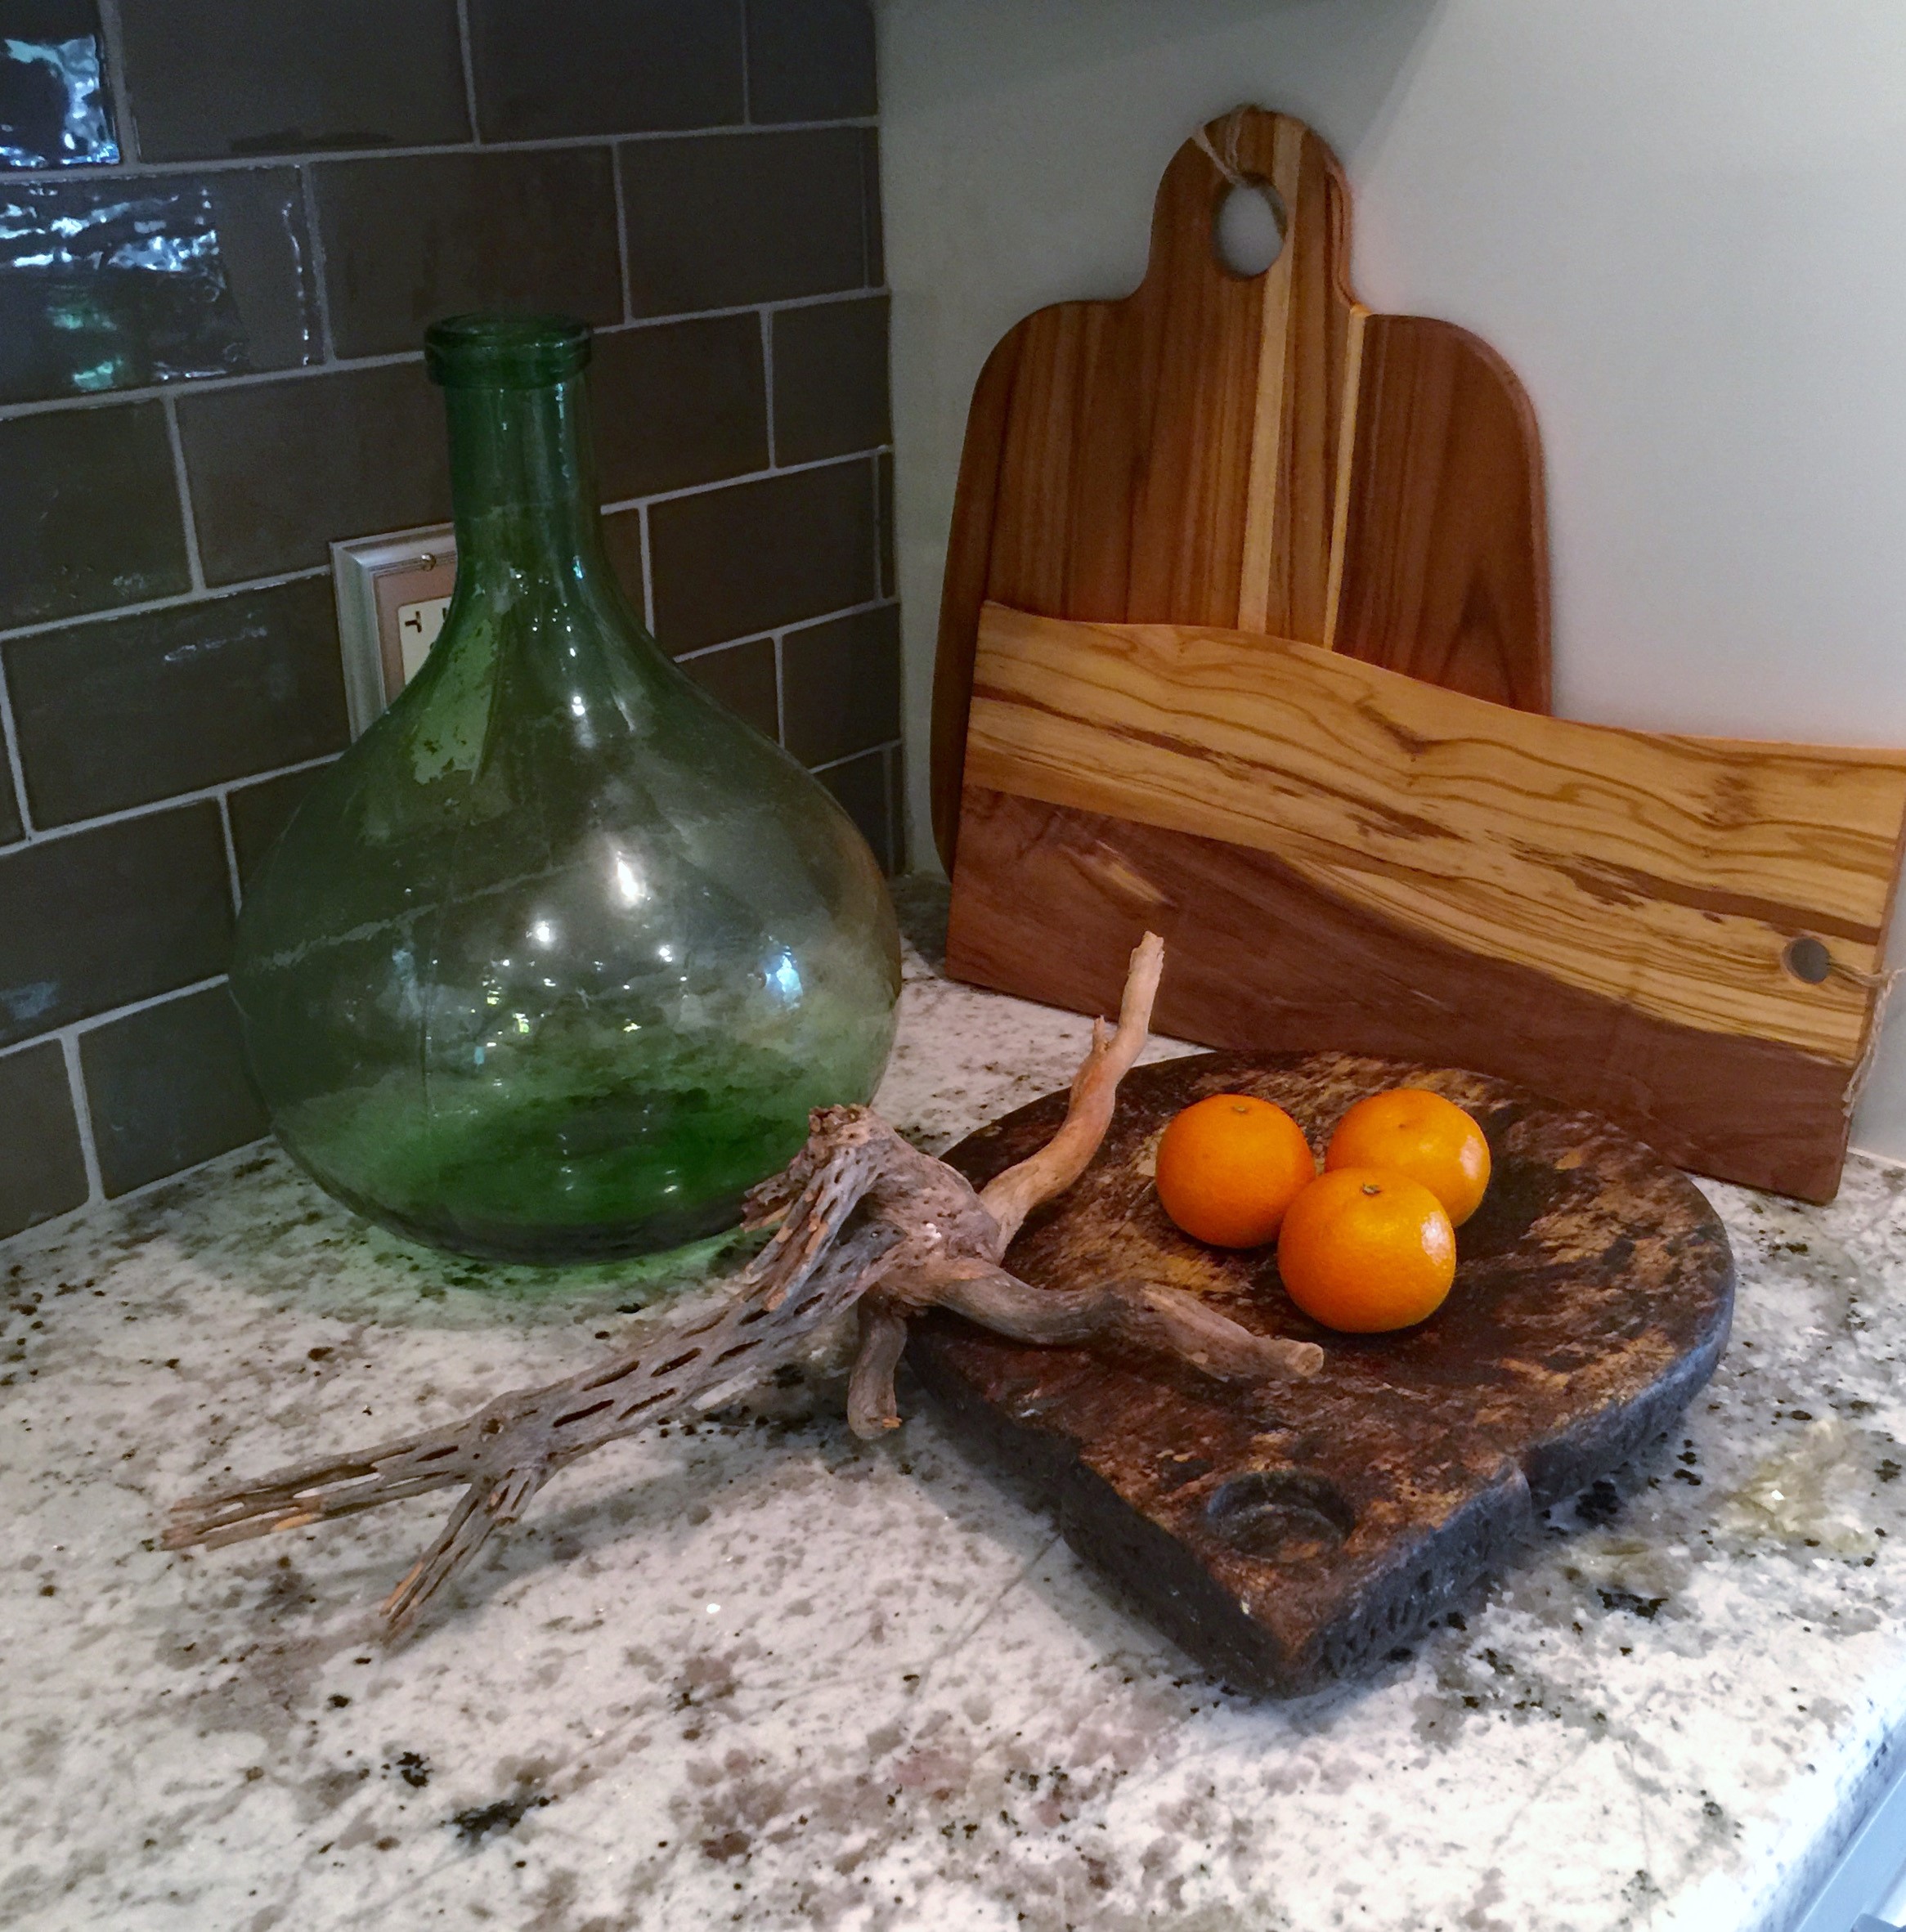
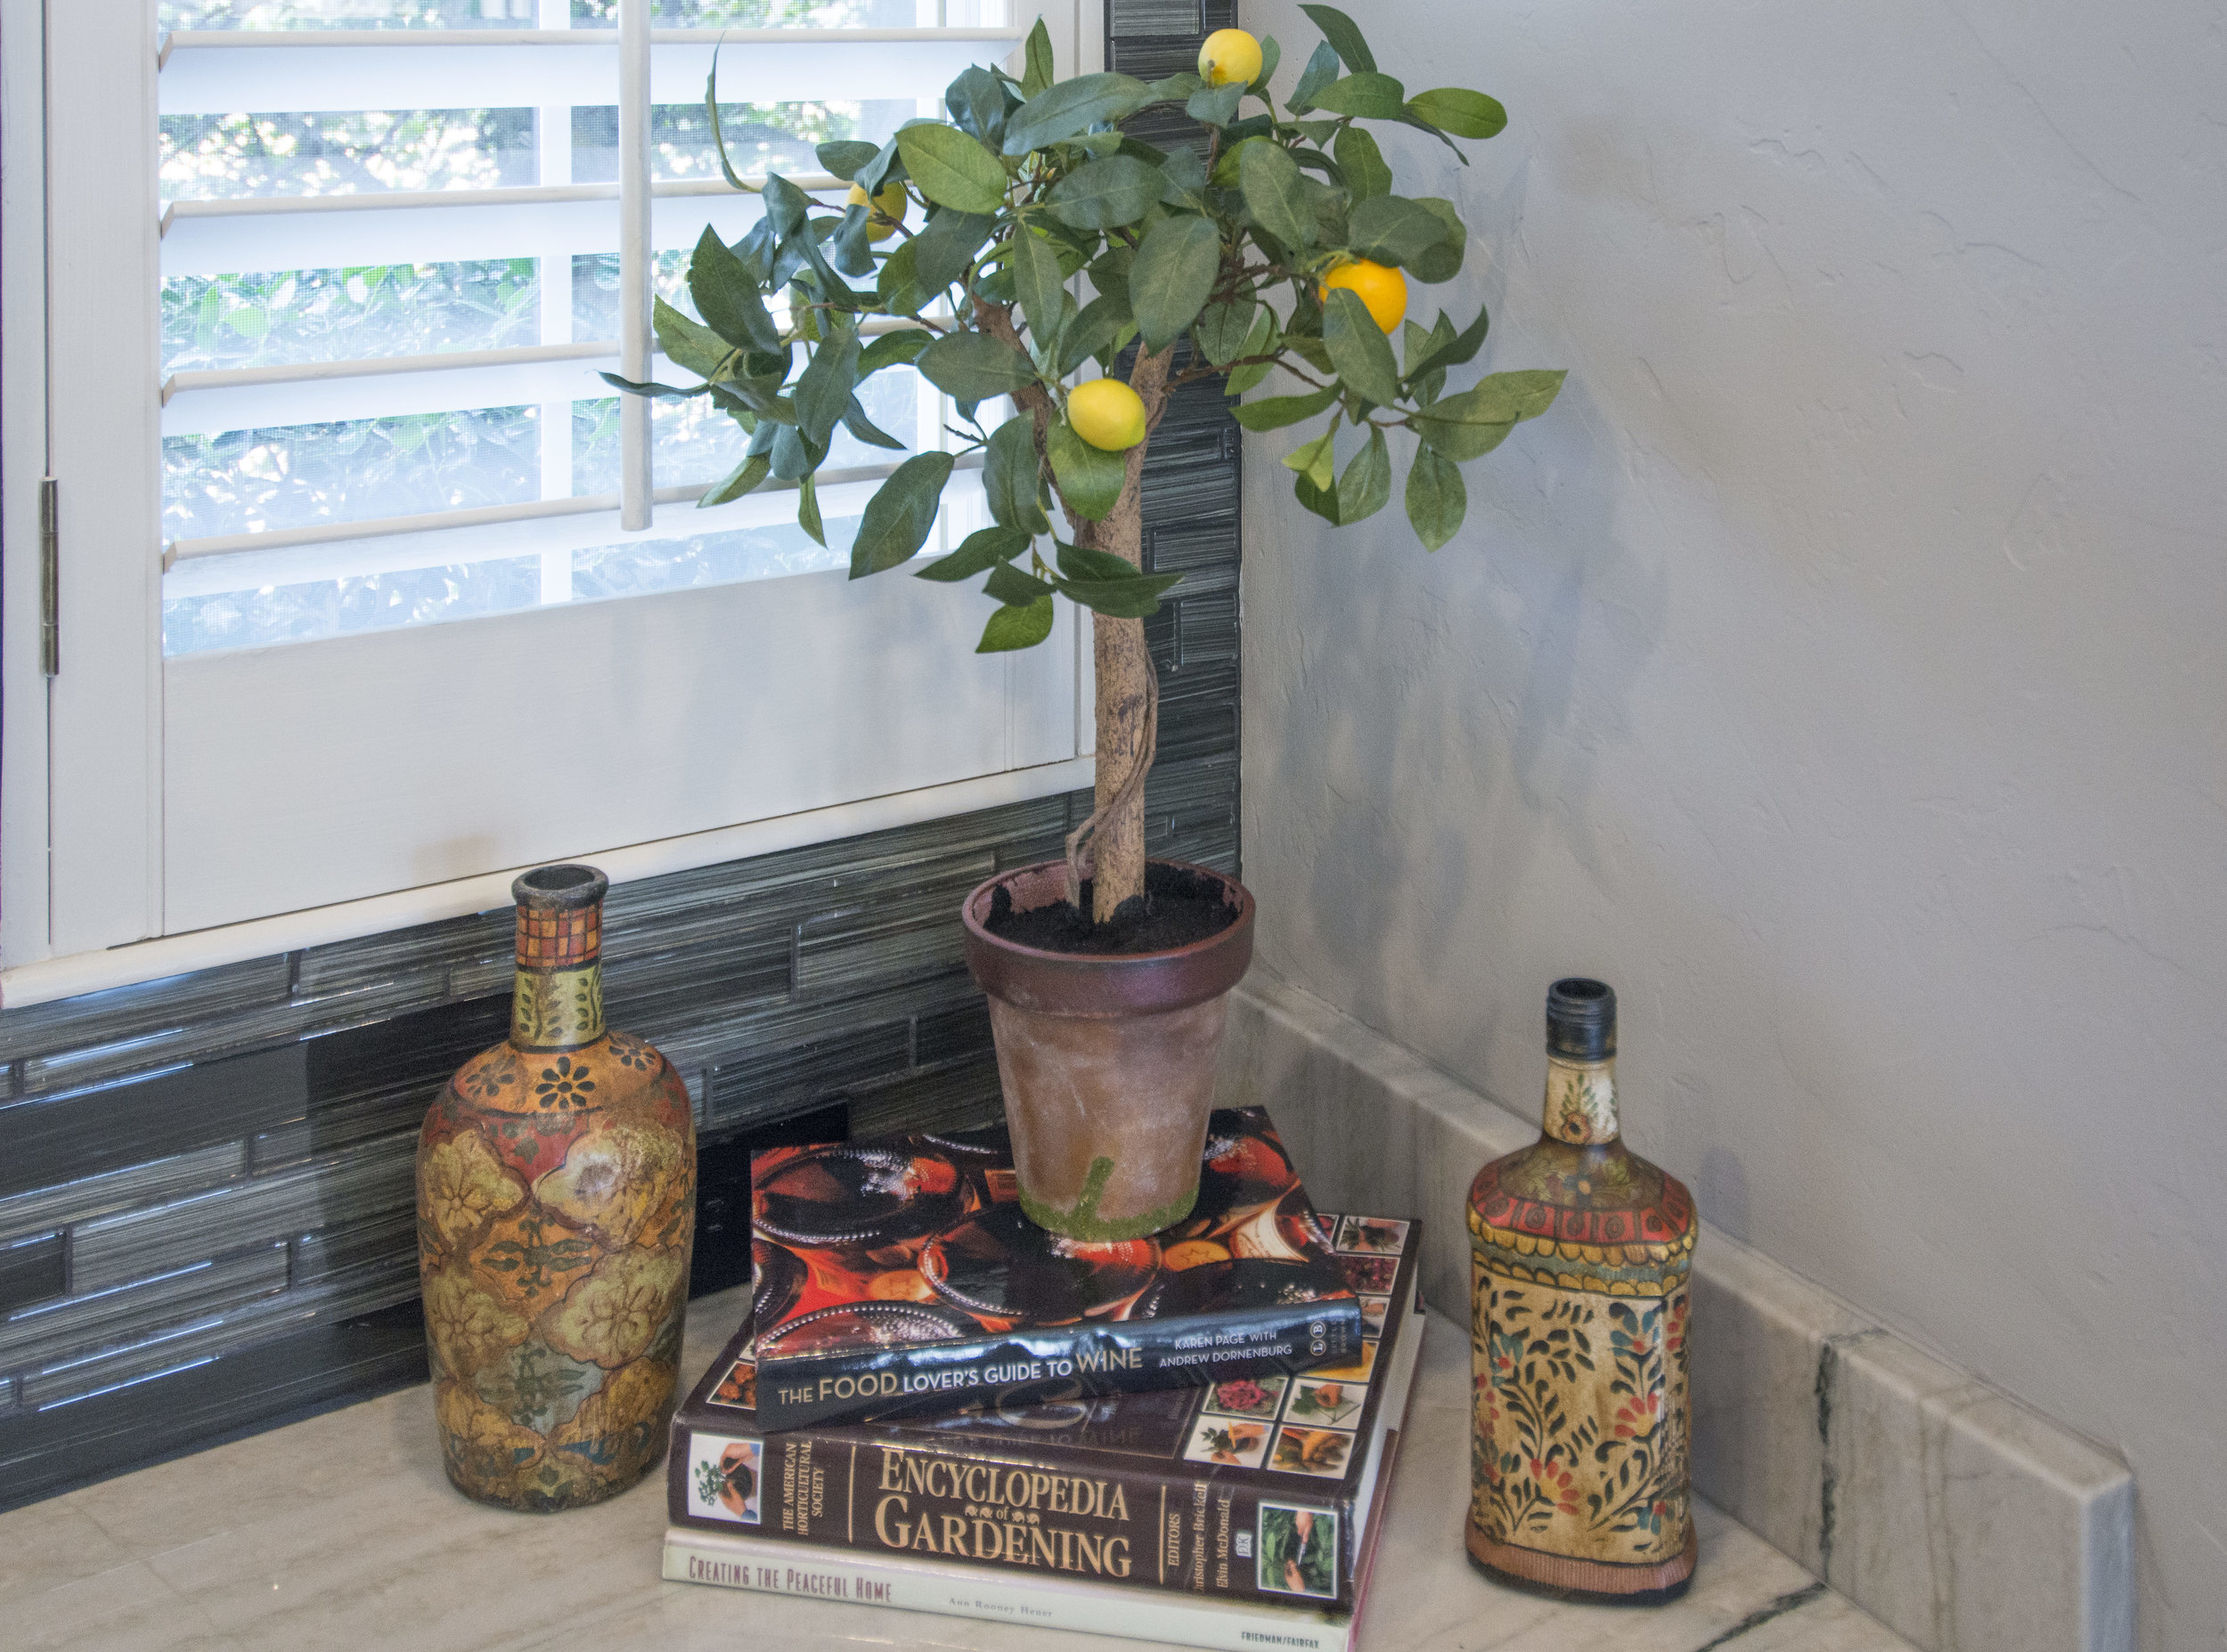
I'm always on the hunt for unique accessories. I found the above wooden antique pastry press and it adds a touch o whimsy to this bar area.
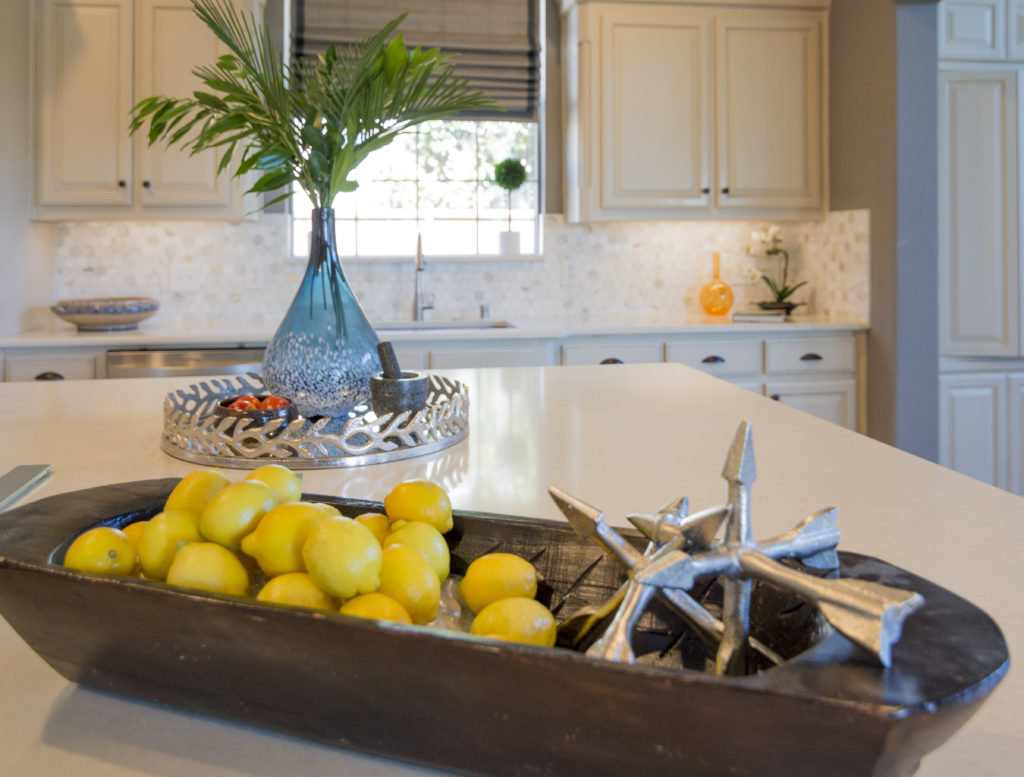
I accessorized the kitchen for them to add some color and texture.

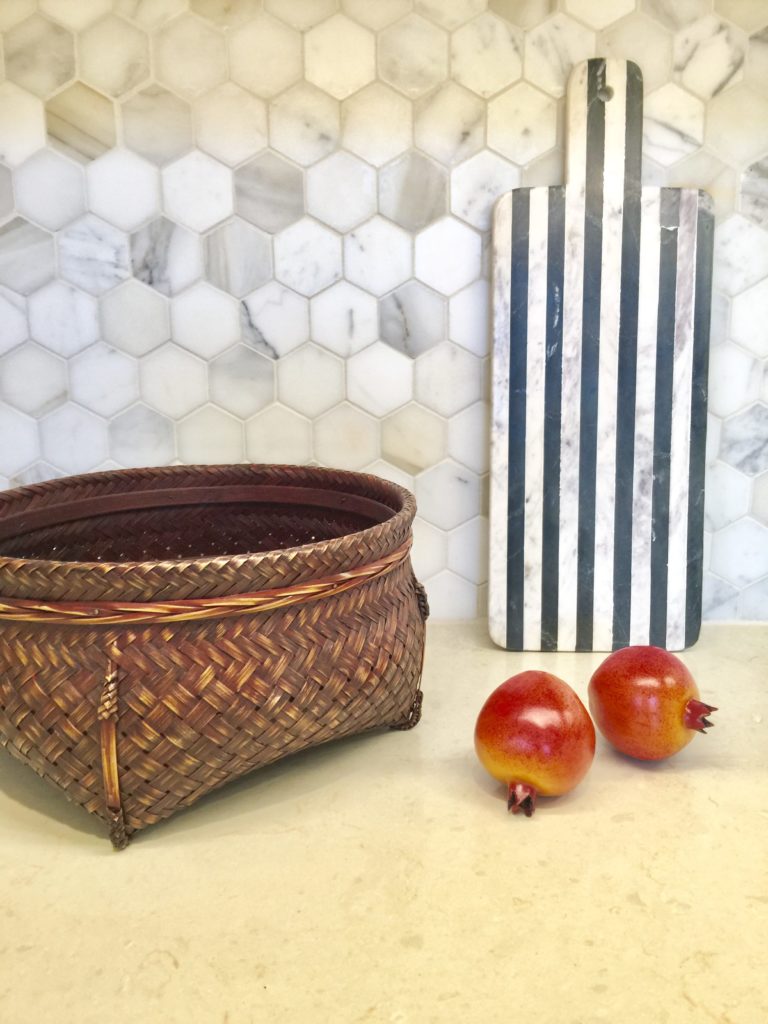
I love adding baskets to my decor. They add such beautiful texture, especially up against white or cream.
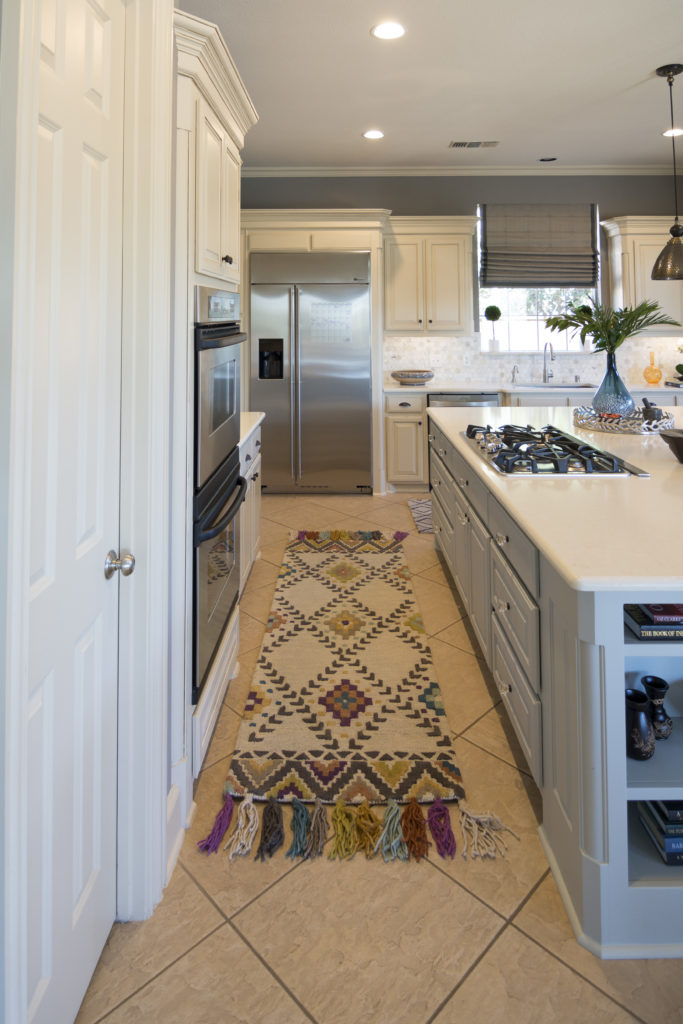
I'm so in love with this Tassel Loloi Rug that I found! Totally makes the kitchen come alive.

Hope you enjoyed the tour.
Industrial Farmhouse Chic Kitchen

What a fun few weeks we have had here at DecRenew Interiors by Ruthie Staalsen!

We finished up about 4 big remodels about a month ago so have been doing some photo shoots! Photo shoot days always involve a lot of packing, lugging, wrapping and sweating but it is always worth it!
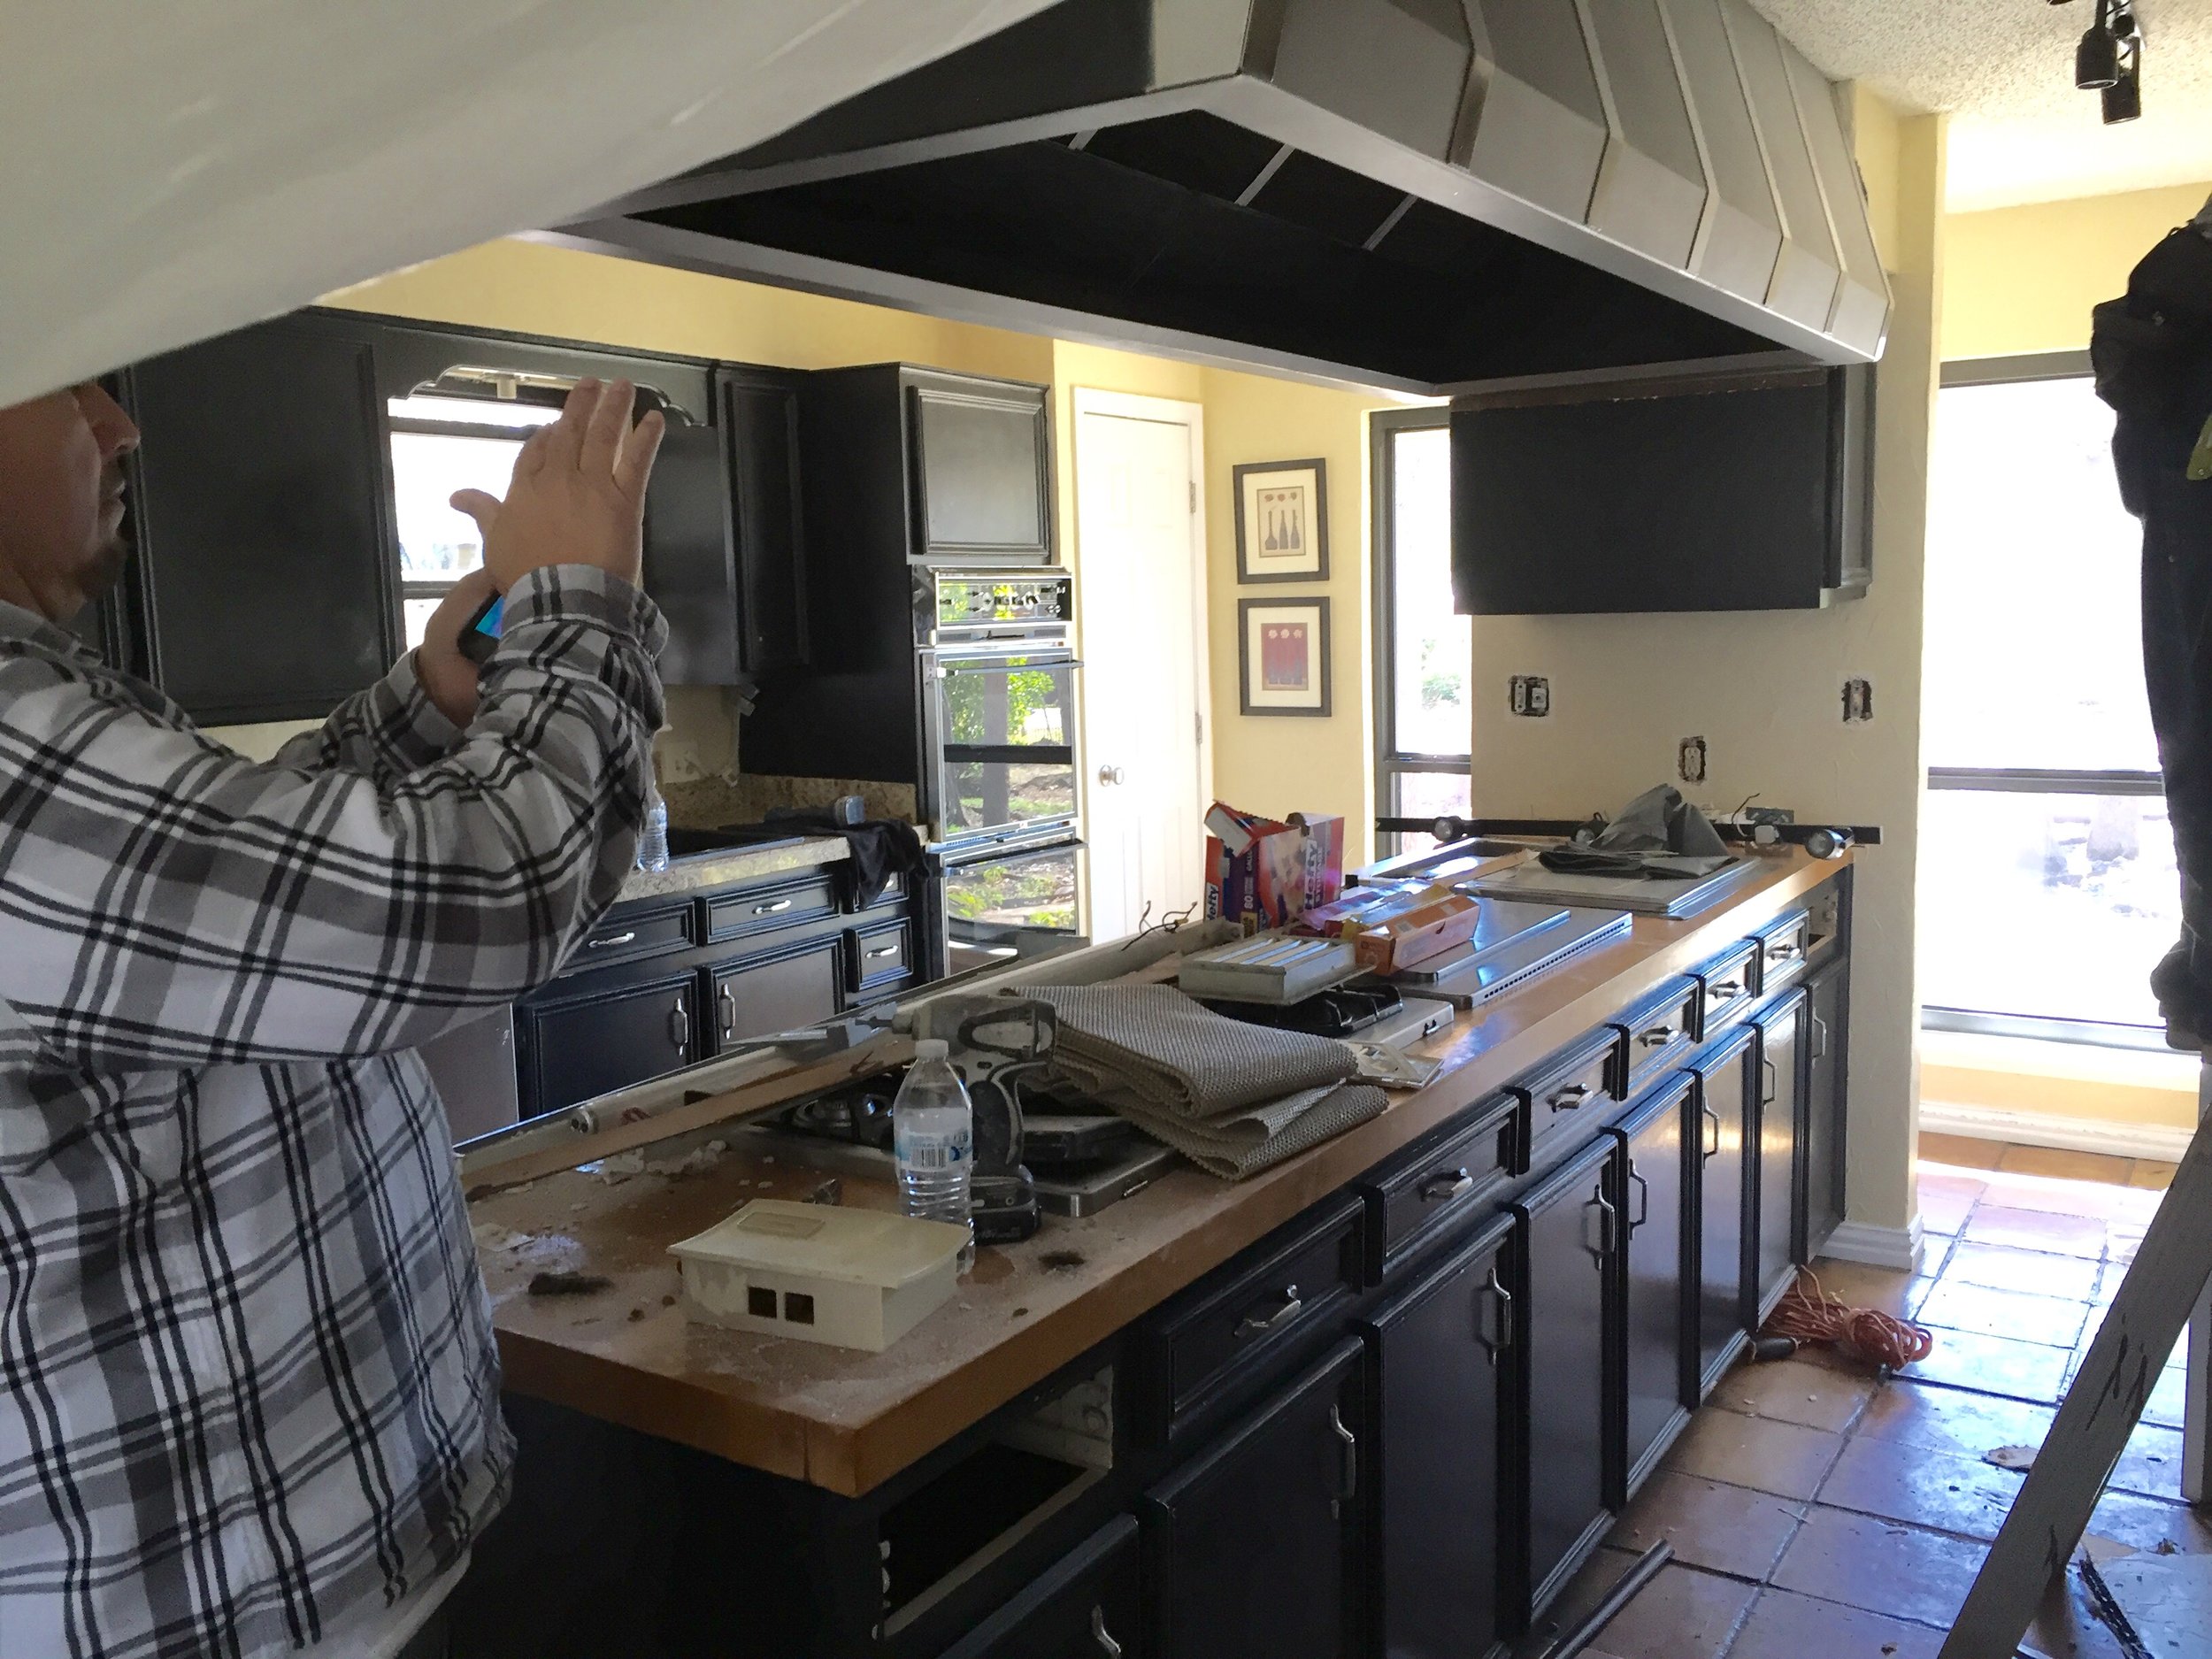
I thought I'd post this Industrial Farmhouse kitchen first since I just love it! We only have a few before pictures of this kitchen which makes me sad. I met with the client for a walk thru consultation to discuss what they wanted done and how we were going to proceed. It was a fantastic consultation with loads of brainstorming and thinking on our feet with my team. Before I left their house they said they would let me know when they were ready to proceed with the demo.
The next day I got a call from them saying that they were leaving on vacation that week and decided they wanted the demo to go ahead and start while they were gone. Ok then, I love decision makers! So refreshing!
My team got busy but we forgot to take before pictures, urggg! We did get these few!
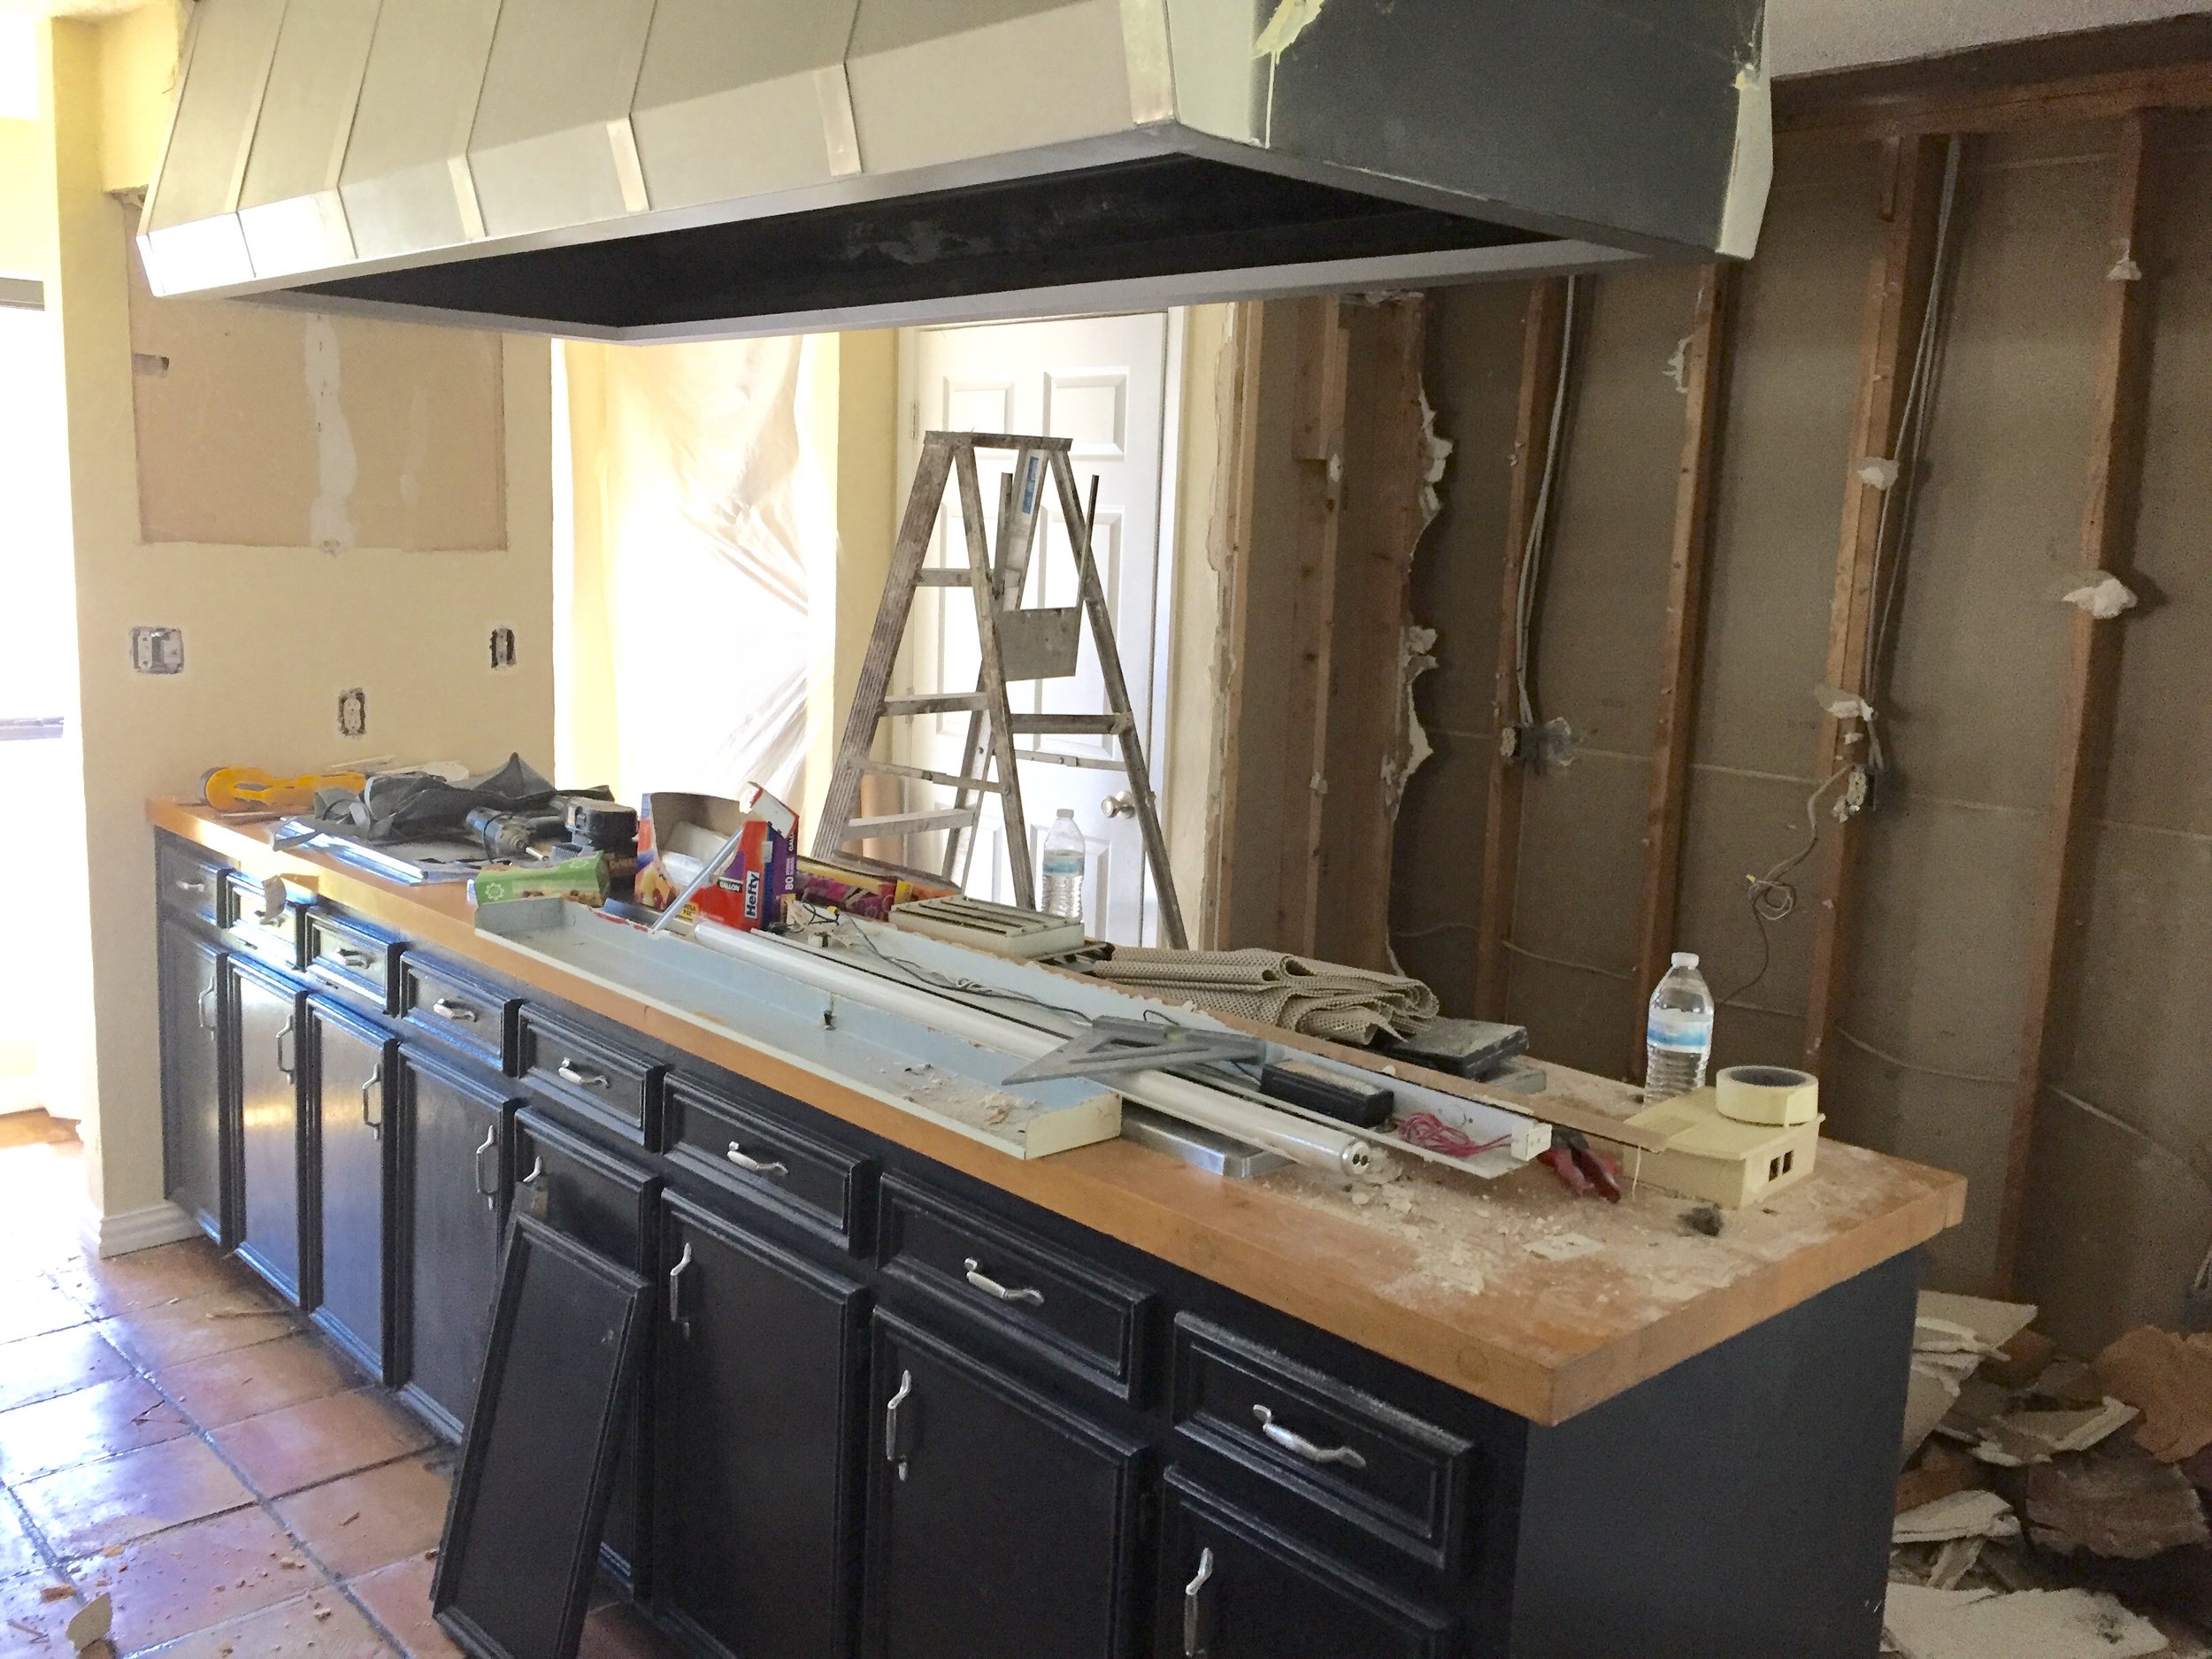
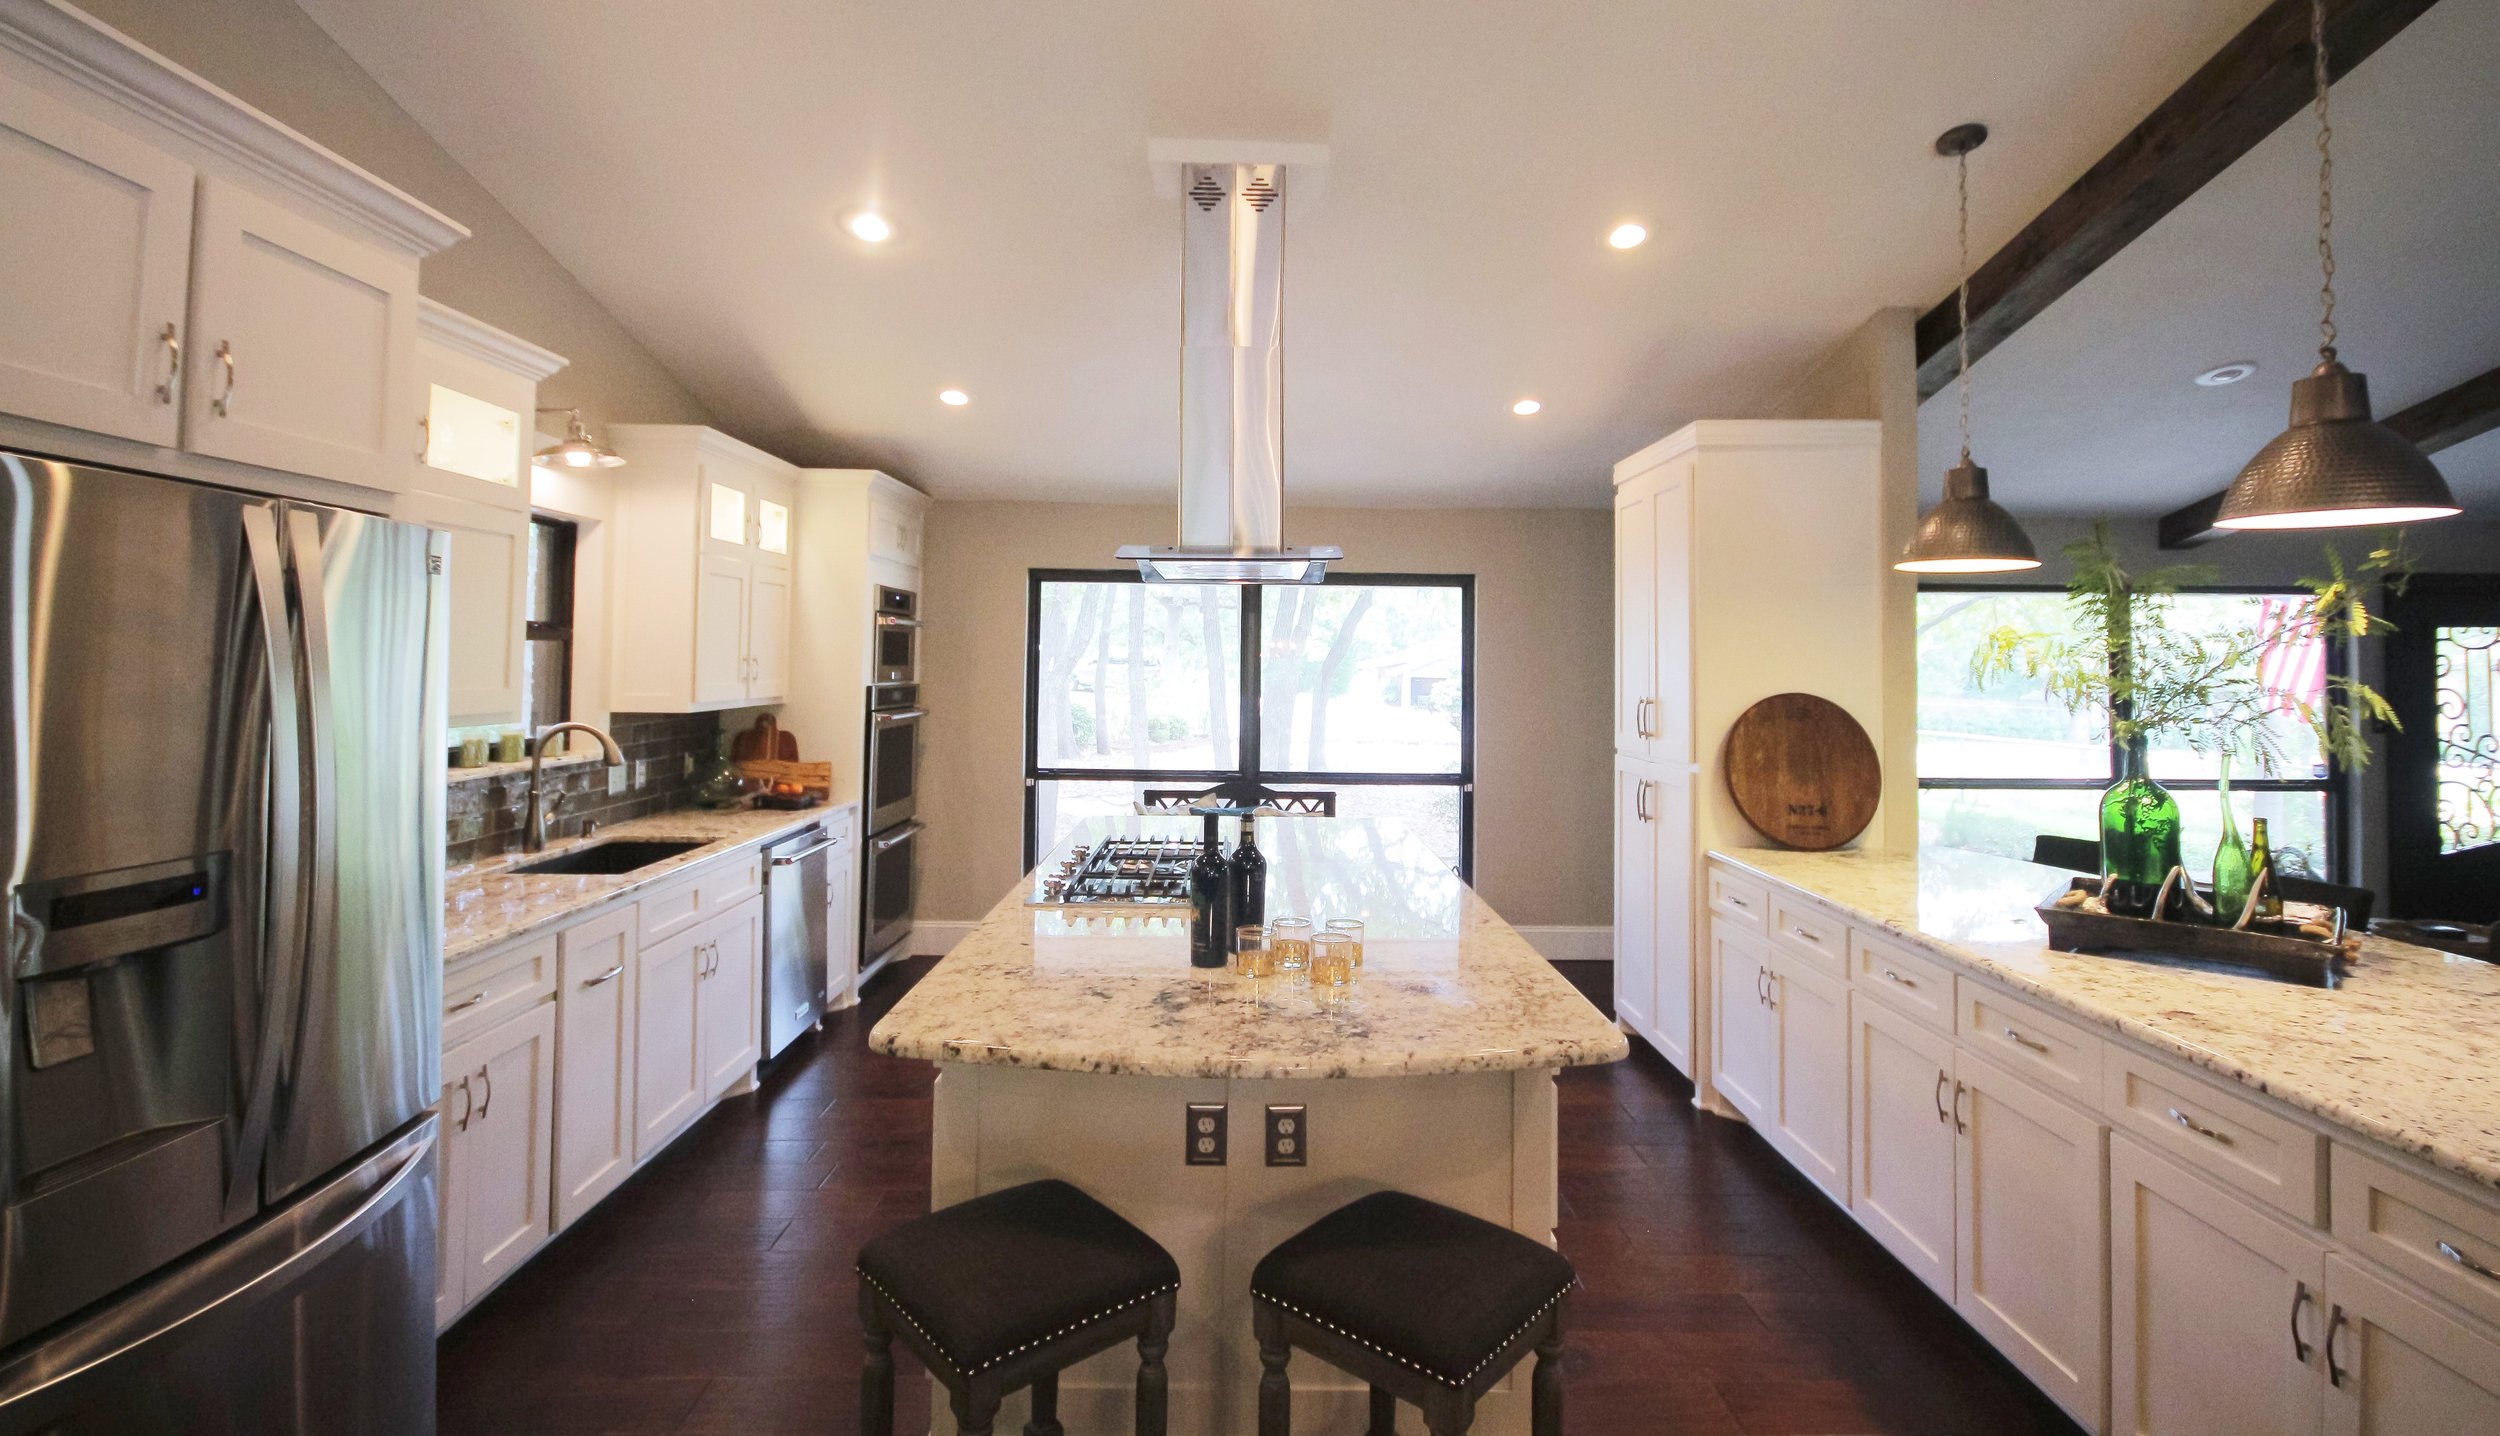
The kitchen was incredibly un-functional and was closed off to the rest of the house. I suggested we open it all up and create two islands. One in center of the kitchen for their prep work, etc. and the other one where we opened up the space into the family room.

They had a formal living room that they hardly ever used so opening up the space into that room made sense.
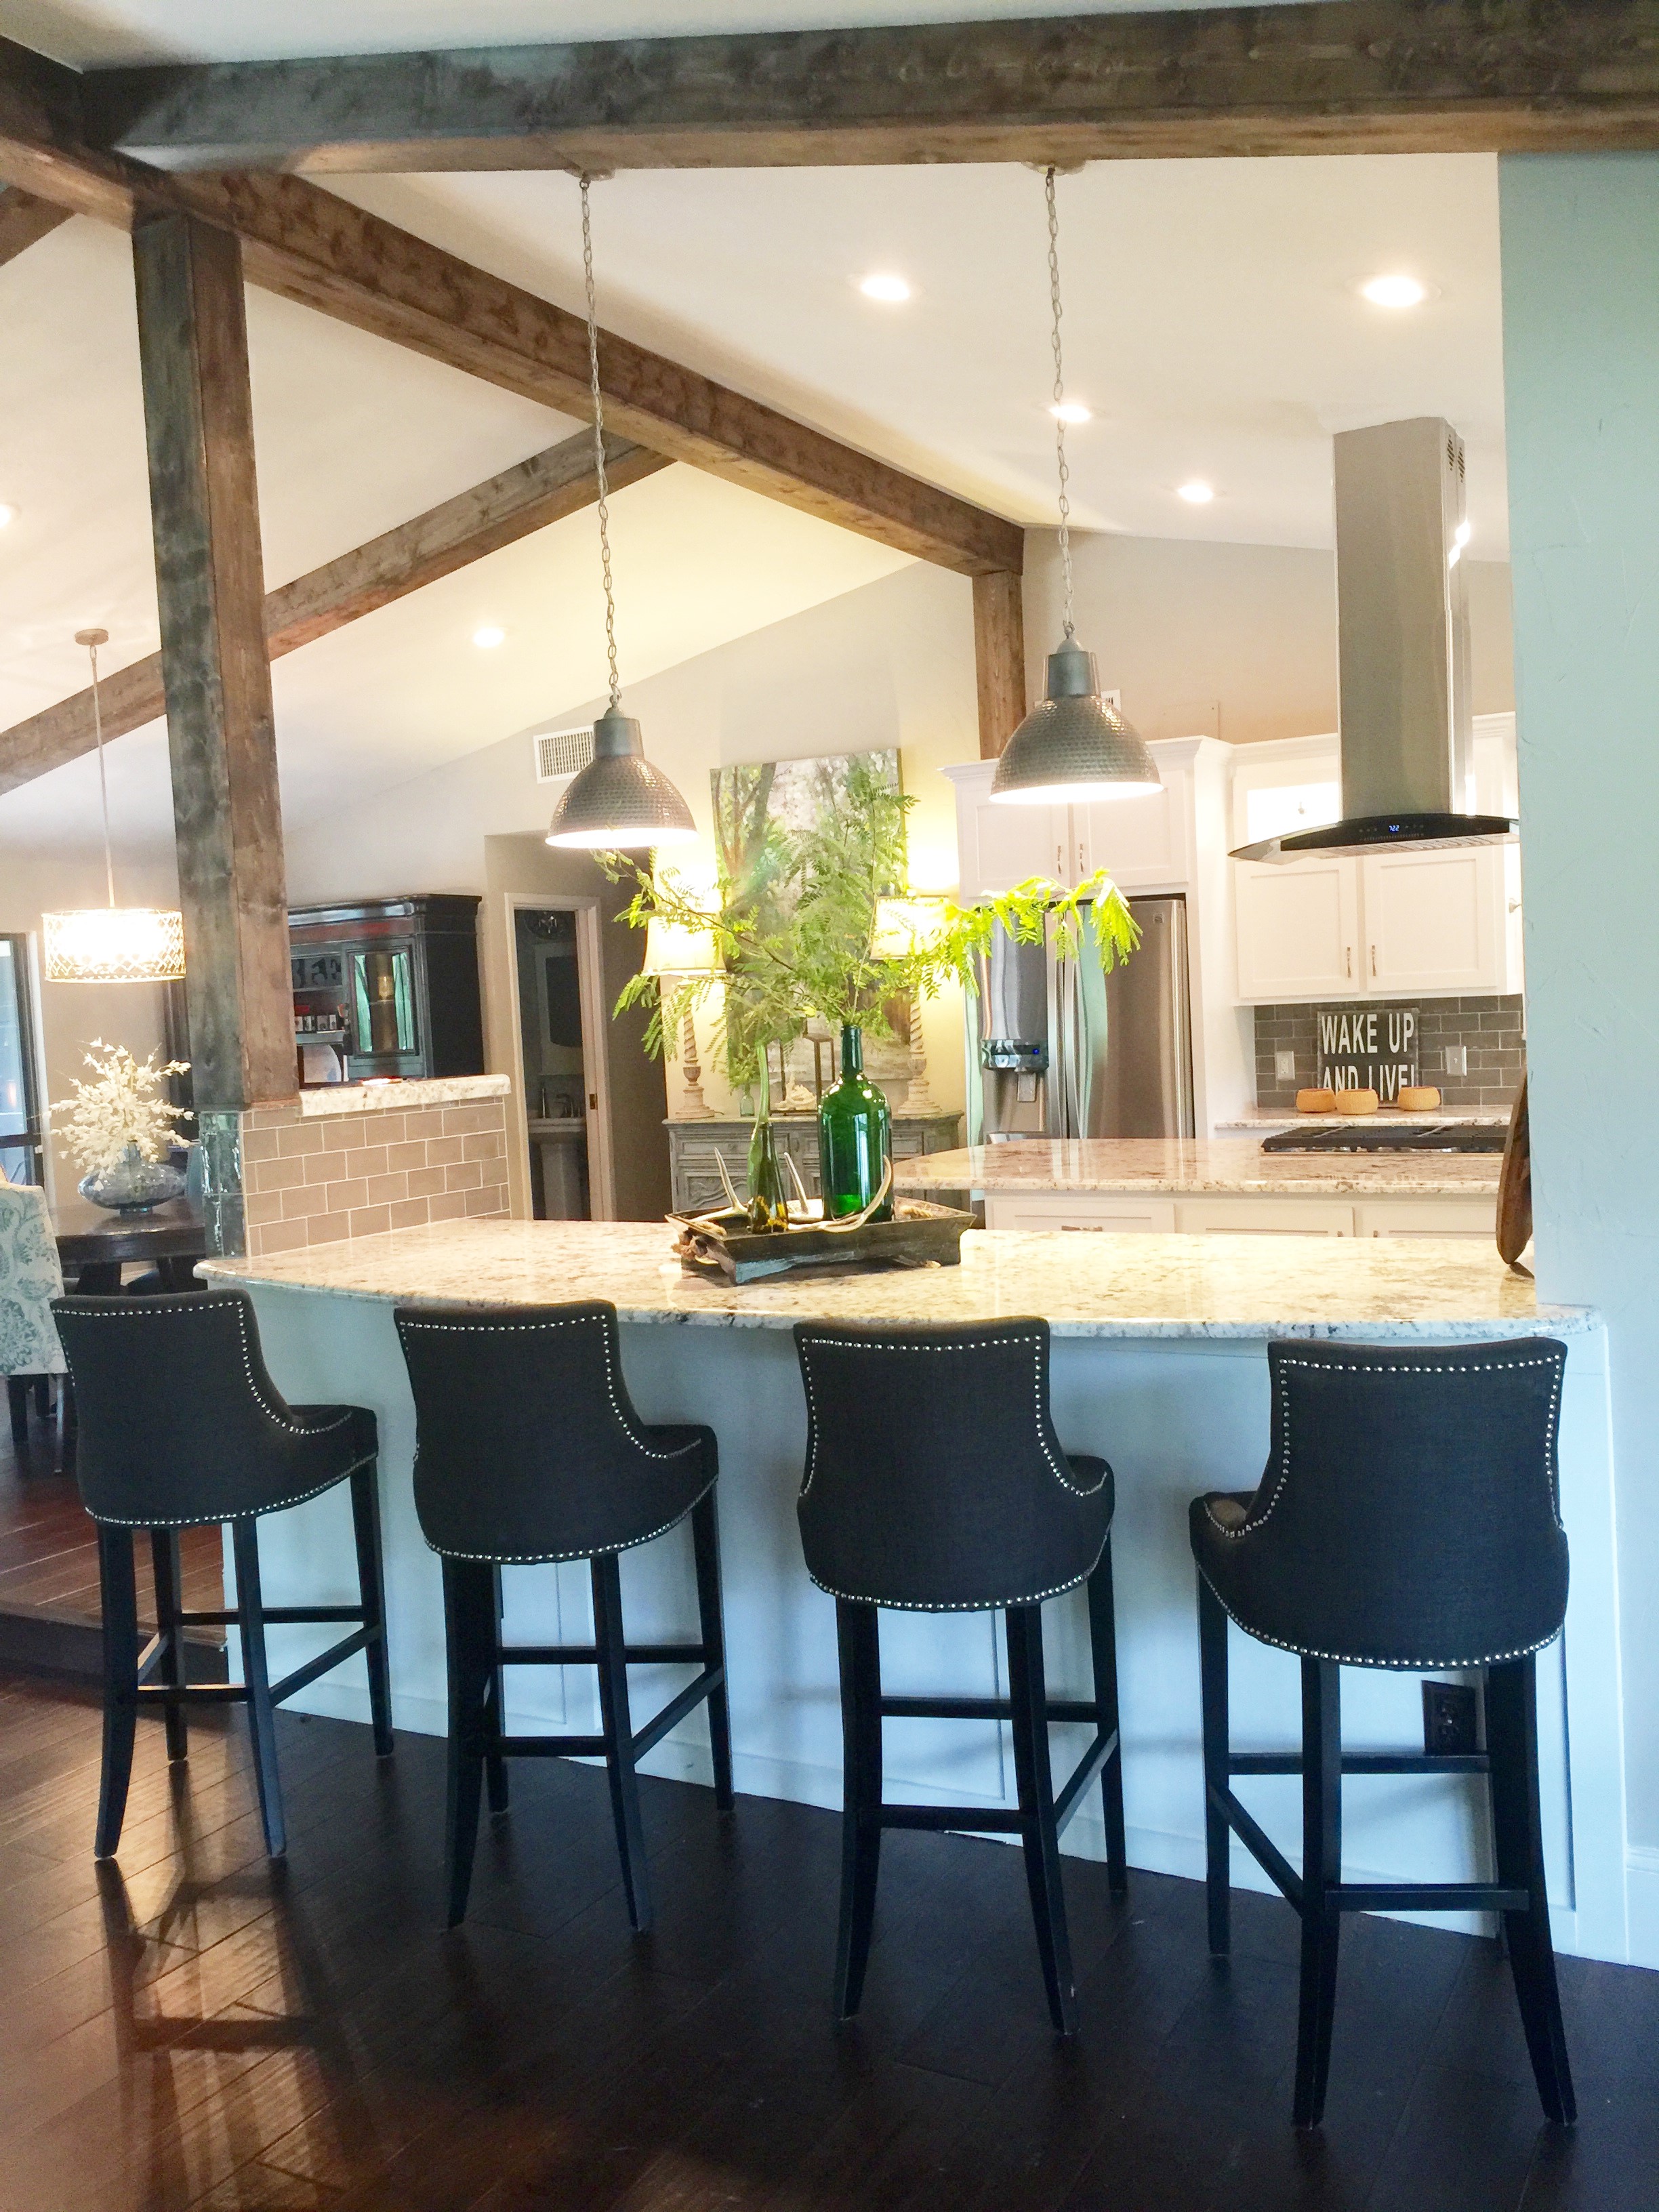
They had a round dining table in the kitchen area that they used daily. We made the bar area nice and big so the family can sit and do their homework while mom or dad cooks.
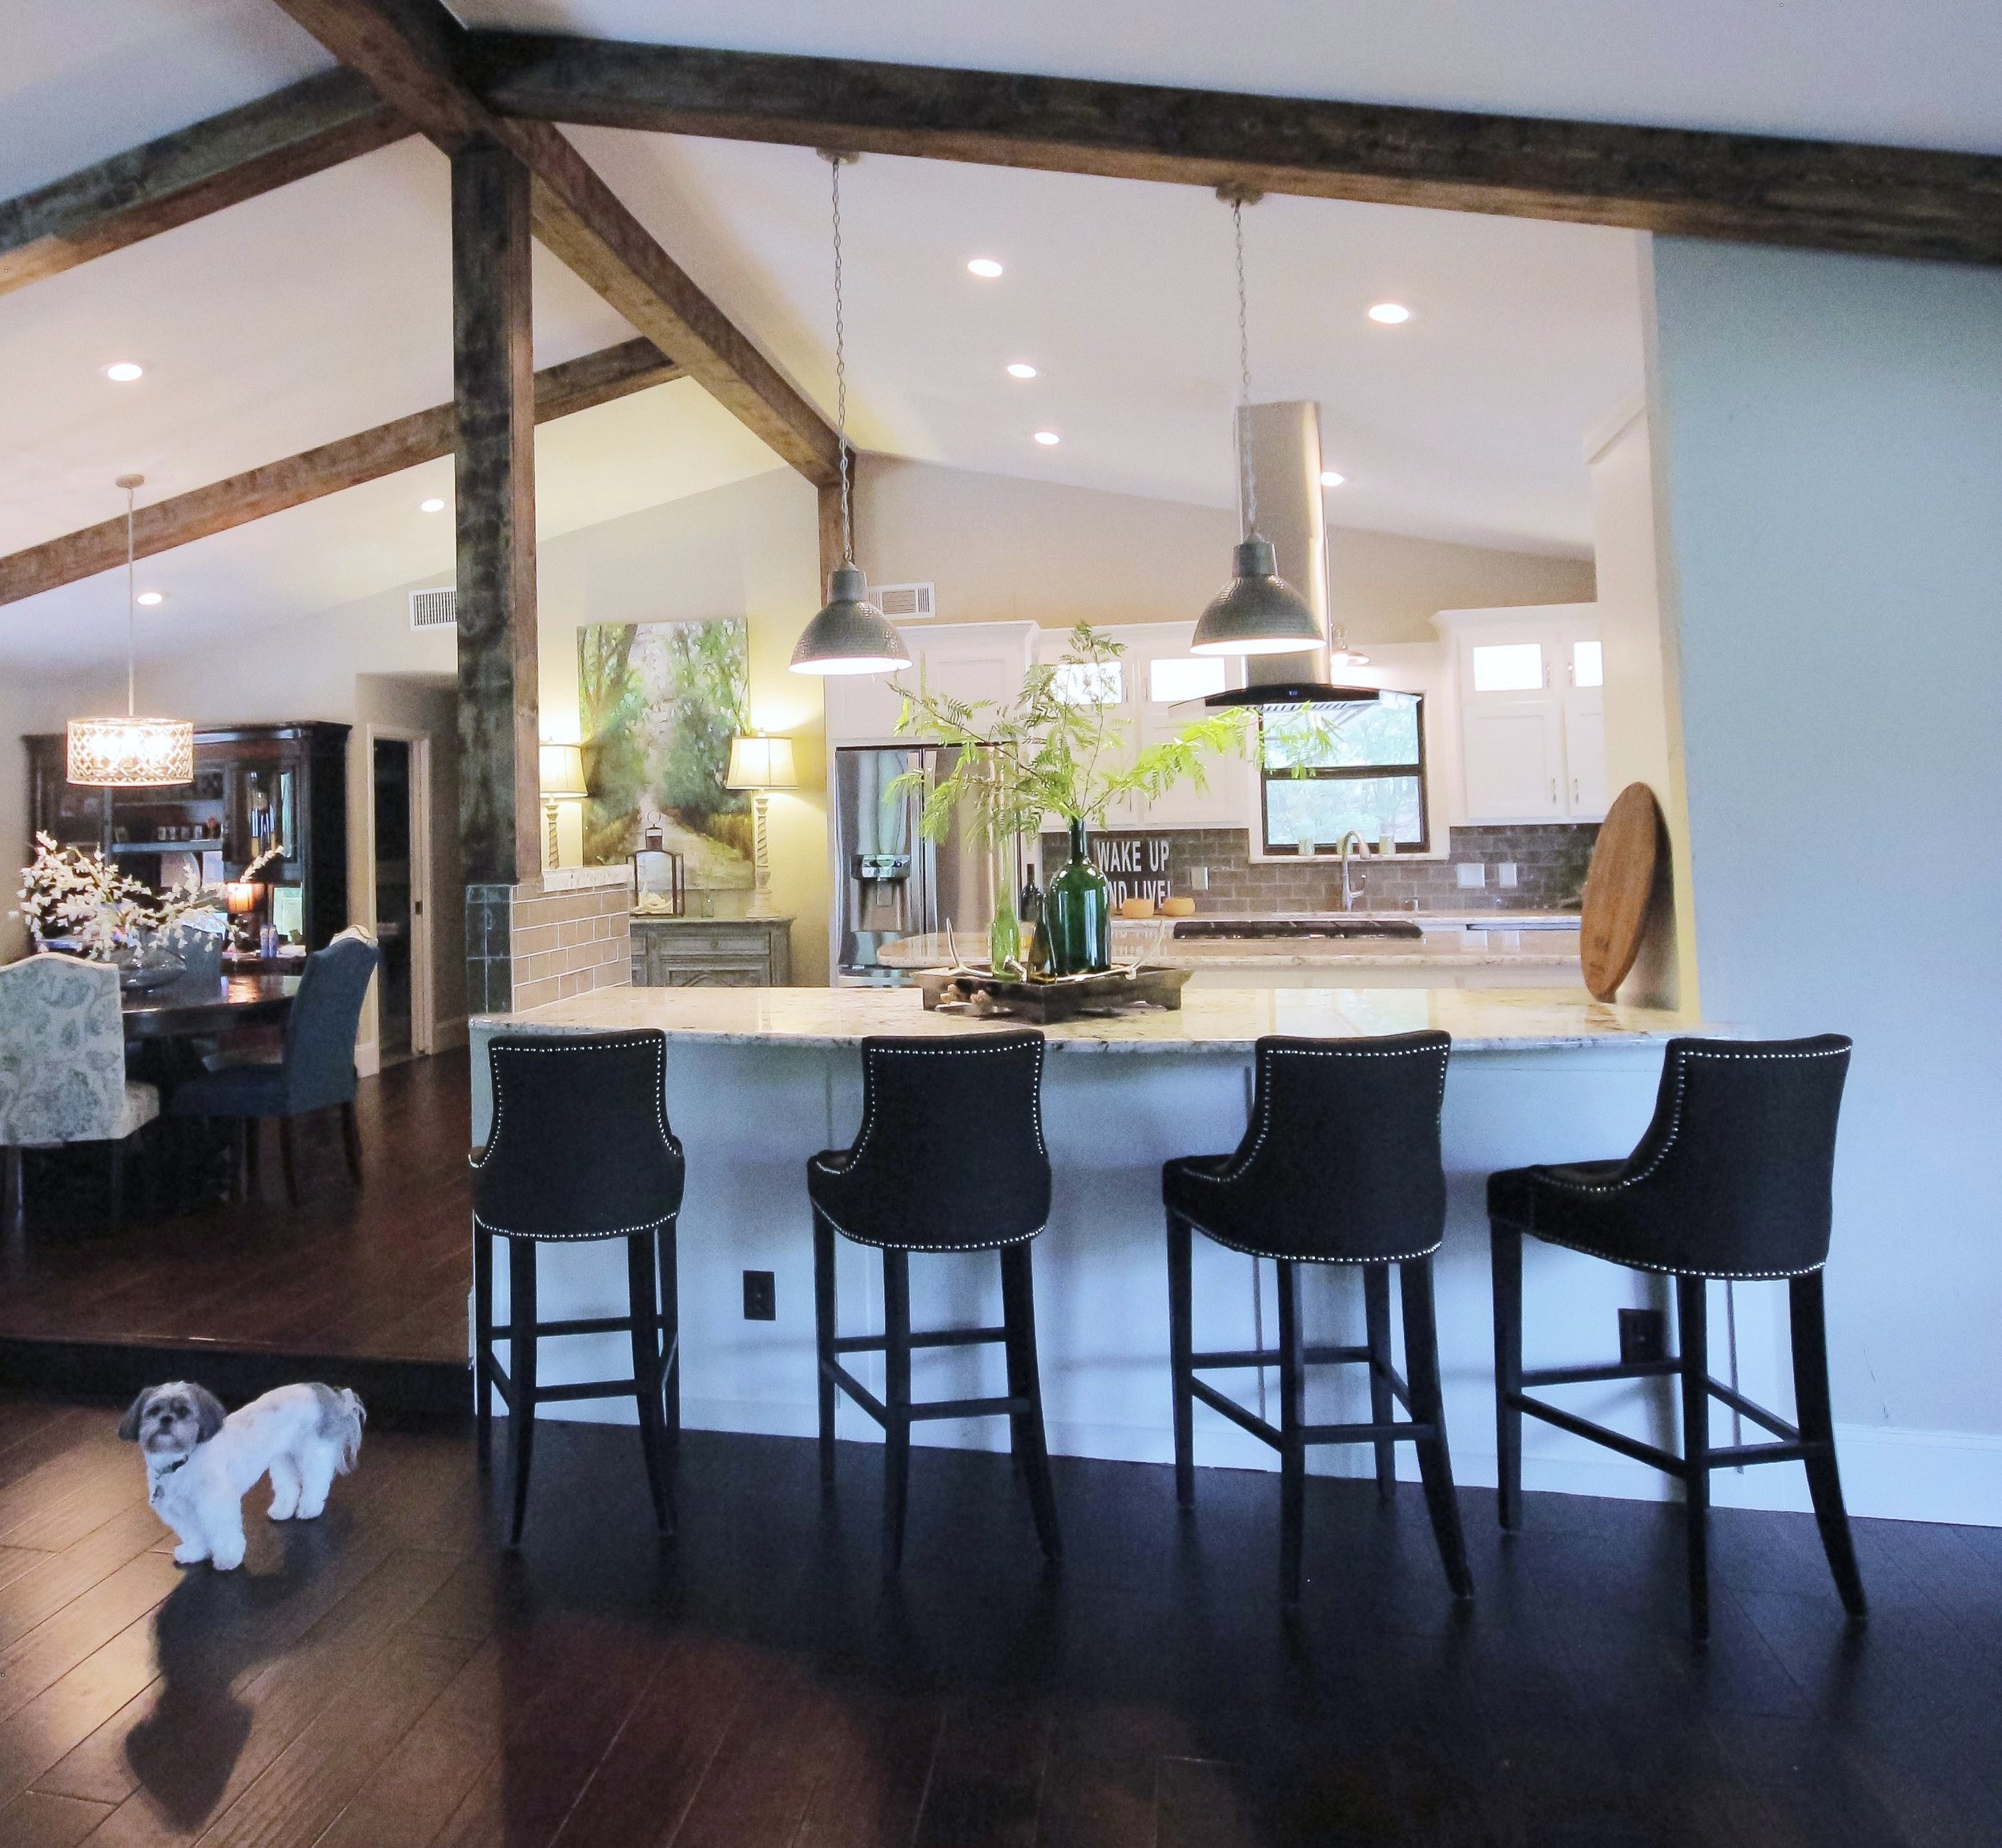
The family room had beams but they were off scale. We widened them and added new beams to the area where we tore down walls.
There are barstools on each side of the island as well because we all know the kitchen is where everybody hangs!

The kitchen was totally gutted and we started from scratch.
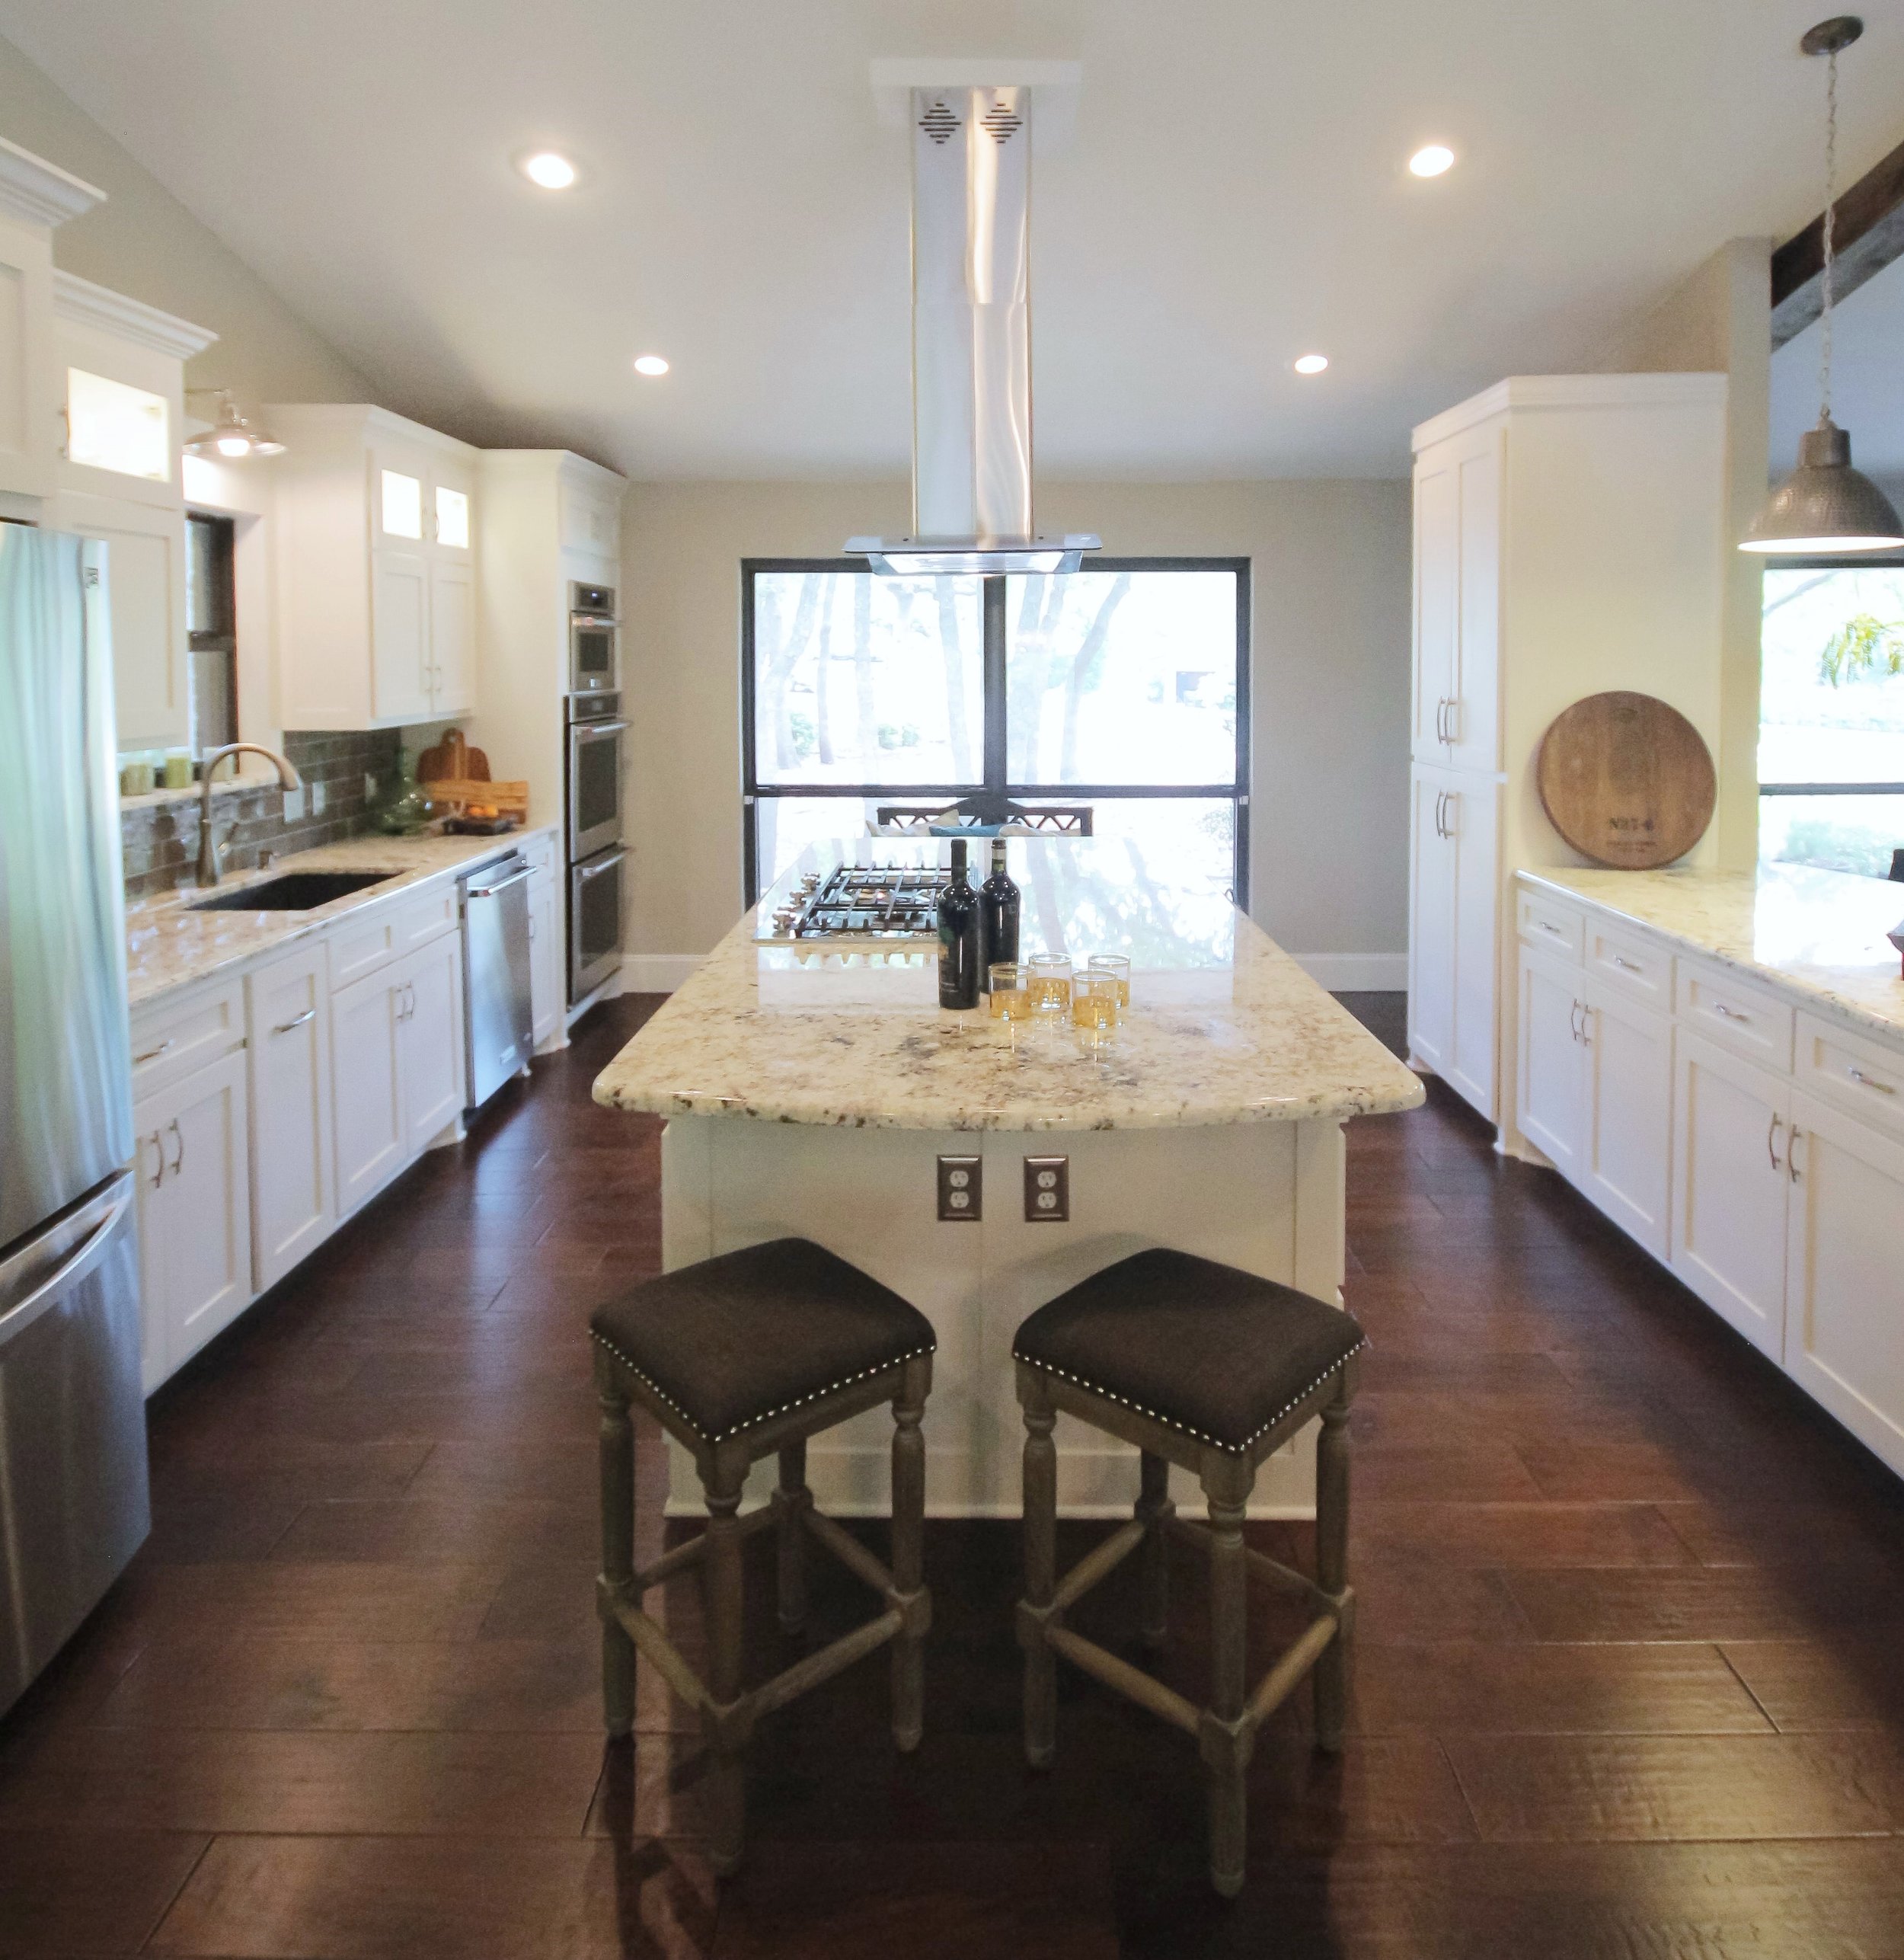
The wood floors were the last thing to go in and once they were down it all came together beautifully, just like I saw it in my head during our walk thru consultation :)
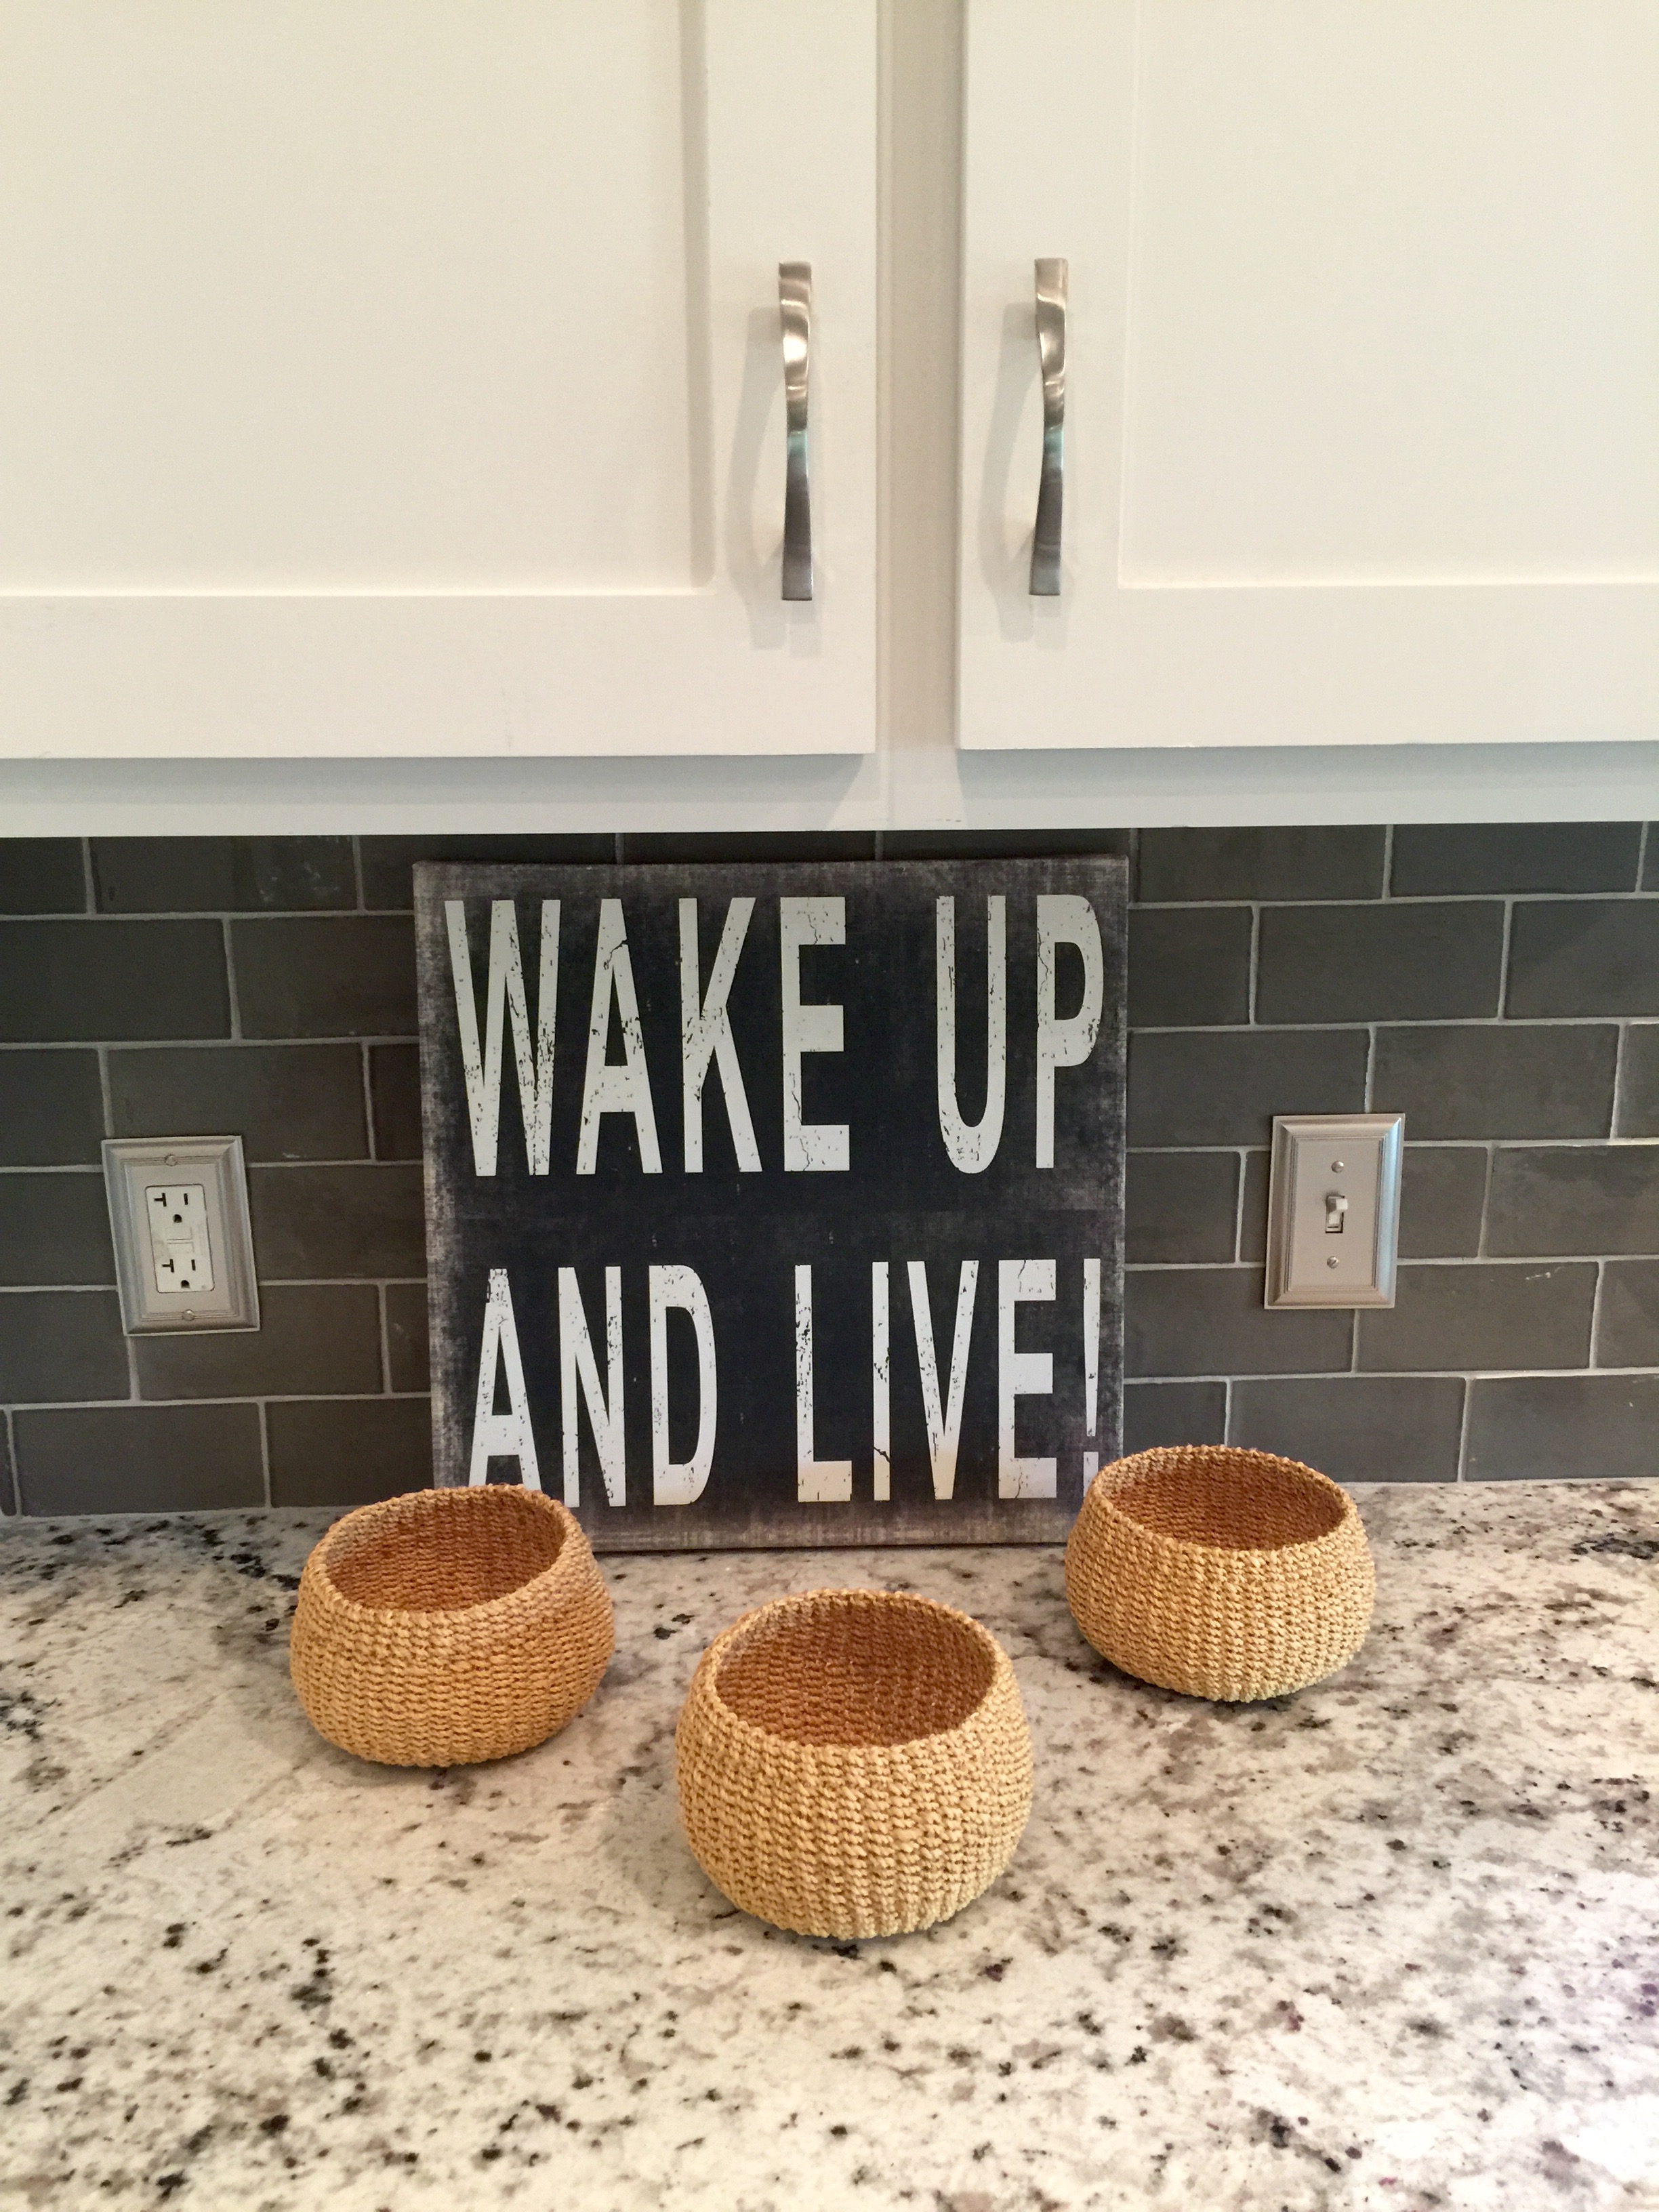
I just love the handmade subway tile and the lighting we chose, it really gave the kitchen that industrial farmhouse feel. I think Jo Jo would approve, don't you?
Stay tuned for more before and after from some of our other remodels!
Transitional Southlake Kitchen Remodel

It is always such a wonderful feeling to complete a remodel. I always feels so bad for the clients that have to live in the space while the chaos is going on.

This kitchen got a total transformation. Originally it had 2 islands which really was not very functional. The cabinets were too busy and they needed a lift with a fresh color. The pickled "pink wood" is no longer in as we all know.


As you can see, we left all the appliances. We made one large island, extended the cabinets to the ceiling and added glass cabinets with lighting. We refaced the cabinet doors so they weren't so fussy, added undercounter lighting, took out the desk area and made it into a mini bar with a wine refrigerator.

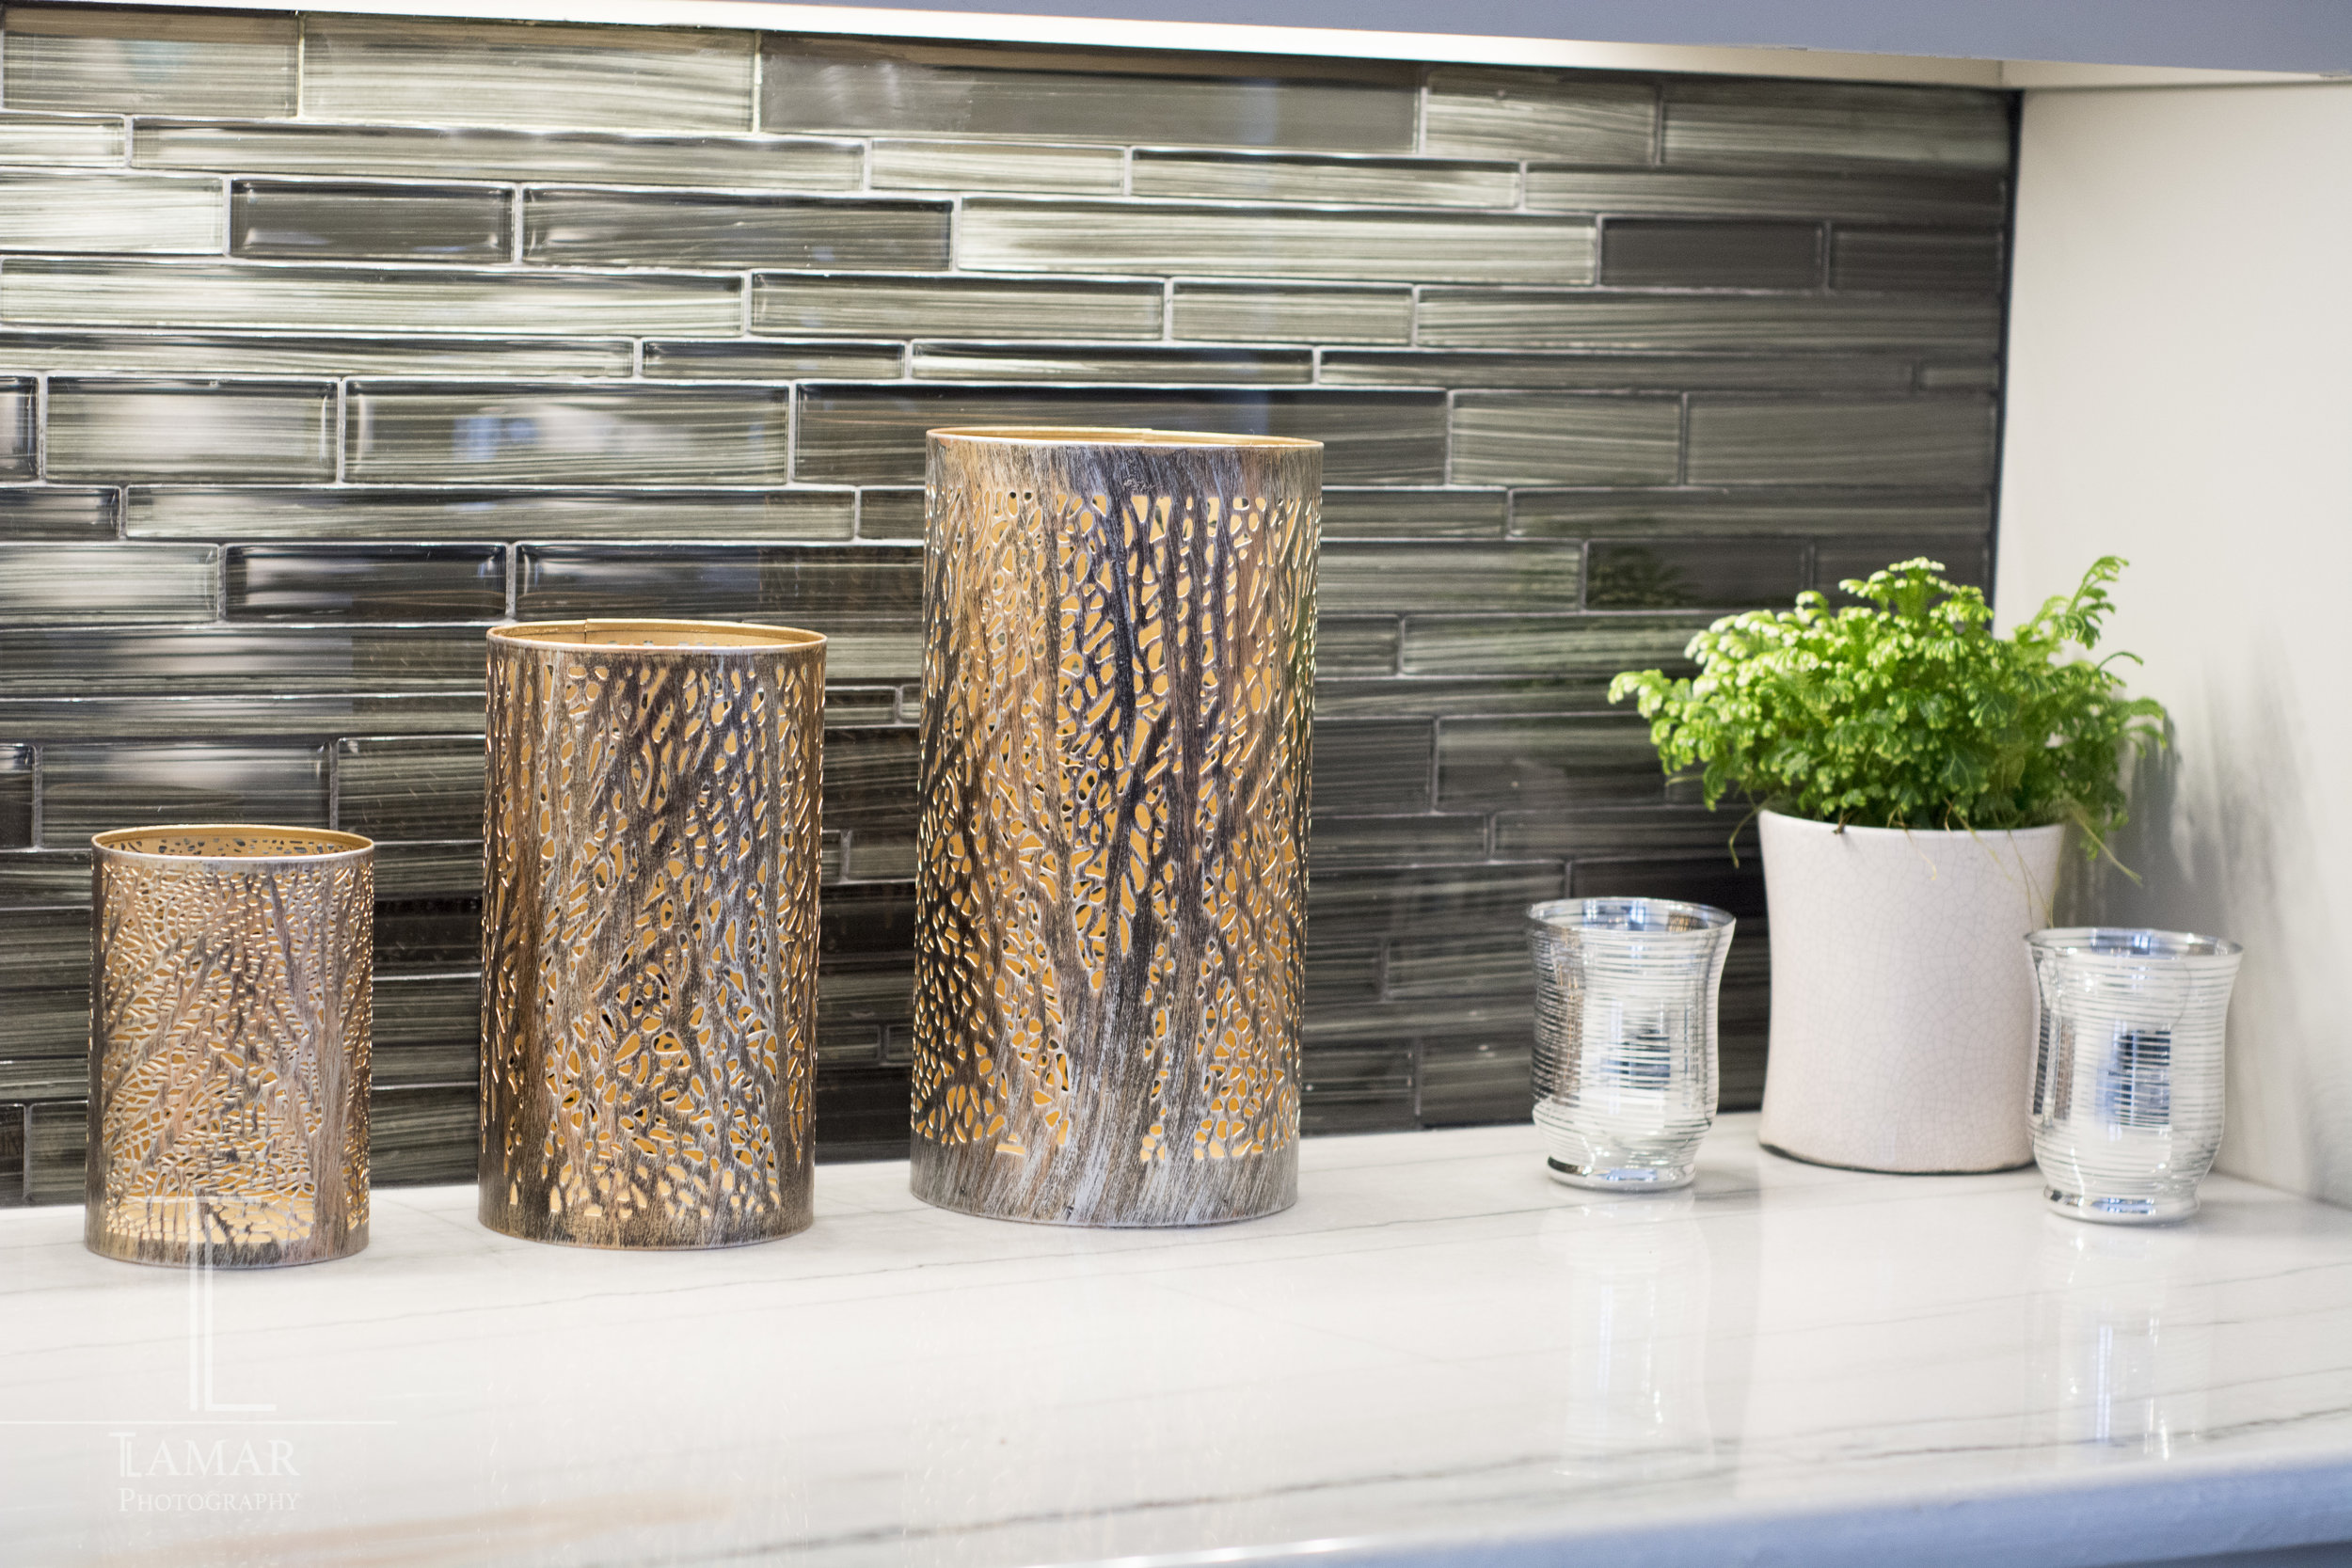
New backsplash, granite and hardware. The lighting in the shelving really makes the accessories look beautiful. I really love the rain glass for cabinets. Allows you to see the items but hides the dust.

Don't you just love the tile wall behind the shelves? The hardware on the cabinets is fab too.
Ruthie Tip: If you want to do a quick update to your kitchen, hardware is a great way to revamp it instantly.
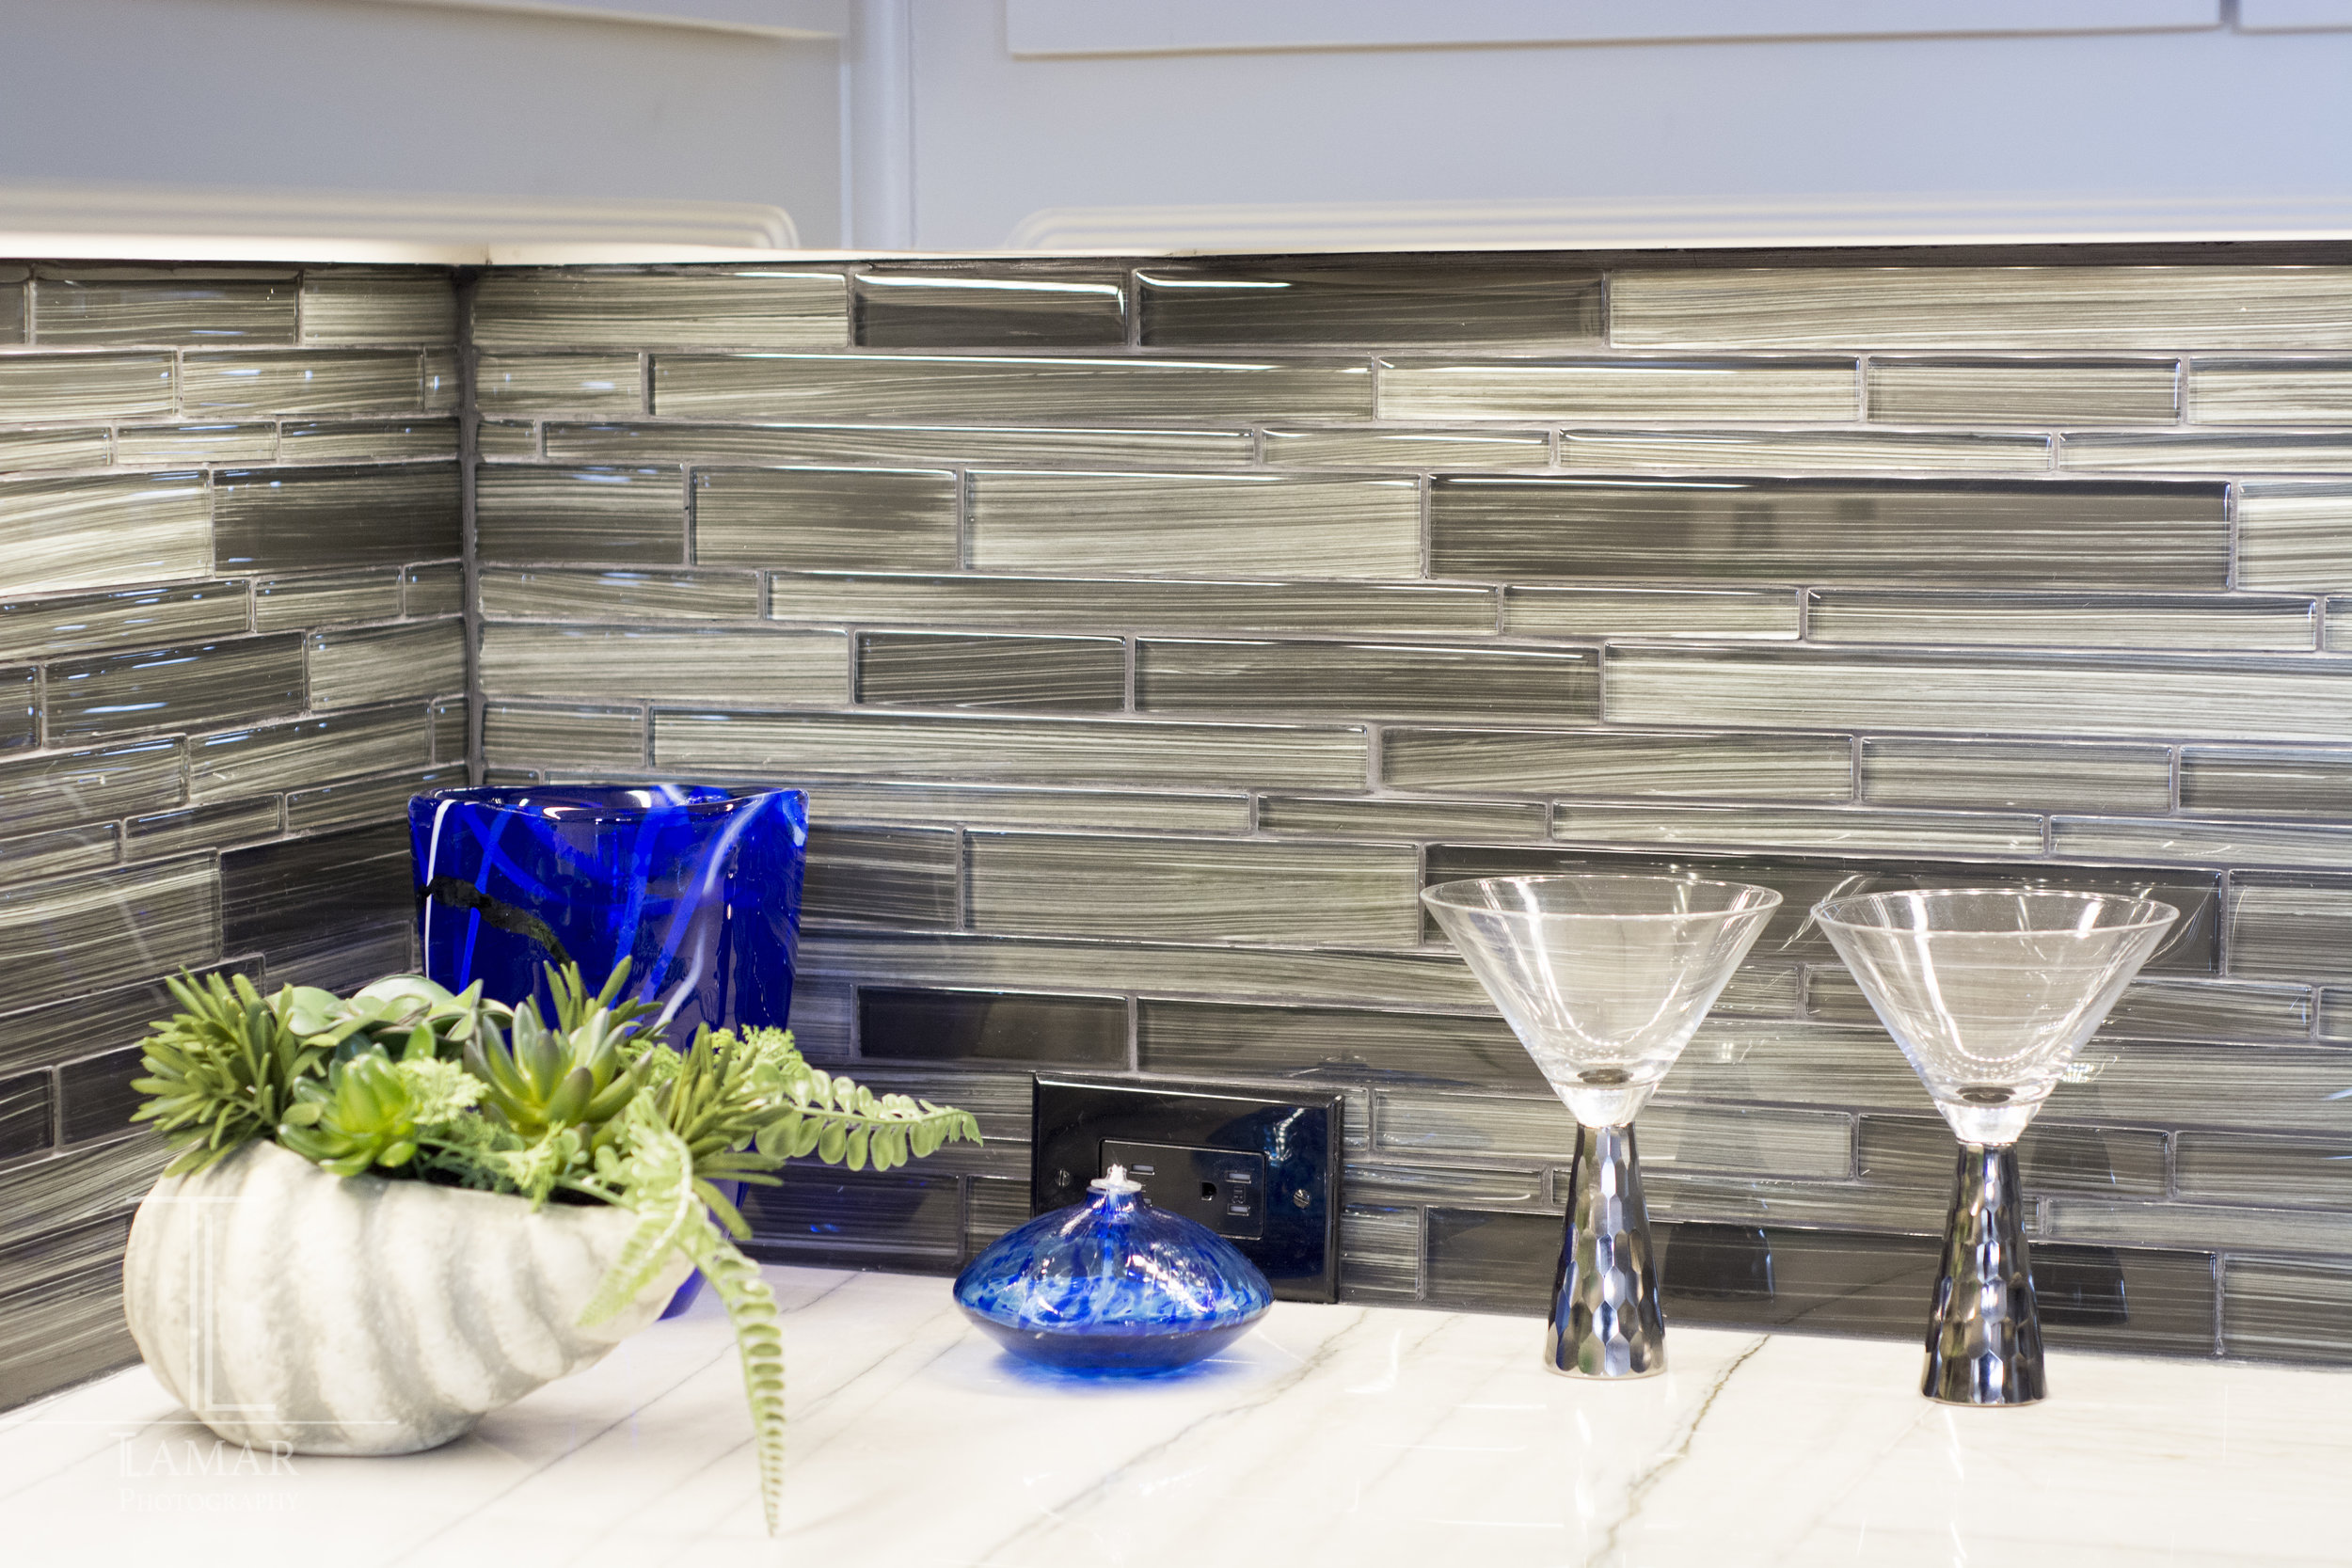
New recessed lighting. We also moved all the plugs down so that they aren't in the middle of our beautiful backsplash!
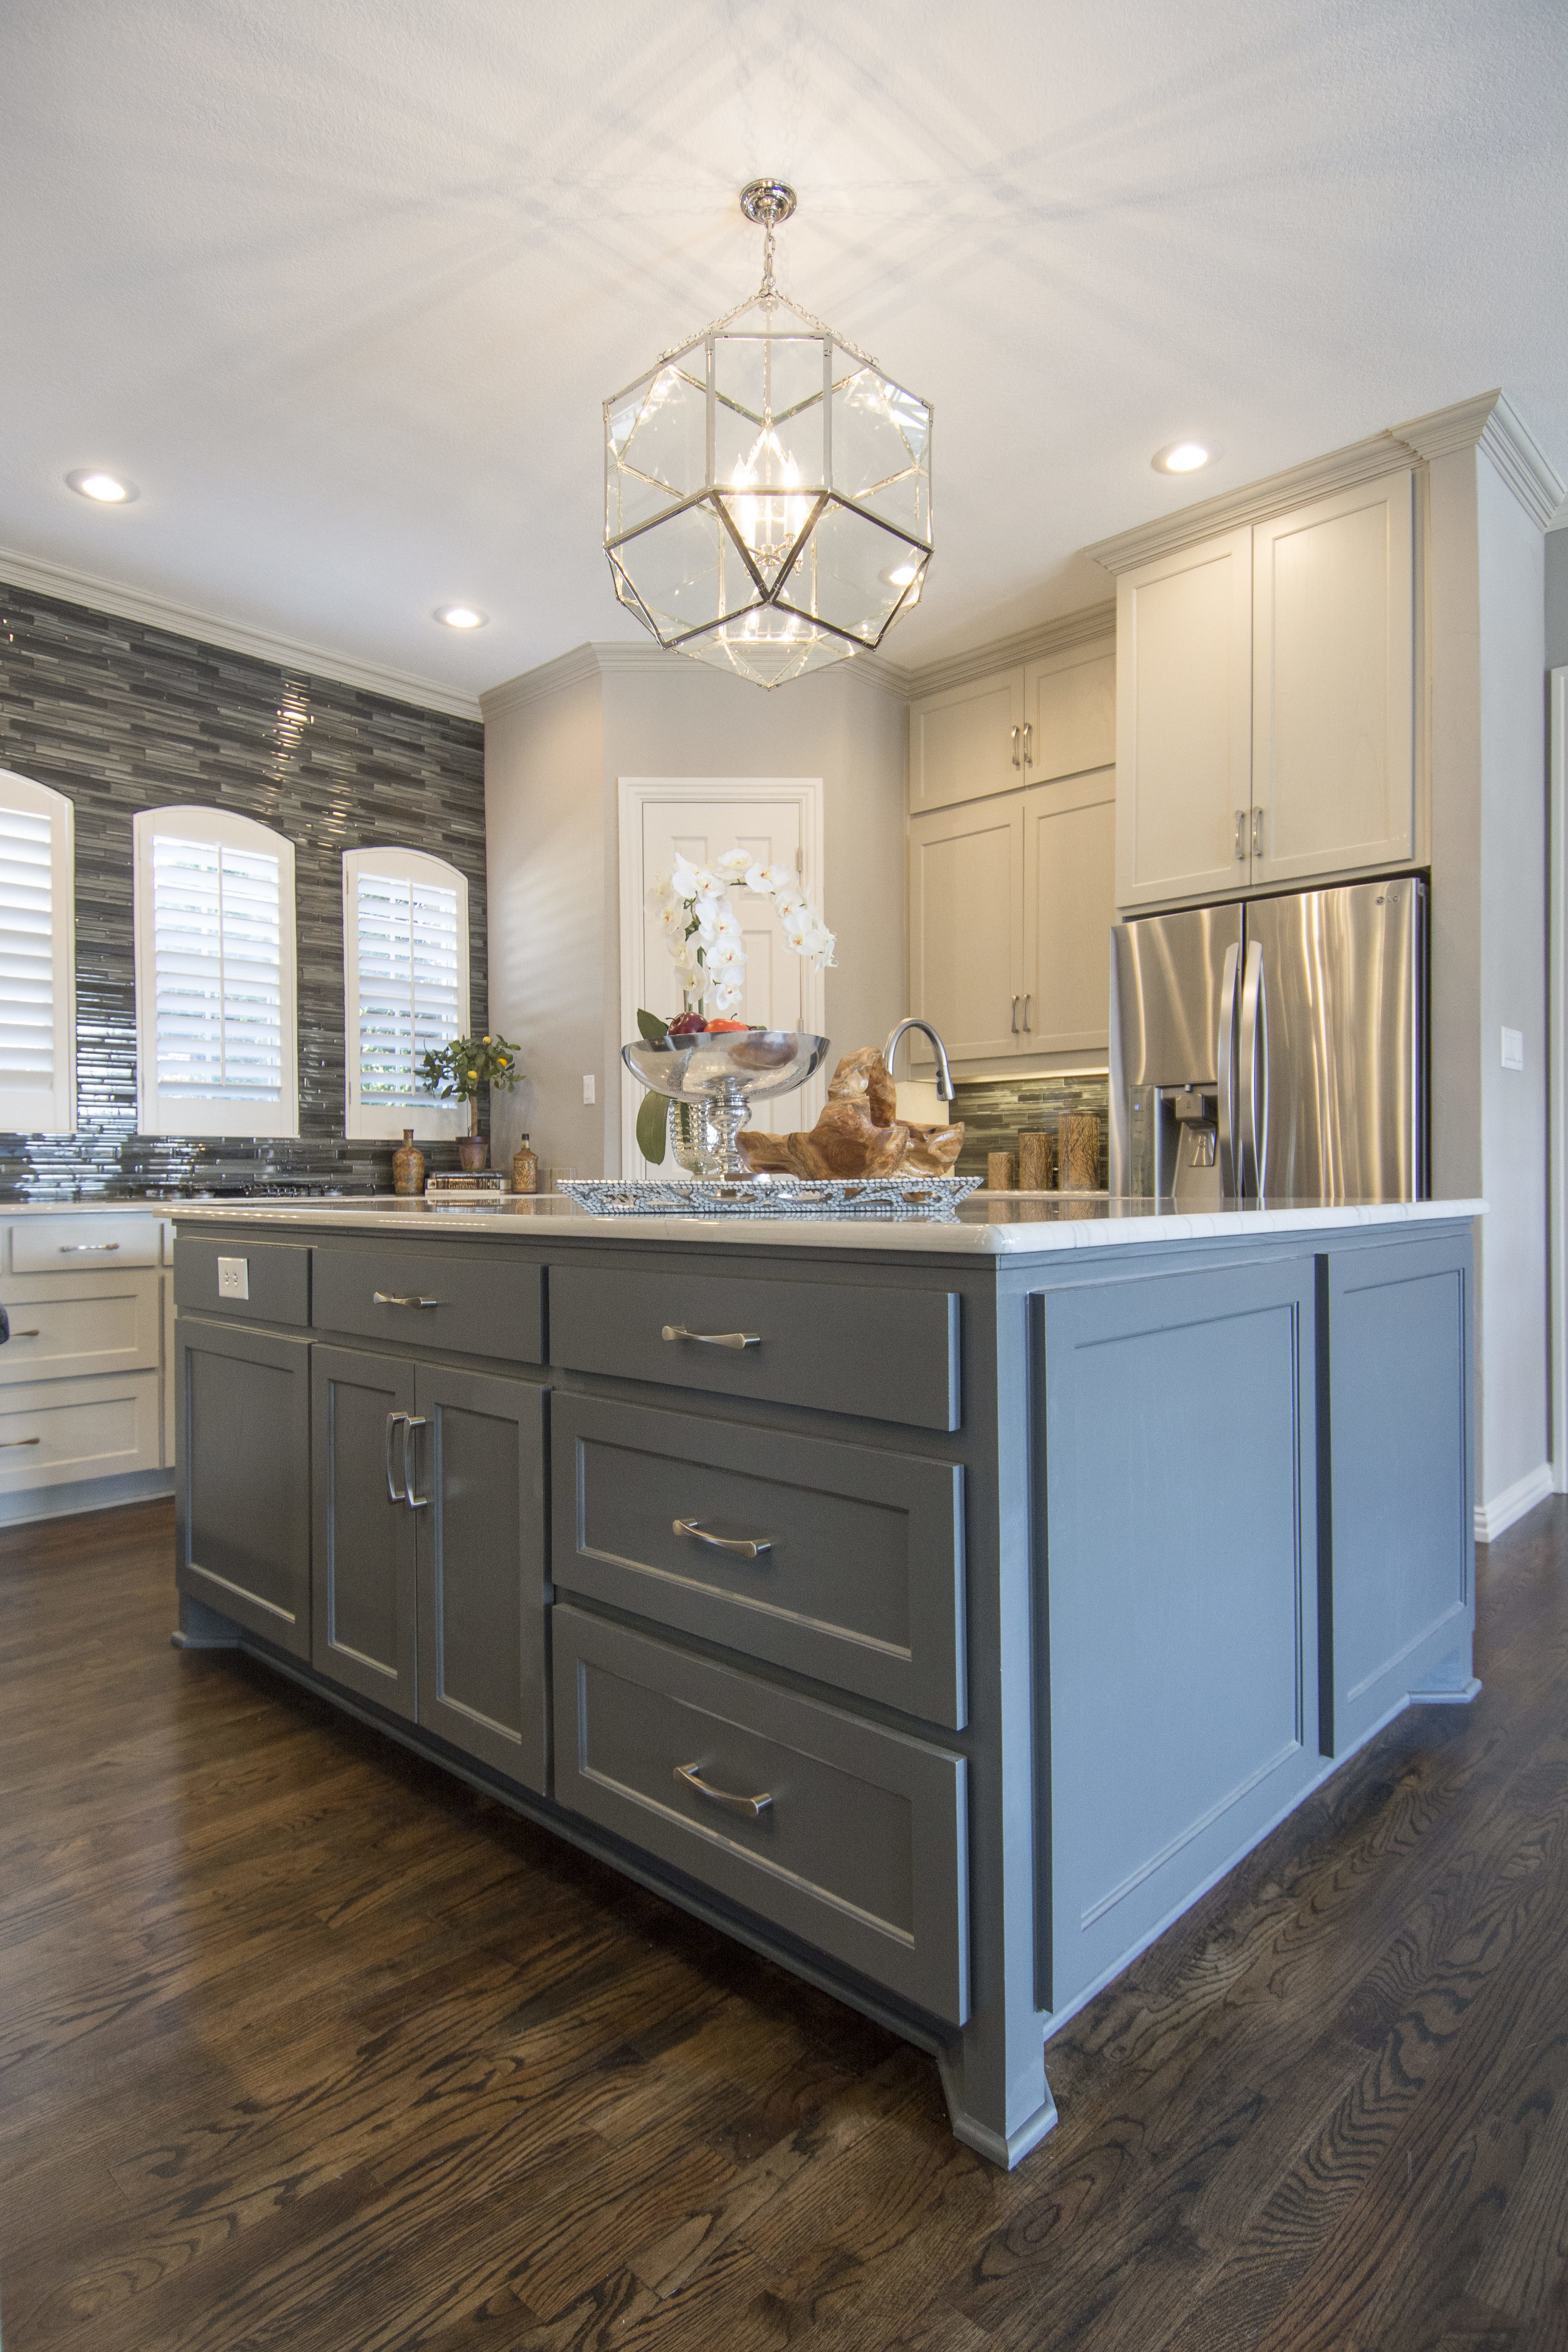
The island is the star in this kitchen. The pendant light is from "Restoration Hardware." I LOVE IT!
We added a pull out garbage drawer and some extra storage. We painted the island a different color than the cabinets, it really makes it feel rich.

Gorgeous granite!
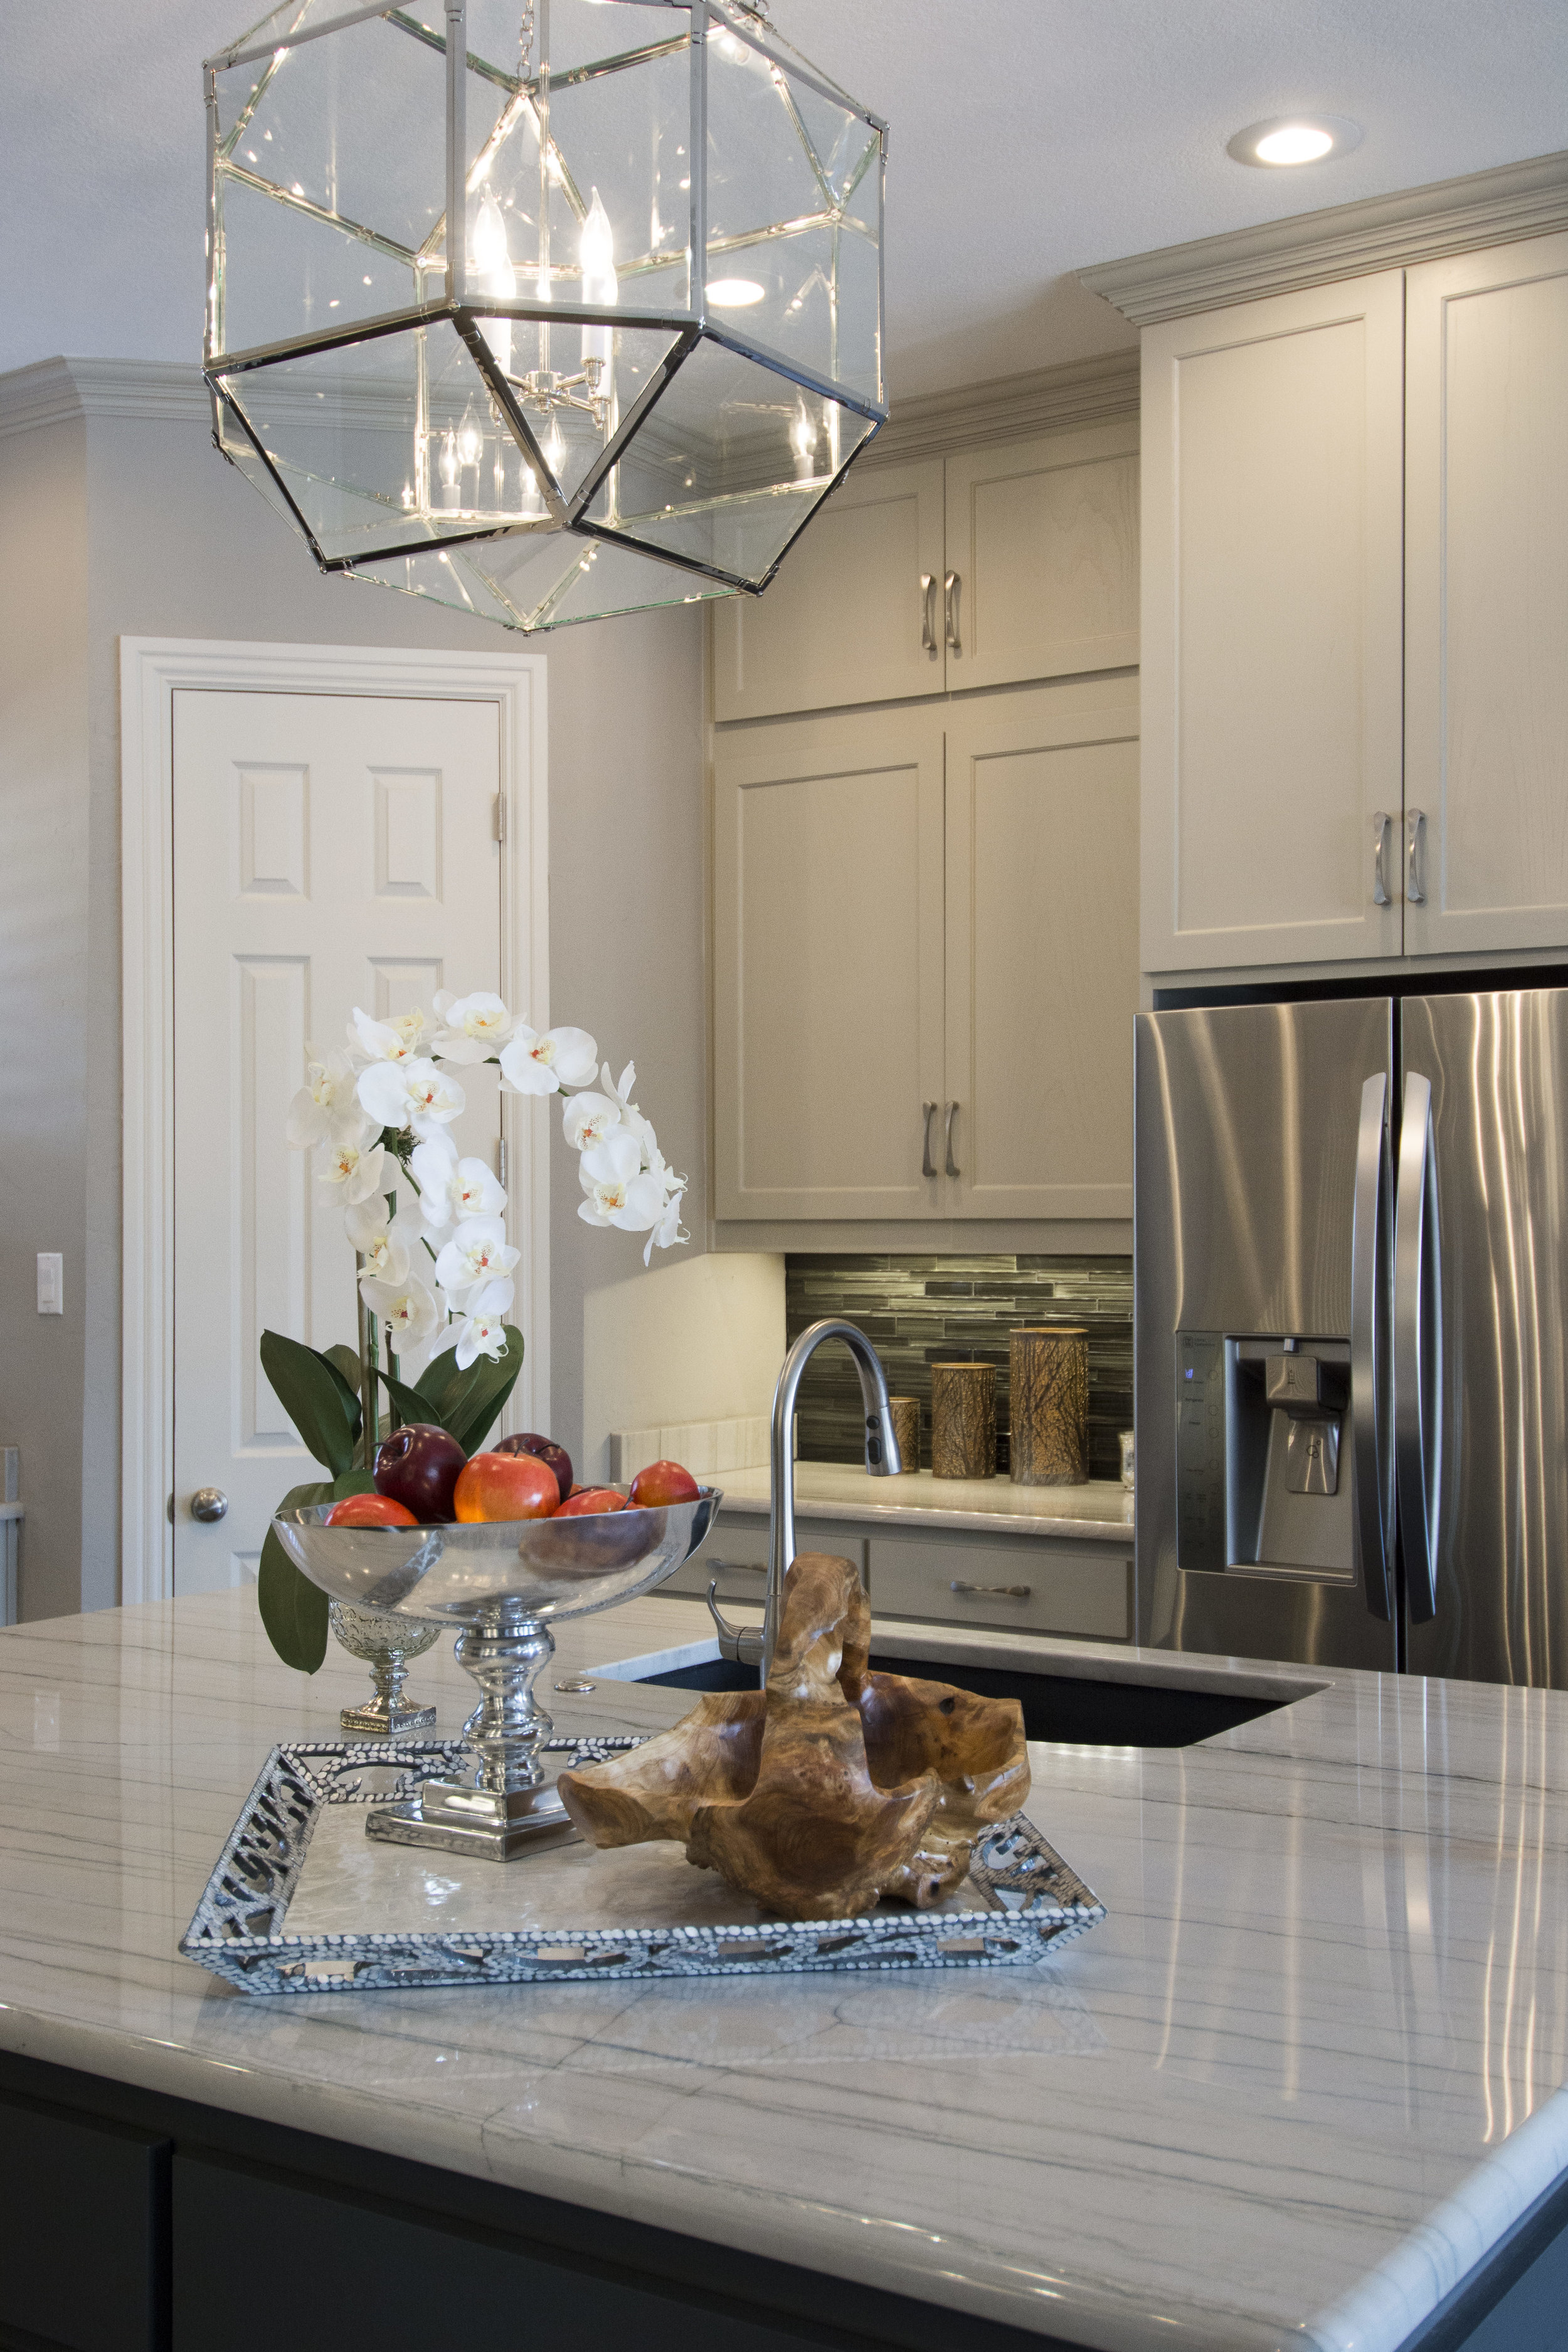
We made the pantry door taller to match the other doorways in the home. Amazing the difference that made!

Added accessories and it was a wrap!


Don't you just love the glass backsplash all the way around the windows?
New hardwood floors throughout the entire downstairs really makes this kitchen so warm!
Now it's the perfect kitchen for entertaining!
Thanks to Debbie for allowing me to make her home beautiful and to T. Lamar Photography for doing such a great job with the photo shoot!